Home Assistant chicken coop automation means running your coop as one local system — door, lights, heated waterer, temperature and humidity sensors, and cameras — from a single Home Assistant instance instead of a drawer full of separate phone apps. On my coop, that one brain opens the pop door on a sunrise offset, watches the waterer for a freeze, and pings my phone the moment a door cycle fails. It is the difference between a coop with a gadget bolted on and a coop that actually runs itself.
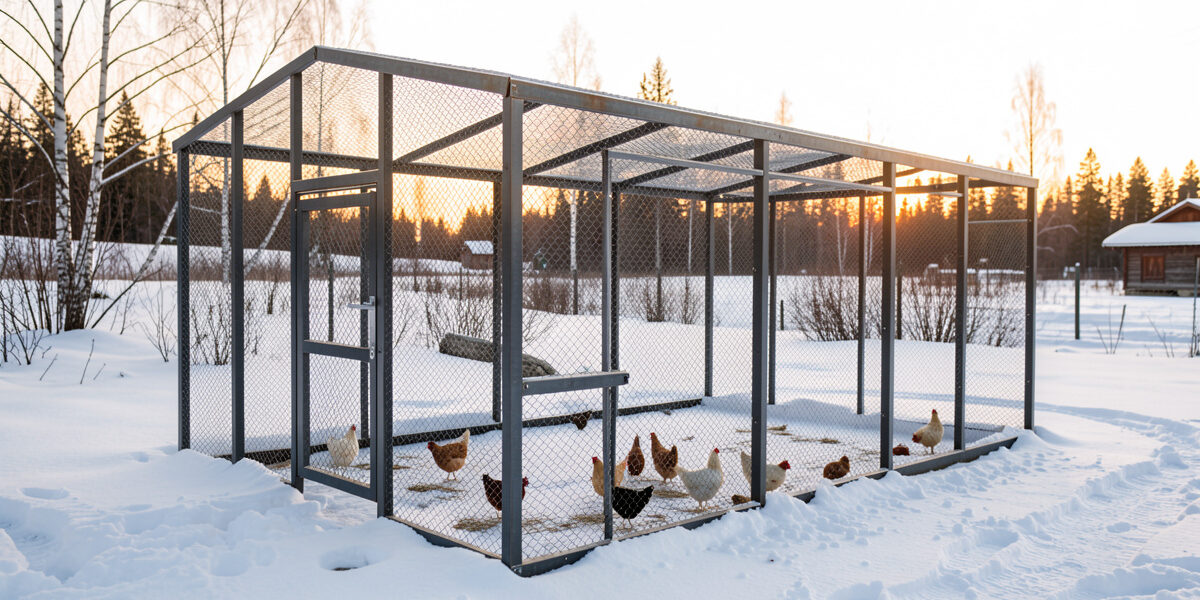
I keep a cold-hardy flock in Sweden, in a coop I built and then automated end to end: a welded run frame, 3D-printed brackets and door guides, an auto-door on an astronomical schedule, PoE cameras, and heated waterers that survive a Nordic winter — all wired into Home Assistant. This guide is the map of that system. Every section here has its own deep-dive spoke, but read this first so you understand how the pieces fit together before you start buying hardware. Most “smart coop” content treats automation as a single product you plug in. It is not. It is a small, reliable machine with living tenants, and the wiring between the parts is where it succeeds or fails.
Why Home Assistant Runs My Coop, Not Alexa or Google
Home Assistant earns its place because it runs locally: the automations live on a small box in my house, not on a server in another country. When my internet drops — and rural Swedish internet drops — the door still opens at dawn and the waterer still heats below freezing. A cloud-only setup hands your flock’s safety to someone else’s uptime. That single fact is why I moved everything off Alexa routines years ago.
The second reason is logic. A coop is full of conditional decisions: open the door only if it is past civil dawn and the run camera doesn’t see a predator, heat the waterer only when the probe reads below 2 °C, send a “door failed” alert only if the door entity didn’t reach closed within 90 seconds of the command. Voice assistants can fire a timer. Home Assistant can reason about state. That gap is the entire value of the system, and it is why I treat the coop the same way I’d treat any other automation project — the door runs on the same Home Assistant logic as the rest of the house, sunrise offset and all, not a dumb timer. If you’re building the rest of your home automation alongside this, the broader Home Assistant setup that runs the house uses the exact same patterns.
The third reason is that everything speaks to everything. A Zigbee door sensor, a Wi-Fi camera, an ESPHome temperature node, and a Z-Wave smart plug can all sit in the same dashboard and the same automation. You are not locked into one manufacturer’s ecosystem, which matters in a coop where the cheapest reliable sensor and the cheapest reliable door rarely come from the same brand.
The Entities That Make Up a Coop
In Home Assistant, every physical thing becomes an entity — a named piece of state you can read or control. Before you write a single automation, get the entity list right, because every automation, dashboard card, and notification references entities by name. On my coop the core list is small and deliberate: the door (a cover entity), the run and interior cameras, an outdoor and an interior temperature/humidity pair, the heated-waterer plug (a switch with power monitoring), the coop light, and a pop-door open/closed contact sensor that confirms what the door actually did versus what it was told to do.
That last distinction is the one beginners miss. A motorized door reports the command it received; a separate contact or limit sensor reports physical reality. Pairing the two is how you catch a door that jammed on bedding or froze half-open — the command says “closed,” the contact says “open,” and the mismatch is your alert. I learned that the hard way before I added the second sensor.
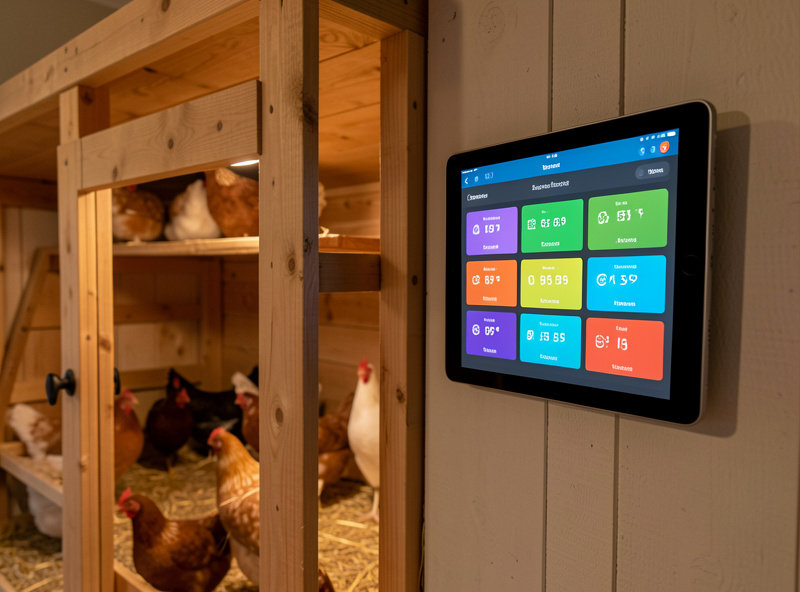
Group your entities by function as you add them: safety (door state, contact sensor, cameras), climate (temp, humidity, waterer power), and convenience (light, feeder if automated). That grouping carries straight through to the dashboard and to how you decide which alerts are critical versus nice-to-have. Build the coop dashboard around those three groups and the whole system stays legible months later when you’ve forgotten why you named something the way you did.
The Auto-Door on a Sunrise/Sunset Offset
The pop door is the one automation that, if it fails, costs you birds — so it is the one I built first and trust least. The right way to drive it is not a clock time but an astronomical schedule: Home Assistant’s sun integration knows your exact sunrise and sunset every day of the year, and you open and close relative to those events. On my flock the door opens 30 minutes after sunrise and closes 20 minutes after sunset, once the birds have put themselves to bed. A fixed 7 a.m. clock time that works in June leaves your birds locked in until mid-morning in December and shuts them out at a Swedish summer dusk that doesn’t arrive until 10 p.m.
The offset is the craft. Chickens roost at dusk on their own schedule, and that schedule tracks daylight, not your clock. Close too early and you trap stragglers outside; close too late and you’ve left the door open for the fox during the riskiest half-hour of the day. The full method — how I tuned the offsets season by season, and the obstruction and override behavior that keeps a bird from being caught in the door — is in the sunrise/sunset door offset deep-dive. If you’re still choosing hardware, the smart coop door scheduling overview compares the platforms, and the mechanics of how these doors sense and move are in how automatic coop doors work.
Freeze-Watch on the Heated Waterer
A waterer that freezes solid by 7 a.m. is the cold-climate failure nobody warns you about. Chickens can go a surprisingly short time without water before laying drops and health suffers, and in a Swedish January the surface skins over fast. The automation I run is a freeze-watch: an outdoor temperature sensor triggers the heated-waterer plug on when the probe falls below roughly 2 °C and off again above 4 °C, with a power-monitoring smart plug confirming the heater is actually drawing current.
That power check is the part that separates a real automation from a hopeful one. A heated waterer plugged into a dumb timer tells you nothing when the element dies; a plug that reports zero watts while commanded “on” tells you the heater failed before the water freezes. I get a notification, not a block of ice. The full build — sensor placement, the hysteresis band that stops the plug chattering on and off, and the wattage threshold that flags a dead element — lives in the freeze-watch waterer automation. For the hardware side, the heated chicken waterer guide covers the waterers themselves, and broader cold-stress thresholds are in coop temperature alerts.
The Coop Dashboard: One Screen for the Whole System
A dashboard is not decoration — it is the single screen that answers “is the flock safe right now?” without my opening five apps or walking out in the dark. Mine shows, in one glance: door state (open/closed and confirmed by the contact sensor), interior and outdoor temperature, the run camera, waterer power draw, and a row of alert toggles. I keep it on a cheap wall tablet by the back door and pull it up on my phone from the dashboard app.
The discipline is restraint. A dashboard that shows forty entities shows nothing, because your eye can’t triage it. I organize mine top-to-bottom by urgency: the things that kill birds (door, predators) at the top, climate in the middle, convenience at the bottom. The coop dashboard build walks through the exact card layout, the camera card that doesn’t hammer a PoE stream, and the conditional cards that only appear when something is wrong. It pairs naturally with smart coop monitoring, which covers the cameras and sensors feeding it.
Choosing a Sensor Protocol: Zigbee, Z-Wave, or Wi-Fi
The protocol question decides whether your sensors survive the run or die at the wire. A coop is a hostile radio environment: metal mesh, distance from the house, moisture, and temperature swings. Wi-Fi sensors are the easiest to buy and the first to disappoint — they hammer a battery, choke a home router with chatty connections, and drop at the run edge where the signal is weakest. For battery sensors at distance, I run Zigbee almost everywhere: it is low-power, it mesh-repeats through mains-powered devices, and a door contact runs a year or more on a coin cell.
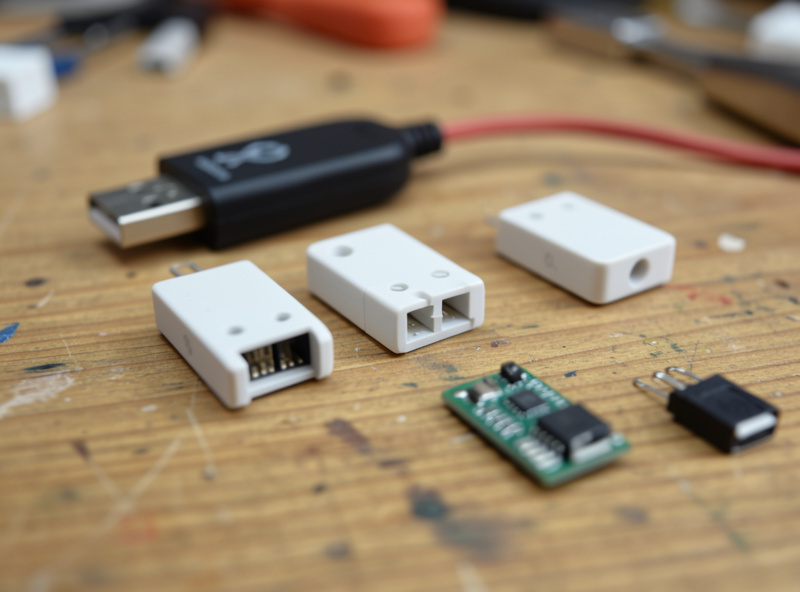
Z-Wave has its place — longer range per hop, a less crowded band than the 2.4 GHz Wi-Fi shares — but the devices cost more and the catalog is thinner. Wi-Fi still wins for the camera and for the ESPHome nodes I want to power continuously. The honest answer is that a good coop runs a mix, chosen per device by power source and distance. I lay out exactly which protocol I use for which job, and where each one failed me, in Zigbee vs Z-Wave vs Wi-Fi for the coop. A Zigbee coordinator is cheap insurance against router congestion — you can find a Zigbee USB coordinator stick for the price of two Wi-Fi sensors.
As an Amazon Associate I earn from qualifying purchases.
ESPHome: Cheap DIY Sensor Nodes That Actually Work
The sensors I trust most in the coop are the ones I built. An ESPHome node — an ESP32 board, a temperature/humidity probe, a short YAML config — gives you a local, Wi-Fi-or-Ethernet sensor for a fraction of the price of a commercial unit, reporting straight into Home Assistant with no cloud and no subscription. My interior coop temp/humidity reading comes from an ESP32 with a wired probe, because I wanted the sensor mounted where the birds roost and the electronics safe from moisture.
The reason DIY wins here is fit. Commercial sensors are sealed boxes designed for a living room; a coop needs the probe in the air the birds breathe and the board somewhere it won’t corrode. With ESPHome I separate the two. The full build — board choice, the SHT-class sensor I use, weatherproofing, and the YAML that exposes it cleanly to Home Assistant — is in ESPHome coop sensors. The boards themselves are trivially cheap; a multipack of ESP32 development boards costs less than a single name-brand smart thermometer.
Notifications That Earn the Interruption
An alert you ignore is worse than no alert, because it trains you to ignore the next one. The rule on my system is that a notification has to mean “go look right now” or it doesn’t get sent. Two earn that bar: door-failed (commanded closed, contact sensor still open after the timeout) and predator-motion (the run camera’s motion zone trips after dark, when nothing should be moving). Everything else — daily door cycles, normal temperature drift — is logged to the dashboard, not pushed to my phone.
The craft is in the conditions. A motion alert that fires every time a leaf blows across the run is noise; one scoped to a zone, a time window, and a cooldown is signal. The coop notifications guide has the full automations for both alerts, including how I throttle them so a windy night doesn’t bury my phone, and how the door-failed alert escalates if I don’t acknowledge it. It builds directly on the camera network setup that feeds the motion zones.
Node-RED vs Home Assistant Automations: When to Use Which
Home Assistant gives you two ways to write logic: its built-in automation editor (and YAML), and Node-RED, a visual flow editor you can add on. The question I get most is which one to learn. My answer: start with native Home Assistant automations — the simple “when sun is 30 minutes past rising, open the door” rules are cleaner and easier to maintain natively, and they survive a Home Assistant restart with zero fuss.
Node-RED earns its keep when the logic gets branchy — the predator-alert flow that checks the camera, waits, re-checks, escalates, and throttles is far easier to read as a visual flow than as nested YAML conditions. I run my door and waterer in native automations and my notification escalation in Node-RED, and that split has held up for years. The full decision framework, with the exact automations I keep in each, is in Node-RED vs Home Assistant for the coop.
Local-Only Control: Keeping the Door Working When the Cloud Goes Down
The whole point of this build is that it does not need the internet. A coop automation that opens the door “via the cloud” is one outage away from a flock locked in at dawn. Every critical automation on my system — door, waterer, lights — runs locally, on devices that talk to Home Assistant over Zigbee, Z-Wave, or local Wi-Fi, with no round-trip to a manufacturer’s server. The internet is for my phone notifications and remote dashboard access, nothing the birds depend on.
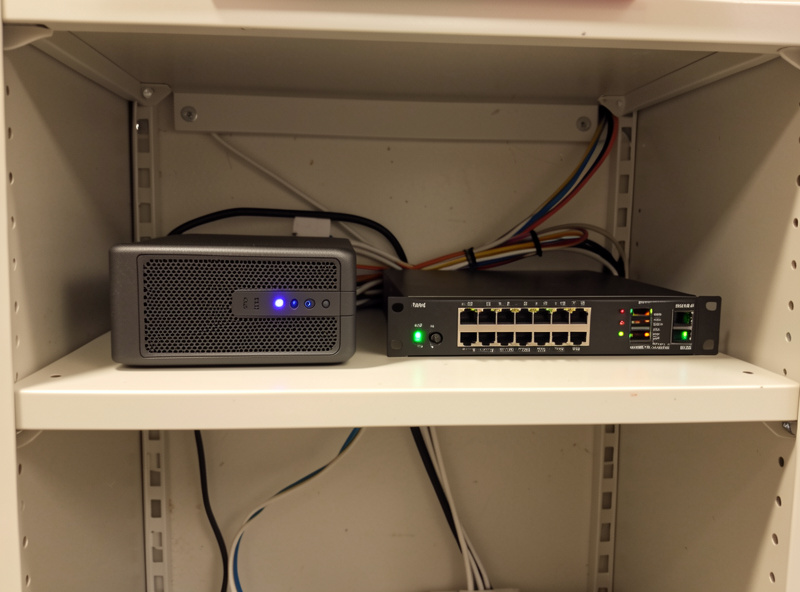
Getting there means choosing devices that don’t require a cloud account to function, and adding the failsafes for when Home Assistant itself reboots or the power blips. A UPS on the Home Assistant box and a door that fails to a safe state are non-negotiable. The local-only coop automation guide covers cloud-free device selection and the failsafes, and it pairs with smart coop safety failsafes and coop battery backup for the power side.
How the Pieces Compare
If you are deciding what to automate first and how, this is the order and the trade-offs I’d use. Every coop is different, but the priority — safety before convenience — should not be.
| Subsystem | Best protocol/tool | Local-capable? | Build priority | Failure cost |
|---|---|---|---|---|
| Pop door | Dedicated door + contact sensor | Yes | 1 (first) | Lost birds |
| Heated waterer | Power-monitoring smart plug + temp sensor | Yes | 2 | No water in winter |
| Predator alerts | PoE camera + motion zones | Yes | 3 | Undetected attack |
| Temp/humidity | ESPHome (ESP32) or Zigbee sensor | Yes | 4 | Missed frostbite/heat risk |
| Door/contact sensors | Zigbee (battery, distance) | Yes | Built with door | False “door OK” reading |
| Coop light | Z-Wave or Zigbee smart plug | Yes | 5 (last) | Convenience only |
Notice that everything in the “local-capable” column is “yes” — that is by design, and it is the single rule that has saved my flock through more than one outage. If a device you’re eyeing can’t be answered “yes” there, it doesn’t belong on the safety path.
How I’d Build This From Scratch
If I were starting today, I’d go in this order. First, get Home Assistant running on a dedicated small box with a UPS — not an old laptop that sleeps, not a Raspberry Pi on a flaky SD card if you can avoid it. Second, add the door and its contact sensor and get the sunrise/sunset automation rock-solid before anything else, because that is the one that costs birds. Third, the heated waterer with freeze-watch, because winter is the season automation matters most. Fourth, the cameras and predator notifications. Fifth, the temperature and humidity sensors and the dashboard that ties it together. Convenience — lights, feeder scheduling — comes last, after the safety spine is proven through a full season.
The mistake I see most is the reverse: people automate the fun, visible stuff first (a light that comes on, a feeder that dispenses on schedule) and leave the door and waterer — the two things that actually protect the flock — on manual or on a dumb timer. Build the spine first. The rest is genuinely optional. If you’re converting an existing coop rather than building new, start with the retrofit a standard coop into a smart coop guide, and the full ground-up build is in how to build a smart chicken coop.
Frequently Asked Questions
Do I need to know how to code to run Home Assistant for my coop?
No. The core door, waterer, and notification automations can be built in Home Assistant’s visual editor without writing code. YAML and Node-RED help for advanced logic, but a working coop automation system needs none of it to start. Most keepers run their door on a sunrise offset built entirely through the UI.
Will the coop door still open if my internet goes down?
Yes, if you build it right. Home Assistant runs locally, so a door driven by a local Zigbee, Z-Wave, or local Wi-Fi device opens on schedule with no internet. Only remote phone notifications and away-from-home dashboard access need the cloud. This is the main reason I use Home Assistant over Alexa or Google routines.
What hardware do I need to start automating a coop with Home Assistant?
A small dedicated box to run Home Assistant (with a UPS), an automatic pop door with a separate contact sensor, a power-monitoring smart plug and temperature sensor for the waterer, and a Zigbee USB coordinator for battery sensors at distance. Cameras and DIY ESPHome sensors come next.
Why use a sunrise offset instead of a fixed clock time for the door?
Daylight shifts hours across the year, especially at high latitudes. A fixed 7 a.m. clock time locks birds in late in winter and shuts them out at a late summer dusk. An astronomical sunrise/sunset offset tracks real daylight so the door matches when chickens actually wake and roost.
Is Zigbee or Wi-Fi better for coop sensors?
For battery sensors at distance from the house, Zigbee wins: it is low-power, mesh-repeats through mains devices, and a door contact runs a year or more on a coin cell. Wi-Fi suits the camera and continuously-powered ESPHome nodes. A good coop runs a mix chosen per device by power source and distance.
What is the single most important coop automation to get right?
The pop door. It is the one automation that costs you birds if it fails, so build it first and pair the motorized door with a separate contact sensor that confirms it physically closed. The command says closed; the contact sensor proves it. The mismatch between them is your alert.
Related Guides
- Home Assistant Sunrise/Sunset Door Offset: The Automation I Actually Run
- Home Assistant Freeze-Watch: Automating the Heated Waterer Below Zero
- Building a Coop Dashboard in Home Assistant: Temp, Door, Cameras, Alerts
- Zigbee vs Z-Wave vs Wi-Fi for the Coop: Which Protocol Survives the Run
- ESPHome Coop Sensors: Cheap DIY Temp and Humidity Nodes That Work
- Home Assistant Coop Notifications: Door-Failed and Predator-Motion Alerts
- Node-RED vs Home Assistant Automations for the Coop: When to Use Which
- Local-Only Coop Automation: Keeping the Door Working When the Cloud Goes Down
Related Guides
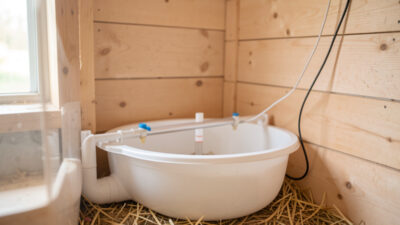
Water-Level and Flow Sensors: Knowing the Waterer Is Empty Before They Do
A coop water-level sensor tells you the drinker is going dry — or freezing solid — before the flock does,…
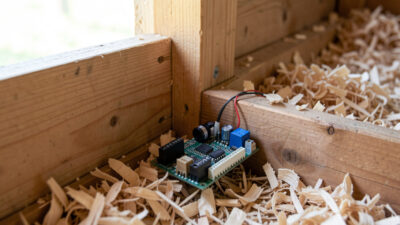
Ammonia Sensors for the Coop: Catching Air Problems Before You Smell Them
An ammonia sensor belongs at the birds’ breathing height, close to the litter where the gas is generated, because that…
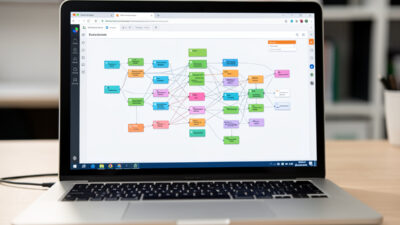
Node-RED vs Home Assistant Automations for the Coop: When to Use Which
Use native Home Assistant automations for the coop’s simple, safety-critical rules — the sunrise door, the freeze-watch waterer — and…