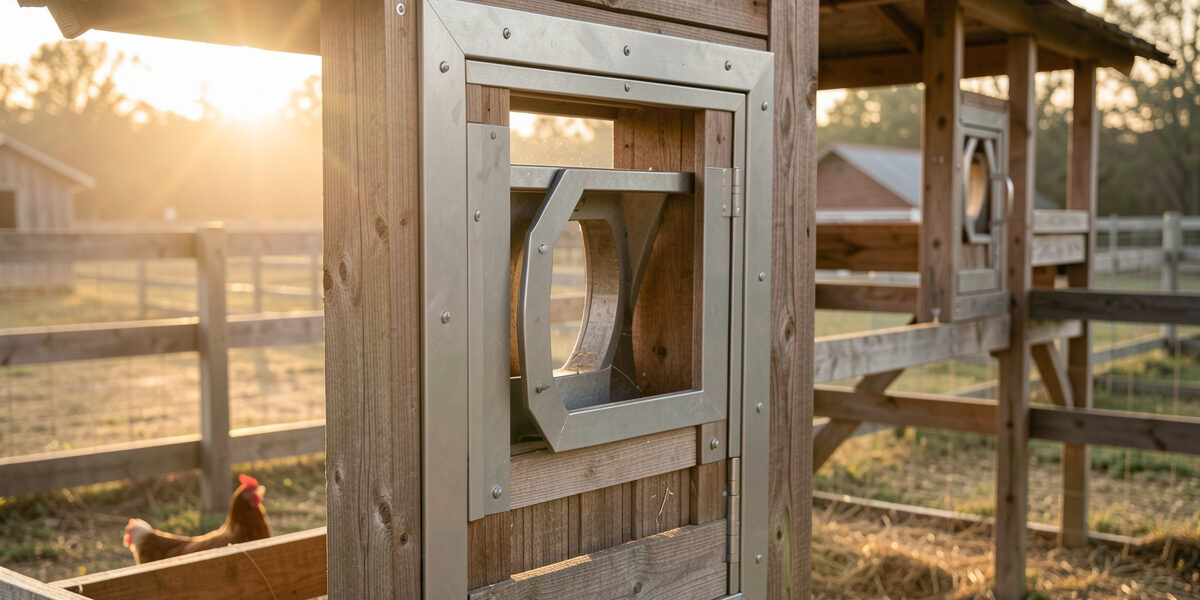
The Home Assistant automation I actually run on my coop opens the pop door 30 minutes after sunrise and closes it 20 minutes after sunset, every day of the year, using the built-in sun integration instead of a clock. That offset — not a fixed time — is the whole trick: it tracks real daylight so the door matches when my birds genuinely wake and roost, even when sunrise swings by six hours across a Swedish year.
I have run cheap timer doors, light-trigger doors, and now an astronomical schedule, and the schedule is the only one I trust through a full year. This is the exact logic I use, why the offset matters more than the door brand, and the failsafes that keep a bird from getting caught. If you want the wider system this plugs into, start with the Home Assistant coop automation guide; this article is the door, in detail.
Why an Offset Beats a Clock Time
A fixed clock time is the default mistake. Set the door to open at 7 a.m. and it works fine in spring — then December arrives, sunrise slides to 9 a.m., and your birds stand in the dark behind a closed door for two hours. Set closing to 6 p.m. and a high-latitude summer dusk that doesn’t fall until 10 p.m. shuts the door while half the flock is still foraging. At my latitude the gap between midsummer and midwinter daylight is enormous, and a clock simply cannot follow it.
The sun integration solves this because it calculates your exact local sunrise and sunset from your latitude and longitude every single day. You anchor the door to those moving events and add an offset in minutes. Open after sunrise so the run has real light; close after sunset so stragglers have time to roost. The door now follows the sun, not the calendar, with no seasonal re-programming on my part.
The Offsets I Run, and How I Tuned Them
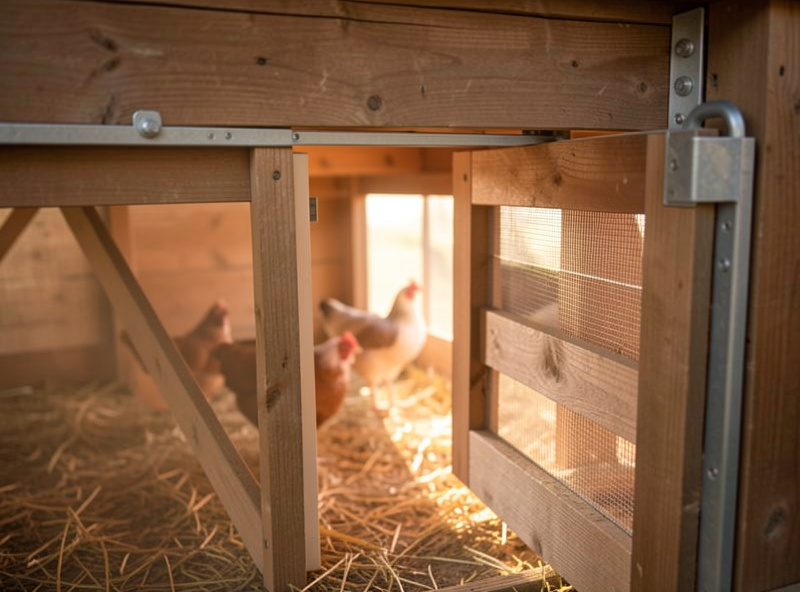
My open offset is +30 minutes after sunrise. Chickens are not desperate to leave at the first grey light; giving the run half an hour to actually brighten means they step out to a lit, visible space rather than a dim one where a predator has the advantage. My close offset is +20 minutes after sunset, because chickens put themselves to bed at dusk on their own and I want every bird on the roost before the door moves.
I tuned those numbers by watching the cameras for a week each season. The first winter I ran a tighter close offset and twice caught a slow hen still on the ramp when the door began to travel — that is exactly the moment you do not want. I widened the close offset until the run camera showed an empty run every night before the door cycled. The lesson: the close offset is the one to be generous with, because the cost of closing late is a few extra minutes of open door, while the cost of closing early is a bird shut out or caught.
If your flock is slow to roost — younger birds, or a big flock with a queue at the ramp — push the close offset later still. There is no universal number; there is only “after the camera shows the run is empty.” Build that check into your coop dashboard so you can confirm it at a glance.
What the Automation Looks Like
The native Home Assistant automation is short. In plain terms: the trigger is the sun entity’s “above horizon” event with a +30-minute offset, the action is “open the cover,” and a matching automation closes 20 minutes after the “below horizon” event. You can build both entirely in the visual automation editor — no code required — but in YAML the open trigger reads like this:
trigger:
  - platform: sun
    event: sunrise
    offset: "00:30:00"
action:
  - service: cover.open_cover
    target:
      entity_id: cover.coop_pop_door
The close automation is the mirror image: event: sunset, offset: "00:20:00", and cover.close_cover. That is the entire daily schedule. Everything else in this article is the safety layer wrapped around those two rules — and the safety layer is what separates a door you trust from a door you check nervously every morning.
The Contact Sensor That Confirms Reality
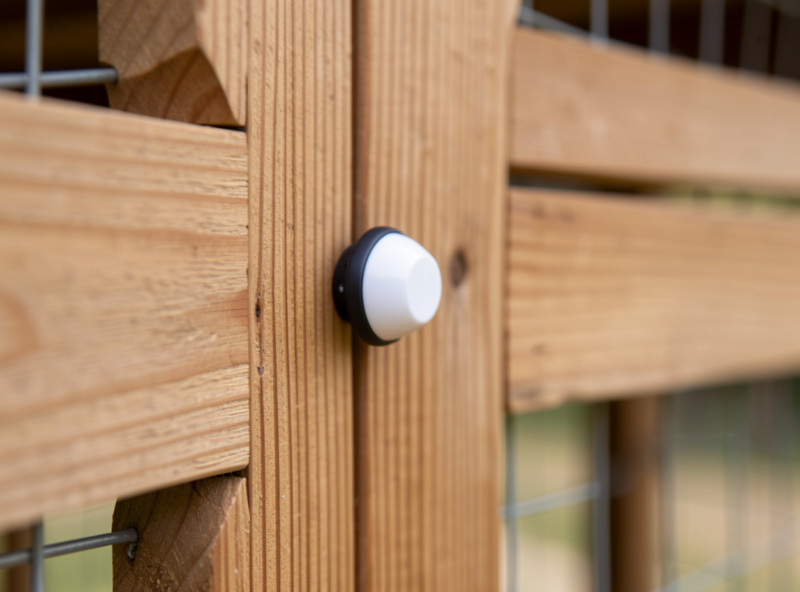
A motorized door reports the command it received, not what physically happened. It will cheerfully say “closed” while jammed half-open on a clump of bedding or frozen on its track. The fix is a separate contact sensor on the door itself — a cheap Zigbee open/closed sensor — that reports the door’s real position independent of the motor.
I run a second automation that, 90 seconds after the close command, checks whether the contact sensor reads closed. If it does not, that mismatch fires a “door failed” alert to my phone. The command says closed; the sensor proves it; the gap between them is the only alert that matters at dusk. Without that sensor you are trusting the motor’s word, and a fox does not care what the motor believes. I cover the full alert chain in the coop notifications guide.
Fail-Safe Direction: Open or Closed?
Every automatic door has a behavior when something goes wrong — power loss, a reboot, a stuck command. You need to decide, deliberately, whether your door fails open or fails closed, because a door that fails open at night is worse than no door at all: it gives you false confidence while leaving the flock exposed.
My rule is that the door should never close on a bird and should never sit open overnight unattended. In practice that means the door has obstruction sensing (it reverses if it meets resistance on the way down) and my automation will not issue a close command if the run camera’s motion or the contact sensor suggests a bird is in the doorway. During daylight a failure that leaves the door open is tolerable — the birds are awake and watched. At night, an unconfirmed close escalates to an alert so I can intervene. Think through your own failure mode before you trust the schedule; the smart coop safety failsafes guide goes deeper on this.
Obstruction and Override
Two manual escapes matter. First, obstruction reversal: a guillotine-style door must reverse if it meets resistance, full stop — this is a hardware feature of the door, not something Home Assistant adds, so buy a door that has it. Second, a manual override: I keep a dashboard button and a physical override so I can open or hold the door regardless of the schedule, for cleaning, a broody hen, or an integration day with new birds.
The override is also your friend when Home Assistant itself is down for an update. I can walk out and work the door by hand or from the local network without the automation, because nothing about the door’s basic operation depends on the cloud. That local-first design is the point; the local-only coop automation guide explains how to keep the door working when everything else is offline.
Light-Trigger Doors vs the Astro Schedule
Some doors trigger on a built-in light sensor instead of a schedule. They work, but they have a failure mode the astro schedule does not: a bright security light, a full moon over snow, or a sensor caked in dust can fool them into opening early or closing late. The astronomical schedule is immune to all of that because it is pure math from your coordinates. If you already own a light-trigger door, you can still wrap Home Assistant logic around it for confirmation and alerts; if you are buying, I would choose a door Home Assistant can command directly and drive it on the sun integration. The platform trade-offs are laid out in smart coop door scheduling, and the mechanics of the doors themselves in how automatic coop doors work.
Tuning for Your Latitude and Flock
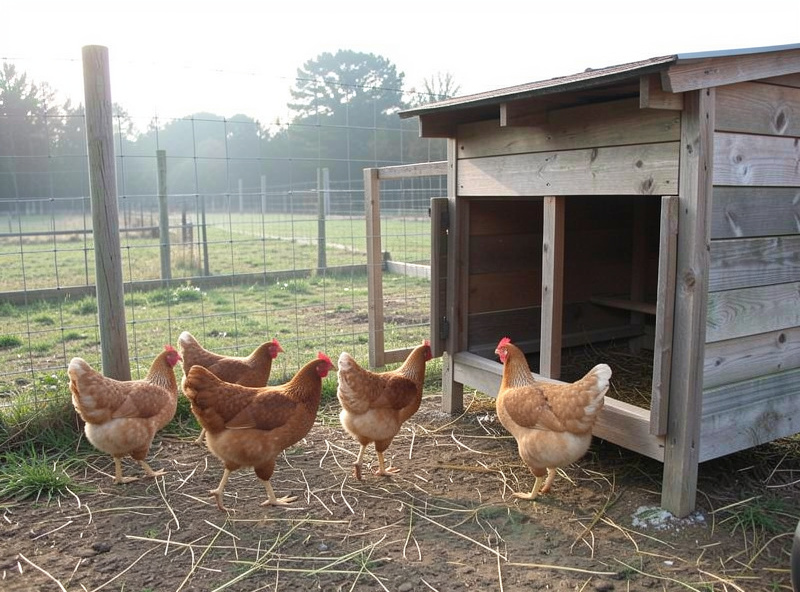
Set your Home Assistant location accurately first — the sun integration is only as good as your coordinates. Then start with +30 open and +20 close and adjust by observation, not by feel. Watch the run camera at dawn for a few days: are the birds waiting at a still-closed door, or stepping into a dim run? Watch at dusk: is the run empty before the door moves? Those two camera checks tell you everything you need to dial the offsets in. Northern keepers will often want a slightly larger open offset in deep winter so the birds aren’t stepping into near-darkness; that is a fine refinement once the basic schedule is proven.
Frequently Asked Questions
What sunrise and sunset offsets should I use for the coop door?
I run +30 minutes after sunrise to open and +20 minutes after sunset to close. The open offset lets the run brighten before birds step out; the generous close offset gives stragglers time to roost. Tune by watching the run camera until it shows an empty run before the door closes each night.
Do I need to write code to run a sunrise/sunset door automation?
No. Home Assistant’s sun integration and the visual automation editor let you build both open and close automations without code. You pick the sunrise or sunset trigger, type an offset in minutes, and choose open or close cover as the action. YAML is optional for those who prefer it.
Why is a sun offset better than a fixed clock time for the door?
Daylight shifts by hours across the year, especially at high latitudes. A fixed time locks birds in late in winter and shuts them out at a late summer dusk. The sun integration calculates exact local sunrise and sunset daily, so an offset tracks real daylight with no seasonal reprogramming.
How do I know the coop door actually closed?
Add a separate Zigbee contact sensor to the door so it reports physical position independent of the motor. An automation checks the sensor 90 seconds after the close command; if it does not read closed, you get a door-failed alert. The motor reports the command, the sensor reports reality.
Should the coop door fail open or fail closed?
Decide deliberately. A door that fails open at night leaves the flock exposed with false confidence, so night failures should alert you to intervene. During daylight an open failure is tolerable since birds are awake and watched. Always use a door with obstruction reversal so it never closes on a bird.
Will the door still work if Home Assistant is updating or offline?
Yes, if it is built local-first. Keep a manual override button and a physical override so you can operate the door by hand or over the local network when Home Assistant reboots. The door’s basic operation should never depend on the cloud or on the automation being live.
Related Guides
- Home Assistant Chicken Coop Automation: The Complete Guide
- Home Assistant Coop Notifications: Door-Failed and Predator-Motion Alerts
- Building a Coop Dashboard in Home Assistant
- Local-Only Coop Automation: When the Cloud Goes Down
- Smart Coop Door Schedules: Alexa, Google, Home Assistant
Related Guides
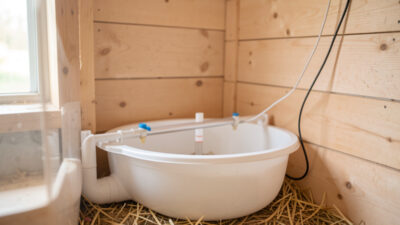
Water-Level and Flow Sensors: Knowing the Waterer Is Empty Before They Do
A coop water-level sensor tells you the drinker is going dry — or freezing solid — before the flock does,…
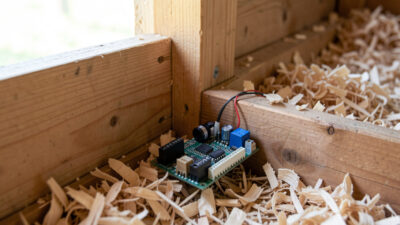
Ammonia Sensors for the Coop: Catching Air Problems Before You Smell Them
An ammonia sensor belongs at the birds’ breathing height, close to the litter where the gas is generated, because that…
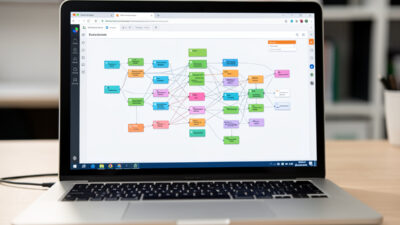
Node-RED vs Home Assistant Automations for the Coop: When to Use Which
Use native Home Assistant automations for the coop’s simple, safety-critical rules — the sunrise door, the freeze-watch waterer — and…