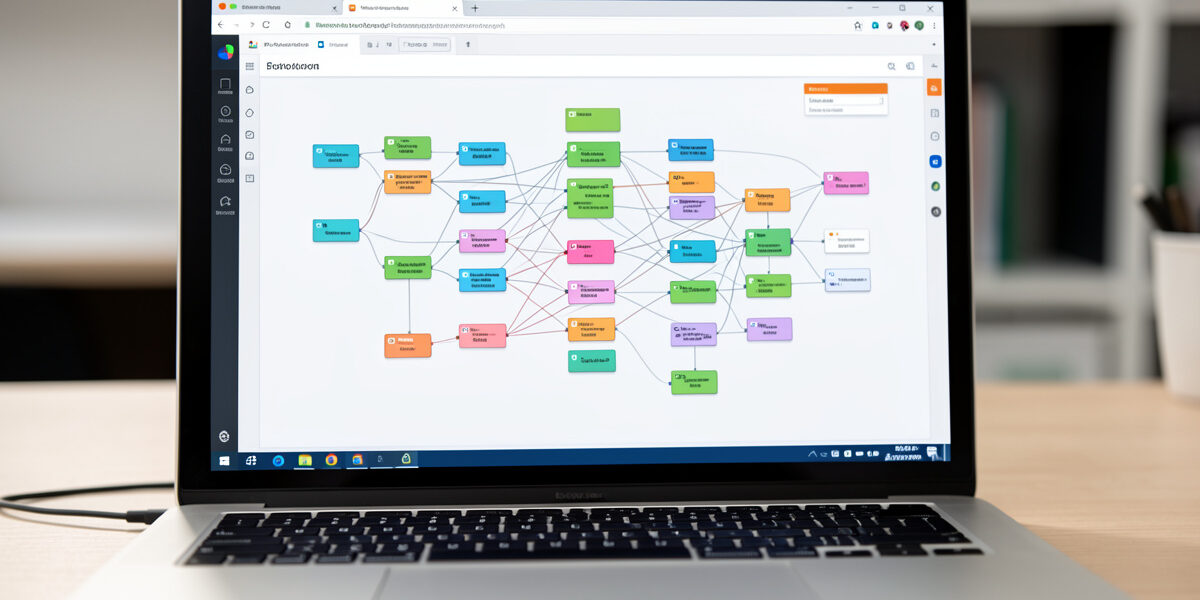
Use native Home Assistant automations for the coop’s simple, safety-critical rules — the sunrise door, the freeze-watch waterer — and reach for Node-RED only when the logic gets branchy, like a predator alert that checks, waits, re-checks, and escalates. On my coop the door and waterer run as native automations because they are clean state rules that survive a restart with zero fuss; my notification escalation lives in Node-RED because it is far easier to read as a visual flow than as nested YAML conditions.
This is the question I get most from keepers starting out: which one do I learn? The honest answer is start native, add Node-RED only when you feel the pain of native’s limits. Both ship with Home Assistant, both run locally, and you do not have to choose one forever. Here is how I split them and why. For the wider system both feed into, see the Home Assistant coop automation hub.
What Each One Actually Is
Native Home Assistant automations are the built-in way to write logic: a visual editor (and YAML underneath) with a trigger, optional conditions, and actions. They are first-class — they load with Home Assistant, restore instantly after a restart, and need nothing extra installed. For “when X happens, if Y is true, do Z,” they are clean and fast to write.
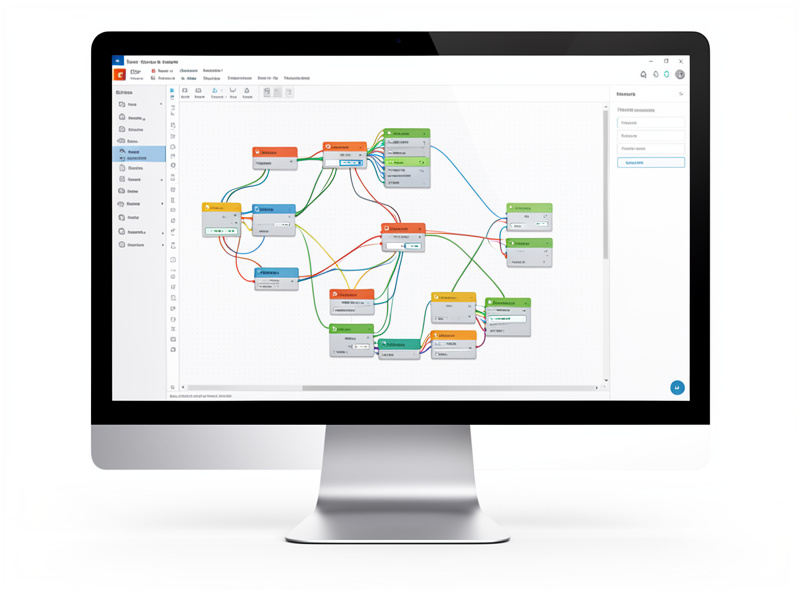
Node-RED is a separate visual flow editor you add on (usually as an add-on alongside Home Assistant). Instead of a trigger-condition-action form, you wire together nodes — events, delays, switches, function blocks — into a flow you can see laid out on a canvas. It excels at logic that branches and loops, where the path through the rule matters as much as the rule itself. It is more powerful and more to maintain.
Why I Keep the Door and Waterer Native
The two automations that protect my flock — the door and the freeze-watch — are deliberately native, for three reasons. First, simplicity: “open the cover 30 minutes after sunrise” is a one-trigger, one-action rule that needs nothing Node-RED offers. Second, restart resilience: native automations come back instantly when Home Assistant reboots for an update, with no add-on to spin up first. For safety-critical logic, that matters — I do not want the door’s brain waiting on a separate service to load. Third, fewer moving parts: the fewer dependencies between “it is dawn” and “the door opens,” the fewer things that can break.
The principle is that safety-critical, low-branching logic belongs native. The sunrise/sunset door and the freeze-watch waterer both fit that exactly — clean state rules where reliability beats cleverness. If a rule is so simple you can describe it in one sentence, write it native and move on.
Why My Notification Escalation Lives in Node-RED
The predator and door-failed escalation is a different animal. Its logic is: detect the event, wait, check whether I have acknowledged it, if not re-alert, escalate to a second channel, apply a cooldown, and branch differently for day versus night. Written as native automations that is a tangle of helper booleans and nested conditions that becomes unreadable in a month. As a Node-RED flow it is a diagram you can follow with your finger — event in on the left, decisions branching, escalation on the right.
That readability is the real payoff. When I come back to tune the escalation six months later, the visual flow tells me what it does at a glance, where the YAML version would make me re-read every condition. Branchy, stateful, “the path matters” logic is what Node-RED is for, and coop notifications are the clearest example in my whole setup. The alert design itself is covered in coop notifications.
Head to Head for the Coop
Here is how the two compare on what matters for a coop build. Read the “best for” framing as a guide, not a wall — plenty of keepers run everything native and never touch Node-RED, and that is a perfectly good coop.
| Factor | Native HA Automations | Node-RED |
|---|---|---|
| Setup | Built in, nothing to install | Add-on to install and run |
| Learning curve | Gentle, visual editor | Steeper, flow-based |
| Simple rules (door, waterer) | Ideal | Overkill |
| Branchy/looping logic | Gets messy fast | Excellent, readable |
| Restart resilience | Instant, first-class | Waits for add-on to load |
| Local / cloud-free | Yes | Yes |
| Best for | Safety-critical state rules | Escalation, multi-step alerts |
The Split I Actually Run
Concretely: native automations handle the door open/close on the sun offset, the freeze-watch on the waterer, the coop light schedule, and the door-failed detection (commanded closed, contact sensor still open). Node-RED handles what happens after a problem is detected — the escalation chain, the predator-motion flow with its zone, time window, cooldown, and snapshot, and any “wait and re-check” branching. Detection native, complex response in Node-RED.
That division has held up for years and through many Home Assistant updates. The safety spine never depends on the add-on being up, and the messy human-facing escalation stays readable. Both run entirely locally, so neither needs the cloud — the door still opens and the waterer still heats whether or not the internet, or even Node-RED, is running. That local-first guarantee is the foundation; it is covered in local-only coop automation.
Which Should You Learn First?
Start native, every time. Build your door, your waterer, and your dashboard alerts with the built-in automation editor first — you will get a fully working, reliable smart coop without ever opening Node-RED. Only when you hit a rule that feels like fighting the editor — lots of nested conditions, a multi-step escalation, “wait then check again” logic — is it worth installing Node-RED for that one job. Adding it later costs you nothing, because the two coexist happily and share the same entities.
The mistake is reaching for Node-RED on day one because it looks powerful, then wiring your safety-critical door through a flow that waits on an add-on to load after every reboot. Power you do not need is just fragility you have to maintain. Build the spine native, prove it through a season, and add Node-RED only where it genuinely earns its place. From here, the dashboard ties both together into one screen.
Frequently Asked Questions
Should I use Node-RED or Home Assistant automations for my coop?
Use native Home Assistant automations for simple, safety-critical rules like the sunrise door and freeze-watch waterer, and Node-RED for branchy logic like predator-alert escalation. Detection stays native; complex multi-step responses go in Node-RED. Many keepers run everything native and never need Node-RED at all.
Is Node-RED harder to learn than Home Assistant automations?
Yes, somewhat. Native automations use a guided visual editor with trigger, condition, and action. Node-RED is a flow canvas where you wire nodes together, which is more powerful but steeper. Start native, and only learn Node-RED when you hit logic that the native editor makes messy, like multi-step escalation.
Will my coop automations survive a Home Assistant restart?
Native automations restore instantly on restart because they are first-class. Node-RED flows wait for the add-on to load first, which is why safety-critical rules like the door belong native. Keep the detection and core schedule native so the flock’s safety never depends on a separate service spinning up.
Do Node-RED and Home Assistant run locally for a coop?
Yes, both run entirely locally with no cloud. The door still opens and the waterer still heats whether or not the internet is up, and even if Node-RED is down the native automations keep running. Only remote phone notifications use the internet, never the safety logic itself.
Can I use both Node-RED and native automations together?
Yes, and that is what I do. They coexist in the same Home Assistant install and share the same entities. I run the door, waterer, and door-failed detection as native automations, and the predator and escalation flows in Node-RED. Detection native, complex response in Node-RED is a clean, durable split.
Related Guides
Related Guides
Water-Level and Flow Sensors: Knowing the Waterer Is Empty Before They Do
A coop water-level sensor tells you the drinker is going dry — or freezing solid — before the flock does,…
Ammonia Sensors for the Coop: Catching Air Problems Before You Smell Them
An ammonia sensor belongs at the birds’ breathing height, close to the litter where the gas is generated, because that…
Home Assistant Coop Notifications: Door-Failed and Predator-Motion Alerts
The only two coop notifications I let reach my phone are door-failed — the door was commanded closed but the…