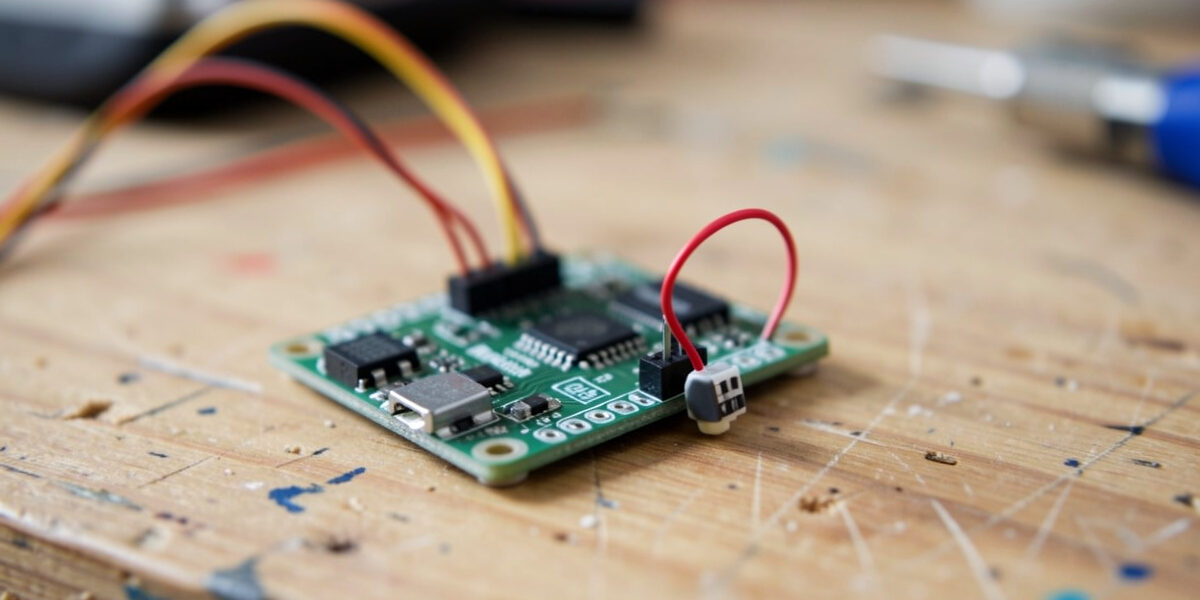
An ESPHome coop sensor is a cheap ESP32 board plus a temperature/humidity probe and a short YAML config that reports straight into Home Assistant — no cloud, no subscription, and a fraction of the price of a commercial sensor. The sensors I trust most in my coop are the ones I built this way, because I can put the probe exactly where the birds breathe and keep the electronics safe from moisture, which no sealed off-the-shelf unit lets me do.
ESPHome is the firmware that makes this almost trivial: you write a few lines of YAML describing your board and sensor, flash it once, and the device appears in Home Assistant with clean entities. This is the build I run for my interior coop temp/humidity reading, the parts I use, and the weatherproofing that keeps it alive through a Swedish winter. It slots straight into the wider Home Assistant coop automation system.
Why DIY Beats a Sealed Commercial Sensor Here
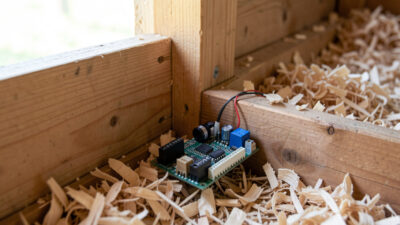
Commercial sensors are sealed boxes designed for a living room. A coop needs the opposite: the measuring element out in the air the birds actually breathe, near the roost, while the circuit board stays somewhere it will not corrode in the humidity. With ESPHome I separate the two — a small probe on a short lead in the coop air, the board protected in an enclosure — which a one-piece commercial unit simply cannot do.
The other wins are cost and independence. A capable ESP32 board costs less than a single name-brand smart thermometer, so monitoring several points in the coop is cheap. And because ESPHome talks directly to your local Home Assistant over your own network, there is no manufacturer cloud to depend on and nothing to stop working when the company sunsets an app. That local-first nature is exactly why these nodes belong in a coop; the whole case is in local-only coop automation.
The Parts I Use
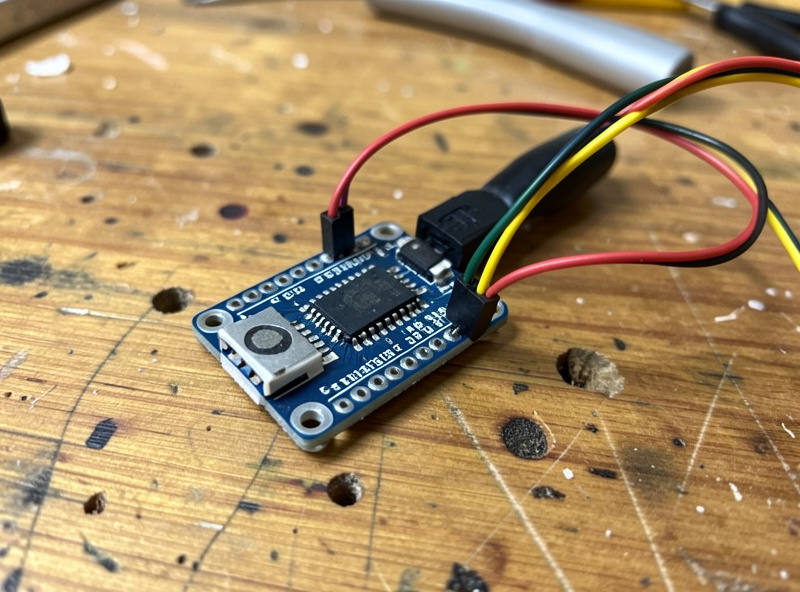
The build is three parts. First, an ESP32 board — I prefer ESP32 over the older ESP8266 for the extra headroom and better Wi-Fi, though either runs ESPHome. Second, a quality temperature/humidity sensor: an SHT-class digital sensor (the SHT3x/SHT4x family) is accurate, stable, and talks over I2C with two data wires, which makes it ideal for a clean ESPHome config. Cheap DHT-style sensors work but drift and are slower; in a coop where I am making frostbite-risk decisions on humidity, I want the better part. Third, a power supply — because this node lives on mains power, not batteries, which is why I run it over Wi-Fi without worrying about drain.
You can buy the board and sensor for very little; a multipack of ESP32 boards and SHT temperature/humidity sensors costs less than one commercial smart hygrometer, and gives you spares.
As an Amazon Associate I earn from qualifying purchases.
The YAML Is Short
This is the part that scares people off and shouldn’t. An ESPHome config for a temperature/humidity node is a few readable blocks: tell it the board, the Wi-Fi, and the sensor. The sensor section for an SHT3x over I2C looks like this:
i2c:
  sda: GPIO21
  scl: GPIO22

sensor:
  - platform: sht3xd
    temperature:
      name: "Coop Temperature"
    humidity:
      name: "Coop Humidity"
    update_interval: 60s
Flash that once over USB, and from then on ESPHome updates the device over Wi-Fi (over-the-air) so you never unplug it again. Those two name fields become entities in Home Assistant automatically — “Coop Temperature” and “Coop Humidity” — ready to drop onto the dashboard or wire into an automation. A 60-second update interval is plenty for a coop; nothing in there changes fast.
Weatherproofing for the Coop
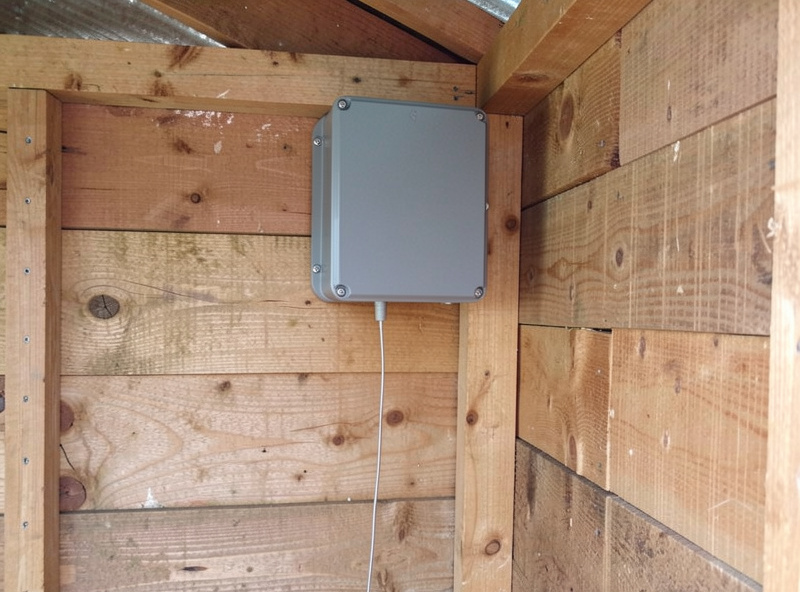
This is where a coop node differs from a desk gadget, and where I see most DIY builds fail. The board must stay dry. I house the ESP32 in a small sealed enclosure mounted high in the coop, out of the dust the birds kick up and away from direct splashes, with the cable gland sealed where the probe lead exits. The SHT sensor itself needs to breathe — it has to contact the actual coop air to read humidity — so it sits in a vented section or just outside the sealed box on its lead, protected from droppings and direct moisture but open to the air.
Mount it high, near roost height, because that is the air the birds live in, and keep it away from the direct draft of a vent, which would read the outdoor air rather than the coop’s. Dust is the slow killer: a board caked in coop dust runs hot and eventually fails, so a sealed enclosure is not optional. Get the placement and sealing right and the node disappears into the background, reporting reliably for years.
What I Do With the Readings
The temperature reading feeds my climate awareness and, paired with an outdoor sensor, drives the freeze-watch logic. But the humidity reading is the one I built this node for, because moisture — not cold — is what frostbites a comb. A coop can be well below freezing and the birds are fine if it is dry and well-ventilated; the same temperature in a damp, poorly-vented coop is where frostbite starts. My ESPHome humidity sensor is what tells me whether my ventilation is actually dumping the moisture the flock produces overnight.
So the automations I hang off it are about ventilation and alerting: a notification if interior humidity climbs past the band where frostbite risk rises, which is my cue to check airflow. The specific thresholds and why they matter are in coop temperature alerts. A cheap DIY sensor, placed right, is what makes that whole line of reasoning possible.
Wi-Fi or Wired
Because the node is mains-powered, Wi-Fi is the natural choice — this is exactly the job Wi-Fi is good at, an always-powered local device, rather than the battery-sensor-at-distance job where it fails. If your coop Wi-Fi is marginal, some ESP32 boards take an Ethernet add-on, or you extend coverage as covered in coop Wi-Fi. Either way the node stays local and cloud-free. If you would rather buy a sensor than build one, the protocol trade-offs are in Zigbee vs Z-Wave vs Wi-Fi — but for the price and the placement freedom, the ESPHome build is the one I keep coming back to.
Frequently Asked Questions
What do I need to build an ESPHome coop sensor?
Three parts: an ESP32 board, an SHT-class temperature and humidity sensor that talks over I2C, and a mains power supply. Plus a short ESPHome YAML config and a one-time USB flash. Total cost is less than a single commercial smart thermometer, and you can monitor several points cheaply.
Is ESPHome hard if I cannot code?
No. An ESPHome config is a few readable YAML blocks describing the board, Wi-Fi, and sensor, not a program. You flash it once over USB, after which it updates over Wi-Fi automatically. The sensor’s name fields become Home Assistant entities on their own, ready for the dashboard or an automation.
Which temperature sensor is best for an ESPHome coop node?
An SHT-class digital sensor such as the SHT3x or SHT4x. It is accurate, stable, and uses two data wires over I2C for a clean config. Cheaper DHT-style sensors work but drift and respond slowly, which matters when you are making frostbite-risk decisions on humidity readings.
How do I weatherproof an ESPHome sensor in a coop?
House the board in a small sealed enclosure mounted high, out of the dust and away from splashes, with the cable gland sealed. The sensor element itself must breathe to read humidity, so place it vented or just outside the box on its lead, protected from droppings but open to the coop air.
Does an ESPHome sensor need the internet?
No. ESPHome talks directly to your local Home Assistant over your own network with no manufacturer cloud, so it keeps reporting during an internet outage. That local, cloud-free operation is a major reason DIY sensors suit a coop better than many cloud-dependent commercial units.
Further Reading
Related Guides
Water-Level and Flow Sensors: Knowing the Waterer Is Empty Before They Do
A coop water-level sensor tells you the drinker is going dry — or freezing solid — before the flock does,…
Ammonia Sensors for the Coop: Catching Air Problems Before You Smell Them
An ammonia sensor belongs at the birds’ breathing height, close to the litter where the gas is generated, because that…

Node-RED vs Home Assistant Automations for the Coop: When to Use Which
Use native Home Assistant automations for the coop’s simple, safety-critical rules — the sunrise door, the freeze-watch waterer — and…