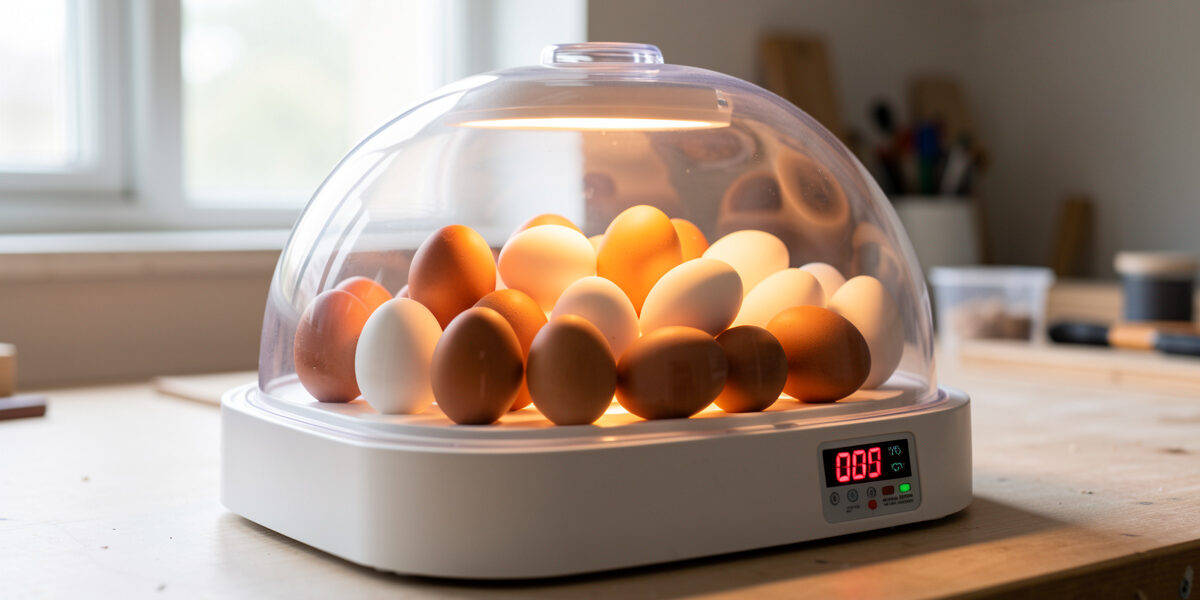
Hatching your own chicks comes down to holding 99.5 °F and roughly 50–55% humidity steady for 21 days, then locking the incubator down for the last three. Get those numbers right and a healthy batch of fertile eggs will hit 75–85% hatch rates. Get them wrong and you candle a tray of quitters on day 10.
I came at hatching the way I came at everything else in the coop — as a machine problem. An incubator is a small, cheap climate-control box with one job: hold a temperature and a humidity that a broody hen holds in her sleep. The difference is she has a few hundred thousand years of instinct and you have a dial and a hygrometer that probably lies. This guide is the whole system as I run it: choosing your method, understanding the box, working the 21-day clock, candling to cull the duds, and getting the chicks from the hatcher into a brooder that does not cook or chill them. Where the biology gets genuinely murky I will say so — and anything that smells like a sick bird goes to an avian vet, not to me.
Incubator or Broody Hen: Choosing Your Hatching Method
The first decision is whether a machine or a hen does the incubating. A still-air or forced-air incubator gives you scale, control, and a clear glass view; a broody hen gives you zero electricity, zero turning, and a mother who raises the chicks for you. I have done both, and the right answer depends on how many chicks you want and whether a hen has actually gone broody on your schedule — which she never does.
Most keepers start with an incubator because broodiness is unpredictable: you cannot order a hen to sit. But once you have a reliable broody breed in the flock, letting her hatch is the lowest-effort path there is. Here is how the two methods stack up across the things that actually matter.
| Factor | Incubator | Broody Hen |
|---|---|---|
| Eggs per batch | 7–48+ (model dependent) | 6–12 (her body size) |
| Temperature control | You set it (99.5 °F forced-air) | She holds it automatically |
| Egg turning | Manual or automatic cradle | She turns them ~50x/day |
| Power needed | Yes — outage is a risk | None |
| Brooding after hatch | You run a brooder for 6 weeks | She raises them |
| Reliability of timing | On demand, any time | Only when a hen goes broody |
| Hands-on learning | High — you see everything | Low — she hides the work |
My honest take: run an incubator for your first hatch so you actually learn what fertile development looks like through the candler, then graduate to letting a broody hen do the labor once you trust your flock. For the full mechanics of using a hen, I cover that in the broody hen hatching guide; for choosing and dialing in a machine, start with setting up an egg incubator.
How an Egg Incubator Actually Works
An incubator manages four variables: temperature, humidity, ventilation, and egg turning. Forced-air models — the ones with a fan — hold the whole chamber at 99.5 °F. Still-air models (no fan) run a thermal gradient, so you measure at the top of the egg and target 101–102 °F there. Confuse the two and you will run a full degree off, which is the difference between a day-20 hatch and a day-23 straggle.
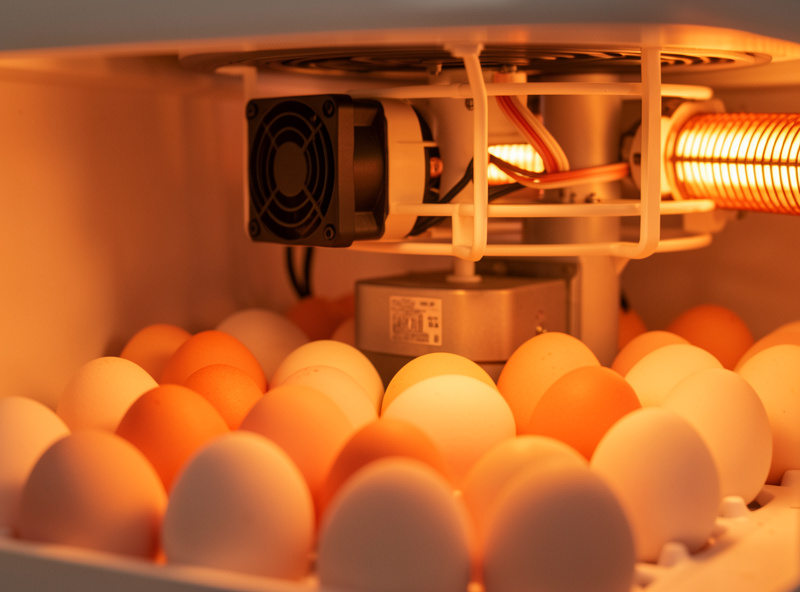
Humidity is the variable most people botch. For the first 18 days you want roughly 45–55% relative humidity; for the final lockdown you bump it to 65–75% so the membrane stays pliable while the chick pips. The point of the lower early humidity is to let the air cell grow by evaporating the right amount of water from the egg — about 13% of the egg’s starting weight over 18 days. Run too wet and the chick drowns in its own fluid; too dry and it shrink-wraps to the membrane. I treat the incubator hygrometer as guilty until proven accurate and cross-check it against a second sensor, the same way I never trust a single coop temperature probe.
Ventilation matters because a developing embryo breathes: it pulls oxygen through the shell and dumps carbon dioxide. Those vent plugs on top are not decoration. Keep them cracked through development and open them wider at lockdown when a tray full of chicks is suddenly respiring hard. Turning is the fourth job — the embryo must be rotated so it does not stick to the shell membrane, which is why a hen fidgets with her clutch constantly.
Setting Up and Calibrating the Incubator
Never put eggs into an incubator you switched on an hour ago. Run it empty for at least 24 hours first, in the room where it will live, and watch whether it actually holds your target. This stabilization run is where you catch a thermostat that overshoots, a hygrometer reading 8 points high, or a warm spot near the element. The hatch is won or lost here, before a single egg goes in.
Calibration is the part nobody enjoys and everybody skips. Put a known-good reference thermometer next to the incubator’s own readout and note the offset — if the box says 99.5 but your reference says 100.5, you set the dial to read 98.5. I do the same trick with a salt-test on the hygrometer. Stable, calibrated, and boring is exactly what you want before eggs arrive. The full bench routine — placement, dry-run, dual sensors, and how I wire a temperature alert — lives in the egg incubator setup guide.
One automation note from my side of the fence: the same logic that runs my coop runs my incubator room. A cheap temperature/humidity sensor reporting into Home Assistant with a freeze-and-spike alert means a thermostat failure pings my phone at 2 a.m. instead of cooking a 14-day-old batch silently. An incubator is a single point of failure for 30 lives; treat it like one. It is the same reasoning behind my coop temperature alert thresholds.
The 21-Day Incubation Timeline
Chicken eggs hatch on day 21, give or take a day. The clock starts when the eggs reach incubation temperature, not when you set them on the counter. The arc is simple: days 1–7 the embryo and blood vessels form, days 8–14 it becomes recognizably a chick, days 15–18 it finishes growing and positions for hatch, and days 19–21 are lockdown and pipping.
The single most important date on the calendar is day 18: lockdown. You stop turning, you bump humidity to 65–75%, and you do not open the lid again until chicks are dry. Every time you crack the incubator during pipping you dump humidity and risk shrink-wrapping a chick that is halfway out. I keep a written log taped to the lid — set date, candling dates, lockdown date — because counting days in your head is how people lock down on day 16. The day-by-day version, with what you should see at each candling, is the 21-day incubation timeline.
Candling: Reading Development Through the Shell
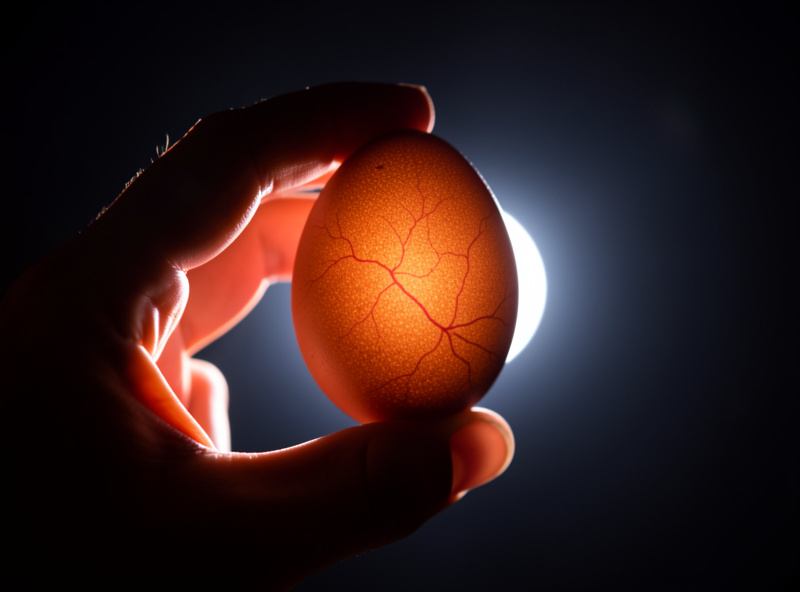
Candling is shining a bright, focused light through the egg in a dark room to see what is happening inside. You are looking for one of three outcomes: a developing embryo with a web of blood vessels, a clear “infertile” egg that never started, or a “quitter” — an egg that began developing and then died, often showing a blood ring. Pulling quitters matters because a dead egg can go rotten and, in the worst case, burst and contaminate the whole tray.
I candle on day 7, again around day 14, and a final check at day 18 before lockdown. By day 7 a fertile egg shows spider-web veining and a dark spot with a faint heartbeat flicker if your light is good. By day 14 the egg is mostly dark with a clear air cell. Anything still glowing clear at day 7–10 with no veins comes out. The technique — which light, how to read brown vs. white shells, what a blood ring looks like — is its own guide: candling eggs during incubation. For a slower walkthrough of the basic motion on any egg, keepers also use my general how to candle eggs tutorial.
Hatch Day: Lockdown, Pipping, and Hands Off
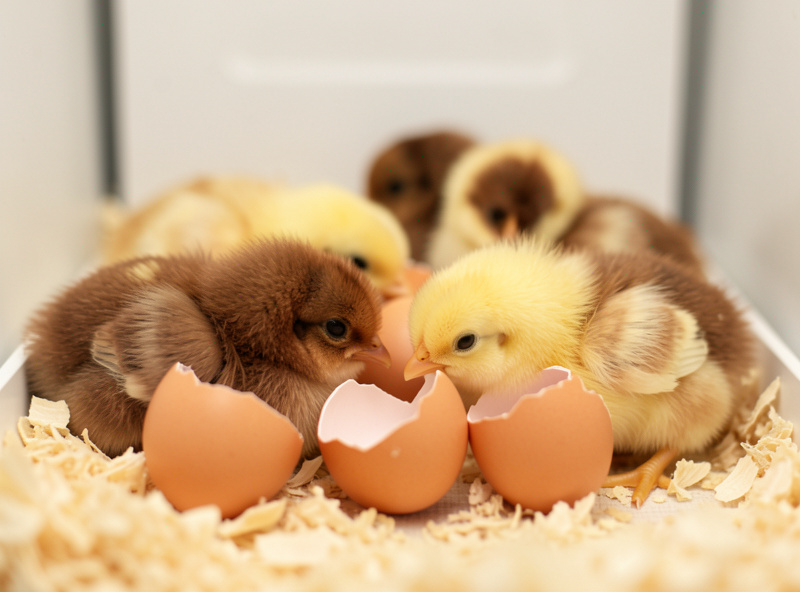
Around day 21 a chick uses its egg tooth to break into the air cell (the internal pip), then taps a hole in the shell (the external pip), rests, and slowly “zips” around the shell over several hours before kicking free. From external pip to fully out can take 12–24 hours, and that wait is agony for first-timers. The hardest rule in hatching is to leave the lid shut and your hands out of it.
The temptation to “help” a struggling chick is the single biggest killer of otherwise-viable hatches. A chick that pips and then sits still for hours is usually absorbing the last of its yolk sac and retracting blood from the shell membrane — help too early and you rupture vessels and bleed it out. Assisted hatching is a genuine judgment call that experienced keepers reserve for clear malposition cases, and even then carefully; if you are unsure, the safest move is patience. Let dried, fluffy chicks rest in the warm incubator until the batch is done, then move them to the brooder all at once.
Improving Your Hatch Rate
A realistic target for a home incubator with good fertile eggs is 75–85% hatching. If you are sitting at 40%, the problem is almost always one of four things: temperature, humidity, egg quality, or turning. Shipped eggs are their own penalty — rattled air cells and temperature swings in transit routinely knock hatch rates down to 50% or worse no matter how perfect your machine is.
The fixes are unglamorous: calibrate your sensors against a reference, store hatching eggs no longer than 7–10 days at 55–60 °F with the pointy end down, and set only clean, normally-shaped eggs — no hairline cracks, no jumbos, no tiny pullet eggs. Fertility starts with the breeding flock: a properly mature rooster covering 8–10 hens, in good condition and not frostbitten, is the foundation no incubator can fix. The full diagnostic checklist — matching the symptom (early death, late death, malposition, sticky chicks) to the cause — is in improving your hatch rate.
From Hatcher to Brooder
Newly hatched chicks need a brooder held at 95 °F in week one, dropped about 5 °F each week until they are feathered and the heat comes off around week six. They need clean water shallow enough that they cannot drown, chick starter feed, and absorbent bedding that is not slippery — slick surfaces cause splayed legs in day-olds.
I build my own brooders rather than buy plastic tubs, because the same workshop that welds the run frame and 3D-prints the door guides makes short work of a plywood brooder box with a thermostatically controlled heat plate. A heat plate beats a heat lamp on every axis that matters to me: no fire risk, lower power draw, and a natural day/night cycle because it warms by contact, not by blasting light 24/7. The full build — dimensions, heat-plate wiring, and temperature zones — is in the DIY chick brooder setup, and the heat-source debate is settled in my heat plate vs. heat lamp comparison.
From there the chicks join the broader rhythm of rearing: the raising baby chicks guide covers the full six weeks, chick feed stages walks the nutrition, and integrating chicks into the flock handles the day they finally meet the grown birds. If you are choosing what to hatch in the first place, my cold-hardy breeds and best laying breeds picks are where I would start.
A Note on Eggs, Fertility, and Health
Only fertile eggs hatch, and you cannot tell a fertile egg from an infertile one by looking at the outside — you confirm fertility by candling on day 7, not before. A flock with a healthy rooster, good nutrition, and no major stress will give you fertile eggs; my egg production guide and feeding and nutrition guide cover the condition side. The odd double-yolk egg almost never hatches, so leave those out of the incubator.
Hatching is also where biosecurity earns its keep: incubator hygiene, clean hands, and not mixing eggs from unknown flocks are basic disease-prevention steps. Anything past general husbandry — a chick that is gasping, pasty, or failing to thrive in a way that looks like illness — is a question for an avian vet, not for a blog. I keep the line clear: I will tell you how the machine works and how the timeline runs, but I do not diagnose sick birds.
Choosing an Incubator: Still-Air, Forced-Air, and Cabinet
Incubators fall into three classes, and the right one depends entirely on how many eggs you want to hatch and how much fiddling you are willing to do. Still-air units are the cheapest, hold the fewest eggs, and demand the most attention because heat stratifies inside them. Forced-air tabletop units add a fan for even temperature and usually an automatic turner — this is what most home keepers should buy. Cabinet incubators are the big upright machines that hold dozens of eggs and run hatches in staggered batches.
I treat an incubator the same way I treat an auto-door: the headline feature is not the spec on the box, it is the failure mode. A cheap still-air unit with a bimetal-strip thermostat will swing two or three degrees as the room temperature changes — fine in a climate-controlled room, fatal in a drafty Swedish utility space. A digital forced-air unit with a proportional thermostat holds far tighter. Spend the money on temperature stability and an automatic turner before you spend it on egg capacity you will not use.
| Type | Typical capacity | Turning | Best for |
|---|---|---|---|
| Still-air (no fan) | 7–12 eggs | Usually manual | Cheapest entry, warm stable rooms |
| Forced-air tabletop | 12–48 eggs | Auto turner common | Most home keepers |
| Cabinet | 40–200+ eggs | Automatic racks | Serious / staggered hatching |
If you are buying your first machine, a digital forced-air model with a built-in turner and a clear viewing window is the safe pick — you can compare current forced-air egg incubators with automatic turners on Amazon. As an Amazon Associate I earn from qualifying purchases. Whatever you buy, budget separately for a calibrated reference thermometer and a second hygrometer; the instruments matter more than the box.
Collecting and Storing Hatching Eggs Before You Set Them
The hatch starts days before the incubator does. Collect eggs intended for hatching at least twice a day, handle them as little as possible, and never wash them — washing strips the protective bloom and drives bacteria through the shell. Store them pointy-end down in a cool room at 55–60 °F and 70–75% humidity, and set them within 7 days for the best results. Fertility falls off a cliff after about 10 days of storage.
Tilting the carton a few degrees each day during storage keeps the yolk centered and the developing membranes from sticking, which is the same reason the incubator turns them later. Before setting, let cold-stored eggs warm to room temperature for several hours so they do not sweat with condensation when they hit incubation heat. I write the set date in pencil on each shell — a trick that costs nothing and tells you at a glance which eggs are which when you run staggered batches.
Select hard: only clean, intact, normally-shaped eggs go in. Skip hairline cracks (candle to check), skip the jumbos and the tiny pullet eggs, and skip anything misshapen or porous. A clean, well-stored, properly-shaped egg from a healthy flock is doing 80% of the work before the machine ever switches on. My egg storage guide covers the cool-room side in more depth.
Humidity, the Air Cell, and Dry vs. Wet Incubation
Humidity is the variable that separates keepers who hatch consistently from those who chase the same problem every batch. The goal is not a fixed number on the hygrometer — it is the right rate of moisture loss from the egg, which you actually measure by tracking the air cell as it grows. Over 18 days the egg should lose roughly 13% of its starting weight, visible as an air cell that expands from a dime-sized spot to about a third of the egg.
This is why experienced keepers argue about “dry incubation.” In a humid climate or a humid room, running the early stage drier than the textbook 45–55% lets the air cell grow properly; in an arid environment you may need to add water just to hit 40%. The number on the dial is downstream of your room and your machine. Candle and watch the air cell: too small means too wet (lower humidity), too large means too dry (raise it). At lockdown the rule flips hard — you want it wet, 65–75%, so the inner membrane does not dry and trap the pipping chick.
The practical move is to own a hygrometer you trust and a way to read the air cell, then adjust to what the egg is telling you rather than to a setpoint someone posted online for a different climate. I keep a simple air-cell tracing sheet — the egg’s outline at day 7, 14, and 18 — so I can see the trend instead of guessing.
Common Incubation Mistakes I See Constantly
Most failed hatches trace back to a short list of avoidable errors, and they repeat across every beginner I have ever helped. Running an uncalibrated thermostat is number one: a machine reading 99.5 while actually sitting at 101 cooks embryos and triggers early hatches with weak, sticky chicks. The fix is a reference thermometer and ten minutes of patience during the dry run.
Opening the incubator during lockdown is number two — every peek dumps humidity and can shrink-wrap a chick mid-hatch. Number three is helping too early, which bleeds out chicks that were not finished absorbing their yolk and blood supply. Number four is setting old, dirty, or shipped eggs and then blaming the machine when they fail. And number five, the quiet killer, is no power-failure plan: a winter outage on a 14-day batch is a total loss if you have no monitoring and no backup heat.
That last one is where my automation habit pays for itself. A battery-backed temperature/humidity sensor reporting into Home Assistant — the same brain that runs my coop door on a sunrise offset — sends a push alert the moment the incubator drifts out of band. It will not heat the eggs for me, but it buys the thirty minutes I need to get a backup running before a batch dies silently in the night. None of this replaces good fundamentals; it just stops one bad night from erasing three weeks of work.
Your Hatching Kit: What You Actually Need
You can hatch chicks with surprisingly little, but a handful of tools turn a stressful guessing game into a controlled process. After running several seasons of hatches, this is the short list I would not be without — and the cheap instruments matter more than the expensive box, because they are how you catch the box lying to you.
Start with the incubator itself, then add a calibrated reference thermometer and a second hygrometer so you can verify the built-in readouts rather than trust them. A dedicated candling light — a bright, focused LED beats a dim flashlight — lets you read development on brown shells. A spray bottle and small sponges or water channels manage humidity, and a notebook or a strip of tape on the lid logs your set date, candling dates, and lockdown day so you never count in your head.
For the period after the hatch you want the brooder ready and warm before the first chick is dry: a heat plate, a draft-free box, shallow waterers, and chick starter. Nothing kills the momentum of a good hatch like scrambling to build a brooder while wet chicks chill in the incubator. I cover that whole side in the DIY chick brooder setup, and if you are deciding between heat sources, the heat plate vs. heat lamp comparison is where I land on it.
Everything else — automatic turners, backup power, smart sensors — is an upgrade you add once you have hatched a batch the manual way and know which step costs you the most sleep. Buy the instruments first, learn the process, and let the automation earn its place after. That order has never steered me wrong on any project in the workshop, and the coop is no exception.
Frequently Asked Questions
How long does it take to hatch chicken eggs?
Chicken eggs hatch in 21 days from when they reach incubation temperature, give or take a day. Lockdown begins on day 18. Hatching itself, from first external pip to a fully emerged chick, can take 12 to 24 hours.
What temperature and humidity do chicken eggs need?
A forced-air incubator holds 99.5 degrees Fahrenheit throughout. Humidity runs about 45 to 55 percent for the first 18 days, then bumps to 65 to 75 percent during lockdown so the membrane stays pliable while the chick pips.
Can I tell if an egg is fertile before incubating?
No. You cannot tell fertility from the outside of an intact egg. You confirm development by candling around day 7, when a fertile egg shows a web of blood vessels and a dark embryo, while an infertile egg stays clear.
Do I need a rooster to hatch eggs?
Yes. Hens lay eggs without a rooster, but those eggs are infertile and will never develop. To hatch chicks you need fertile eggs, which require a mature, healthy rooster mating with the hens, or you buy fertile hatching eggs.
Is an incubator or a broody hen better for beginners?
An incubator is better for a first hatch because you control and observe everything and can hatch on demand. A broody hen is lower effort but only works when a hen actually goes broody, which you cannot schedule.
Why did my eggs not hatch?
The four usual causes are incorrect temperature, wrong humidity, poor egg quality or storage, and inadequate turning. Shipped hatching eggs also hatch poorly because transit rattles the air cell. Calibrate sensors against a reference before blaming the eggs.
Related Guides
- Egg Incubator Setup: Calibrating and Stabilizing Your Machine
- Incubating Chicken Eggs: The 21-Day Timeline
- Candling Eggs During Incubation: A Day-by-Day Guide
- Broody Hen Hatching: Letting a Hen Raise the Clutch
- How to Improve Your Chicken Egg Hatch Rate
- DIY Chick Brooder Setup: Building Your Own Brooder
Related Guides
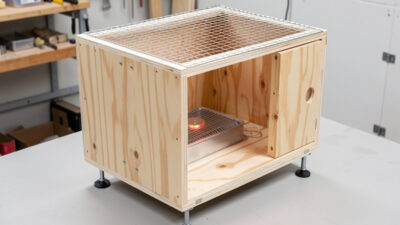
DIY Chick Brooder Setup: Building Your Own Brooder
A DIY chick brooder is a draft-free box, a thermostatically controlled heat source held at 95 °F in week one, shallow…
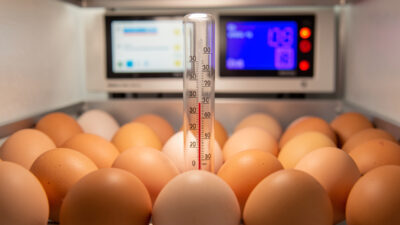
How to Improve Your Chicken Egg Hatch Rate
Improving your hatch rate comes down to four levers: temperature, humidity, egg quality, and turning. A home incubator running calibrated…
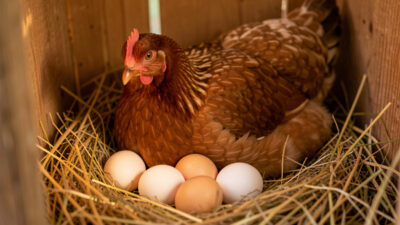
Broody Hen Hatching: Letting a Hen Hatch Her Eggs
Letting a broody hen hatch eggs means waiting for a hen to commit to sitting, slipping fertile eggs under her…