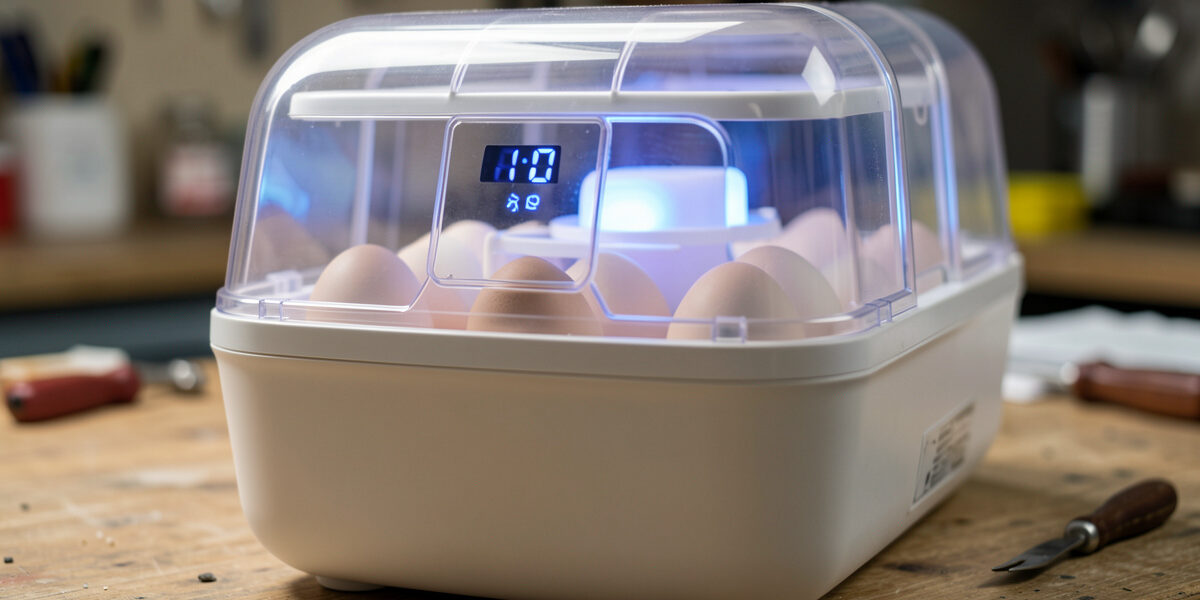
Setting up an egg incubator means running it empty for at least 24 hours, calibrating the thermostat against a reference thermometer, and verifying it holds 99.5 °F in a forced-air model before a single egg goes in. The setup is where the hatch is won. Skip the dry run and you are flying blind on a machine controlling 30 lives.
I approach an incubator the way I approach any climate-control box in the coop: assume the readout lies, prove it does not, and only then trust it with something alive. Most failed first hatches I have helped troubleshoot were not bad eggs or bad luck — they were a thermostat reading a degree off that nobody checked. Here is the full setup routine, from where the box sits to the alert I wire so a 2 a.m. failure wakes me instead of cooking the batch.
Where to Put the Incubator
Location decides half your stability problem before you touch a dial. Put the incubator in a room that holds a steady temperature day and night — an interior room, away from windows, exterior doors, heating vents, and direct sun. A machine sitting in afternoon sun or next to a radiator will fight swings it was never designed to handle, and a cheap thermostat loses that fight.
I keep mine on a solid bench where it cannot be bumped, with a few inches of clearance around the vents so airflow is not choked. Room temperature ideally sits around 68–75 °F; the further the room drifts from that, the harder the incubator works to hold setpoint. A drafty Swedish utility room in winter is exactly the wrong spot — the same moisture-and-draft thinking from coop ventilation versus draft applies to the incubator room too. Pick the boring, stable corner of the house.
The 24-Hour Dry Run
Never set eggs in an incubator you just switched on. Run it empty for a minimum of 24 hours — I prefer 48 — in its final location, with the water channels filled as you intend to run them. This stabilization period is the single most valuable habit in incubation, and it is the one beginners skip because they are impatient to start.
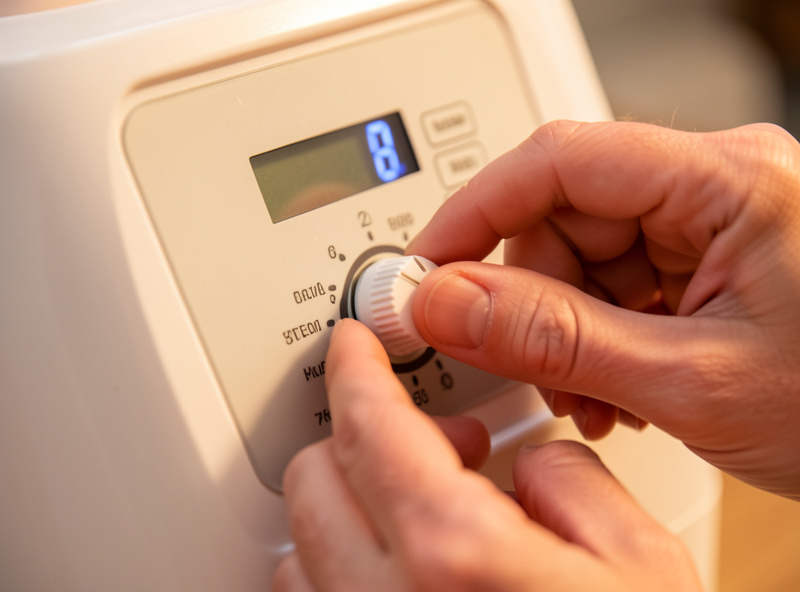
During the dry run you are watching for three things: does the temperature settle and hold, does it overshoot badly before settling, and does the humidity sit where you expect for the water surface you have exposed. A thermostat that cycles two degrees up and down, or a box that takes hours to recover after you open it, tells you something now — when the cost is patience, not dead embryos. If the unit cannot hold within about half a degree, sort that out before you trust it. This is also when you confirm the auto-turner actually rotates.
Calibrating Temperature and Humidity
Calibration is comparing the incubator’s own readout to a trusted reference and correcting the difference. Place a calibrated reference thermometer at egg height inside the chamber and compare. If the incubator says 99.5 °F but your reference says 100.5, the machine reads a degree low — so you set the dial to display 98.5 to actually run at 99.5. One degree is not a rounding error in incubation; it shifts hatch dates and chick quality.
| Stage | Forced-air temp | Humidity | Turning |
|---|---|---|---|
| Days 1–18 (development) | 99.5 °F | 45–55% | Yes, 3–5x/day or auto |
| Days 19–21 (lockdown) | 99.5 °F | 65–75% | Stop turning |
| Still-air (measure at egg top) | 101–102 °F | Same as above | Same as above |
For the hygrometer, a salt test gives you a known 75% reference point to check the reading against, and the cheap way to trust your number is to run two hygrometers and watch whether they agree. Humidity is less about hitting an exact percentage and more about controlling moisture loss from the egg — which is why I cross-check against the air cell when I candle. A good calibrated incubator thermometer and hygrometer set costs little and is the best insurance you can buy. As an Amazon Associate I earn from qualifying purchases.
Setting the Eggs
Once the box is stable and calibrated, bring your stored eggs to room temperature for several hours, then set them. Cold eggs straight from storage will sweat with condensation when they meet incubation heat, and that surface moisture is an open door for bacteria. Settle is your friend here: a few hours at room temperature, then in they go, fat end slightly up if you are using a turner that holds them upright.
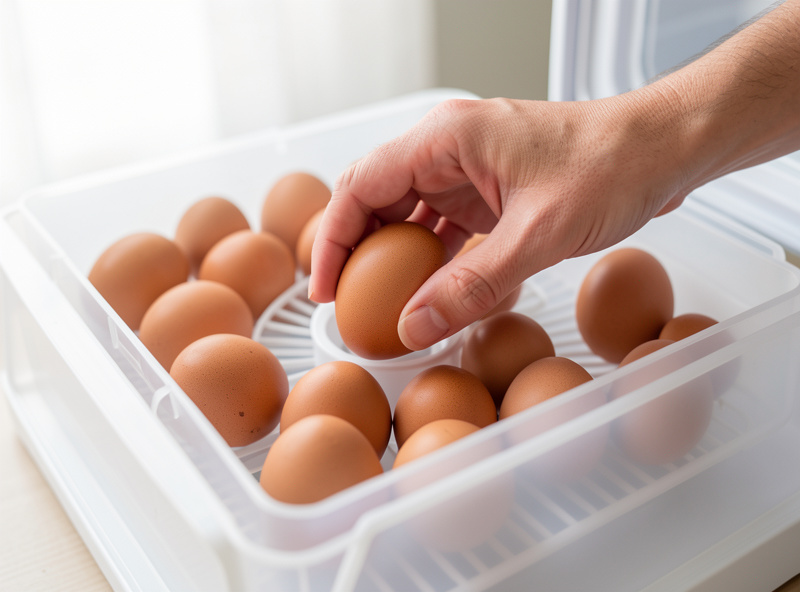
Mark your set date and your day-18 lockdown date immediately — on the lid, in a notebook, wherever you will see it. The incubation clock starts now, when the eggs reach temperature, not when you bought them. Expect a temperature dip when you load a tray of room-temperature eggs; give the machine a few hours to recover and resist the urge to crank the thermostat up to chase it. It will settle. Once it does, your job for the next 18 days is mostly to leave it alone and watch the numbers.
The Daily Routine Through Day 18
Through development, the routine is simple and boring, which is exactly right. Check temperature and humidity at least twice a day. Top up water as needed to hold your humidity band — never let the channels run dry. If you are turning by hand, turn an odd number of times per day (3 or 5) so the eggs do not spend every night resting on the same side; an odd count rotates which side faces down overnight. An automatic turner handles this for you.
Candle on day 7 to confirm development and pull clears, and again around day 14, following the method in my candling during incubation guide. Keep the lid closed otherwise. Every opening drops temperature and humidity and makes the machine work to recover. The hardest discipline in incubation is doing nothing well — resisting the urge to fiddle with a system that is running correctly.
Wiring a Failure Alert
An incubator is a single point of failure for an entire batch, and the failures that hurt most happen overnight when nobody is watching. So I do for the incubator what I do for the coop: put a sensor on it. A temperature and humidity sensor reporting into Home Assistant, with an alert that fires if the reading drifts outside a safe band, turns a silent disaster into a phone notification.
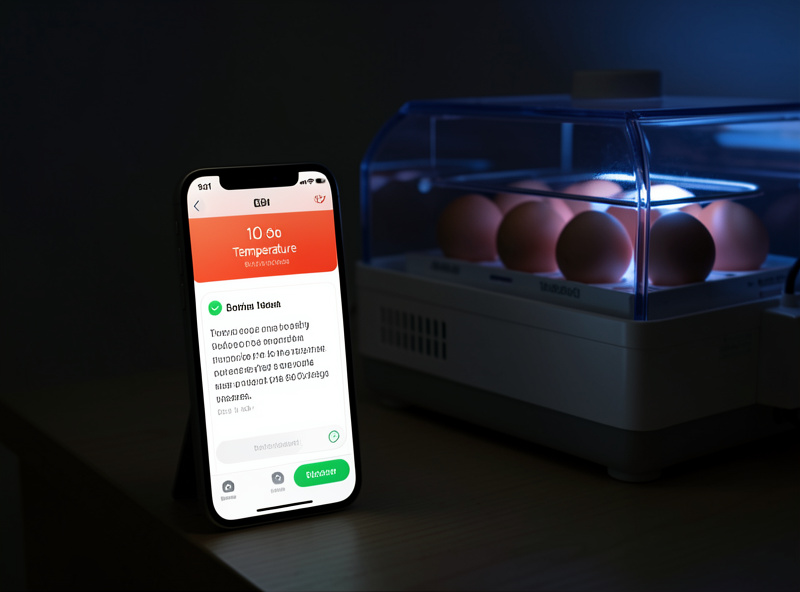
The logic is the same freeze-and-spike watch I run on the heated waterer in the coop — it does not fix the problem, it just tells me there is one in time to act. A battery-backed sensor keeps reporting through a power cut, which on a 14-day batch in a Nordic winter is the difference between a recoverable scare and a total loss. If you already run any home automation, adding the incubator to it is an afternoon’s work; the wiring mirrors my coop temperature alert thresholds. For the full hatching picture this setup feeds into, see the hatching and incubation guide.
If the Power Goes Out
A power cut mid-incubation is the scenario that ruins batches, and it is worth planning for before it happens rather than panicking at the time. Developing eggs tolerate a surprising amount of cooling for short periods — a broody hen leaves the nest daily — so a brief outage is rarely fatal. The danger is a long cut, especially overnight in a cold room, where the eggs drift far below temperature for hours.
My plan is layered, the same way I think about coop reliability. First, the battery-backed sensor keeps reporting so I know the moment power drops. Second, the incubator sits in the most thermally stable room in the house, so it coasts slower when the heat stops. Third, I keep the lid closed during an outage to trap what warmth remains — the instinct to open and check is exactly wrong. If a cut runs long, wrapping the incubator in a blanket or towels slows the heat loss further while you sort out backup power.
Do not write a batch off because it got cold once. Eggs that cooled for a few hours often recover and hatch, sometimes a day late. Get the temperature back to setpoint gently, candle a few days later to check for continued development, and give the survivors their chance. The keepers who lose everything to an outage are usually the ones who had no idea it happened until they came back to a cold box days later — which is the whole argument for the alert in the first place.
Frequently Asked Questions
How long should I run an incubator before adding eggs?
Run it empty for at least 24 hours, ideally 48, in its final location with the water channels filled. This dry run lets you confirm it holds a stable temperature and humidity and catch a faulty thermostat before eggs are at risk.
What temperature should an egg incubator be set to?
A forced-air incubator with a fan is set to 99.5 degrees Fahrenheit throughout. A still-air incubator without a fan is measured at the top of the egg and runs warmer there, around 101 to 102 degrees Fahrenheit.
How do I calibrate my incubator thermometer?
Place a known-good reference thermometer at egg height and compare it to the incubator readout. If they differ, adjust the dial so the chamber actually runs at 99.5 degrees. Use a salt test to check the hygrometer against a 75 percent reference.
Where is the best place to put an incubator?
In an interior room with a stable temperature, away from windows, doors, vents, and direct sunlight. Room temperature around 68 to 75 degrees Fahrenheit lets the incubator hold its setpoint without fighting swings it cannot handle.
Why does my incubator temperature drop when I add eggs?
Room-temperature eggs absorb heat, so a temperature dip when you load the tray is normal. Give the machine a few hours to recover rather than cranking the thermostat up, which will overshoot once the eggs warm.
Do I need an automatic egg turner?
No, but it helps. Eggs must be turned several times a day so the embryo does not stick to the membrane. An automatic turner does this reliably; turning by hand works if you do it an odd number of times daily and wash your hands first.
Related Guides
- Hatching & Incubation: The Complete Guide
- Incubating Chicken Eggs: The 21-Day Timeline
- Candling Eggs During Incubation
- How to Improve Your Hatch Rate
- DIY Chick Brooder Setup
Related Guides
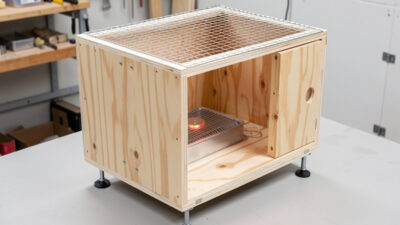
DIY Chick Brooder Setup: Building Your Own Brooder
A DIY chick brooder is a draft-free box, a thermostatically controlled heat source held at 95 °F in week one, shallow…
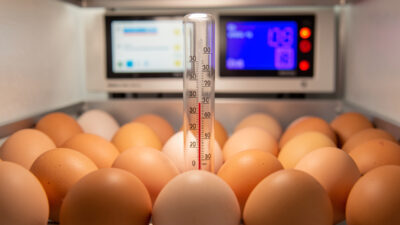
How to Improve Your Chicken Egg Hatch Rate
Improving your hatch rate comes down to four levers: temperature, humidity, egg quality, and turning. A home incubator running calibrated…
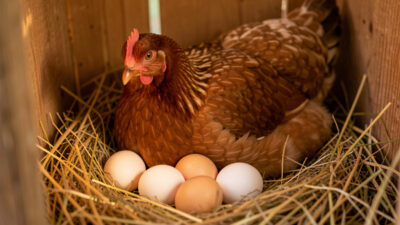
Broody Hen Hatching: Letting a Hen Hatch Her Eggs
Letting a broody hen hatch eggs means waiting for a hen to commit to sitting, slipping fertile eggs under her…