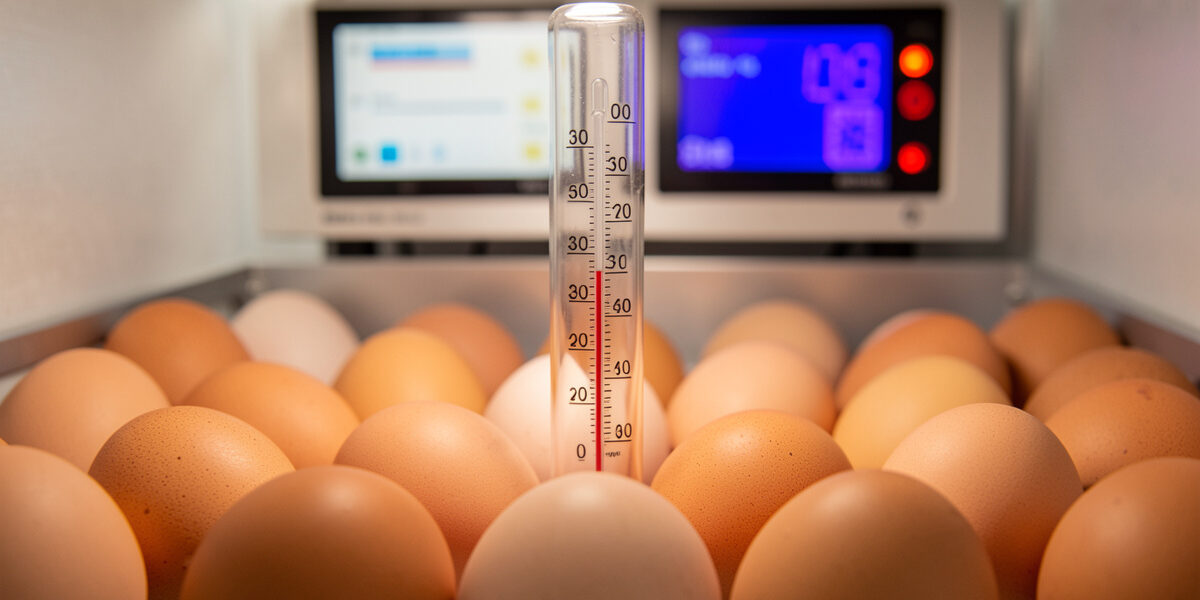
Improving your hatch rate comes down to four levers: temperature, humidity, egg quality, and turning. A home incubator running calibrated and steady, fed clean, fresh, well-stored fertile eggs, should hatch 75 to 85% of them. If you are stuck at 40 to 50%, the cause is almost always one of those four, and the fix is diagnosis, not luck.
I treat a disappointing hatch the way I treat any system that underperforms: I do not guess, I match the symptom to the cause. Eggs that die early, eggs that die late, sticky chicks, malpositioned chicks — each failure mode points at a specific problem in the setup. Once you can read what the failed eggs are telling you, your hatch rate climbs batch over batch. Here is how I push a mediocre hatch toward a good one.
What a Good Hatch Rate Actually Is
Set expectations honestly first. With your own fresh fertile eggs and a well-run incubator, 75 to 85% hatching of all eggs set is a realistic, good result; experienced keepers with tuned machines push higher. Of the fertile eggs specifically, a strong hatch runs higher still. A first hatch in the 50 to 60% range is common and nothing to be ashamed of — it is a starting point with clear room to improve.
Two numbers matter and people confuse them: hatch of all eggs set, and hatch of fertile eggs. If half your eggs were never fertile, even a flawless incubation gives a low set-rate while your fertile-rate was fine. That is why candling at day 7 is the first diagnostic — it separates a fertility problem in the breeding flock from an incubation problem in the machine. You cannot fix what you have not correctly diagnosed.
The Four Levers
Temperature is the most punishing lever. Even half a degree too high over 21 days speeds development and produces early hatches with weak, sometimes sticky chicks; too low delays the hatch and weakens chicks. The fix is a reference thermometer and the calibration routine from my egg incubator setup guide — never trust the incubator’s own readout alone.
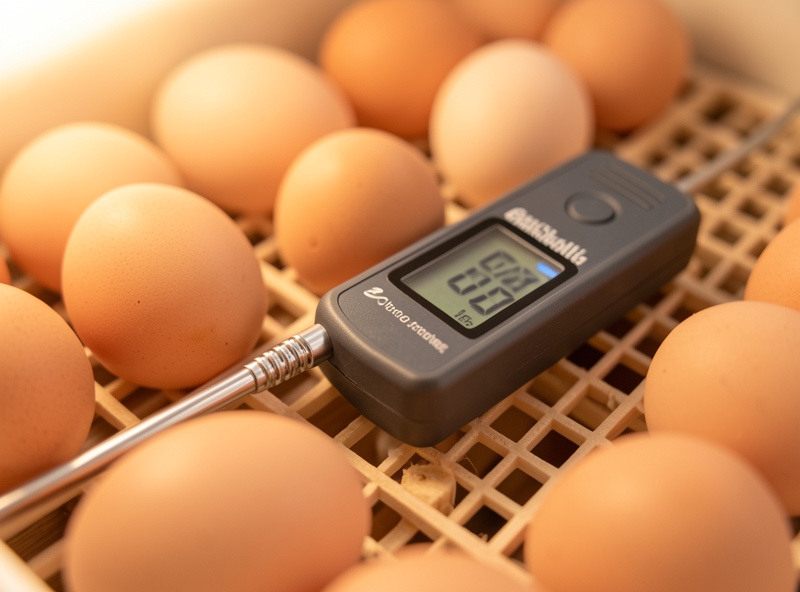
Humidity is the second lever and the most misunderstood. The goal is correct moisture loss, not a magic number; the egg should shed about 13% of its weight by day 18, shown by a growing air cell. Too humid and chicks drown or fail to internalize the yolk; too dry and they shrink-wrap to the membrane. The third lever is egg quality and storage, and the fourth is turning — eggs not turned enough stick to the membrane and die. Get all four right and the hatch rate follows.
Diagnose by Symptom
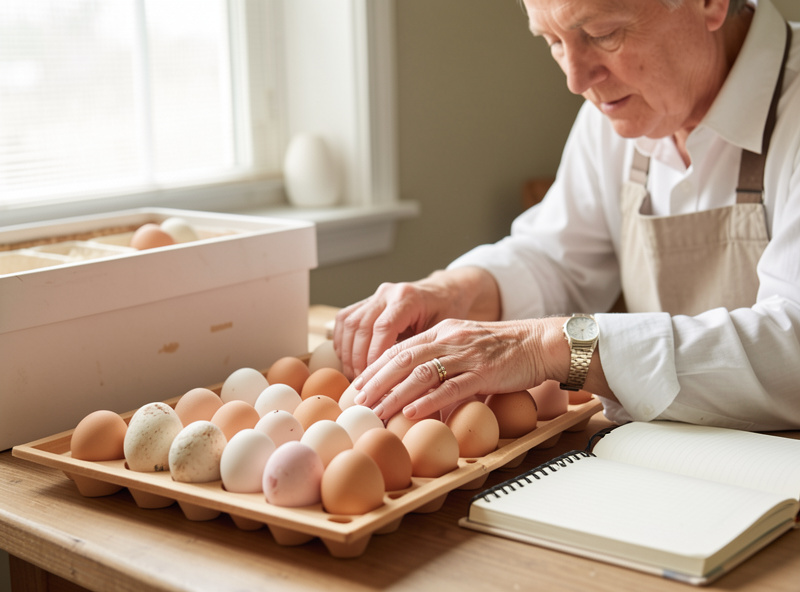
The failed eggs are evidence. Open and examine the ones that did not hatch a couple of days after the hatch is over — a slightly grim but enormously instructive habit — and match what you see to the likely cause. This single practice has improved more hatches than any piece of gear.
| Symptom | Likely cause | Fix |
|---|---|---|
| Clear at day 7, no development | Infertile or very early death | Check rooster, fertility, egg freshness |
| Blood ring, early death | Temperature spike or bacteria | Calibrate temp; clean eggs and incubator |
| Hatched early, weak/sticky chicks | Incubator too warm | Lower and recalibrate temperature |
| Hatched late, sluggish | Incubator too cool | Raise and recalibrate temperature |
| Fully formed, died without pipping | Humidity wrong or poor turning | Track air cell; verify turning |
| Pipped then died, shrink-wrapped | Lockdown humidity too low / lid opened | Raise lockdown humidity; keep lid shut |
Notice how many roads lead back to temperature calibration and humidity control. Those two, plus clean handling, account for the large majority of preventable losses. The malposition and shrink-wrap cases point squarely at lockdown discipline — the day-18 humidity bump and keeping the incubator shut, detailed in my 21-day timeline.
Egg Quality and Storage
The hatch is half-decided before the incubator switches on. Set only clean, intact, normally-shaped eggs — no hairline cracks, no porous shells, no jumbos or double-yolkers (which almost never hatch), and no tiny pullet eggs. Never wash hatching eggs; washing strips the protective bloom and drives bacteria through the shell. Lightly soiled eggs can be gently buffed, but heavily dirty eggs are better left out than washed.
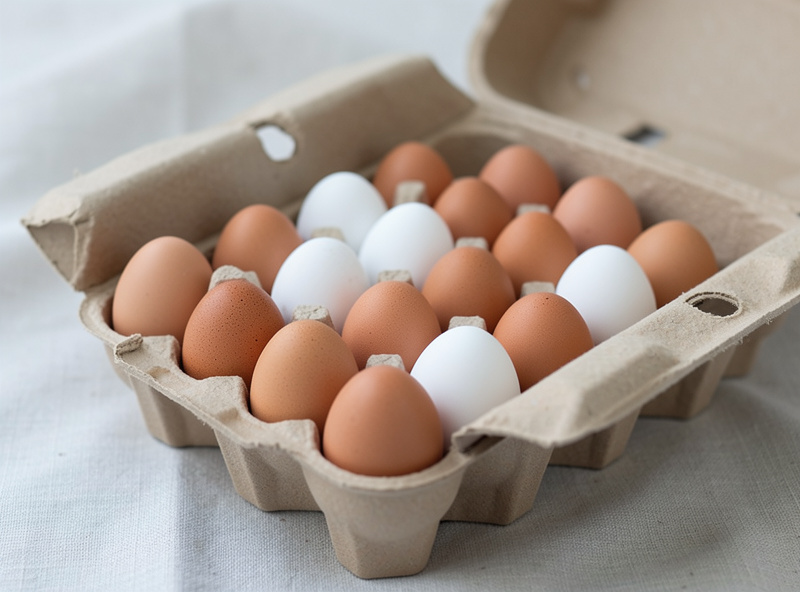
Storage matters as much as cleanliness. Hold hatching eggs at 55 to 60 °F and 70 to 75% humidity, pointy end down, and set them within 7 days — fertility and hatchability fall off sharply after about 10 days. Tilt the carton a few degrees daily during storage to keep the membranes from sticking, and warm cold-stored eggs to room temperature before setting so they do not sweat. My egg storage guide covers the cool-room side, and these same practices set up a strong hatch.
Fertility Starts With the Breeding Flock
No incubator can hatch an infertile egg, so a low hatch rate sometimes traces all the way back to the rooster pen. A mature, healthy, active rooster covering roughly 8 to 10 hens, in good condition and with no frostbite damage to comb or feet, gives you well-fertilized eggs. Too many hens per rooster, an immature or elderly male, obesity, heavy feathering around the vent, or a stressed flock all drag fertility down.
Day-7 candling tells you which problem you have: lots of clears means a fertility issue to solve in the flock, while developing-then-dying eggs means an incubation issue to solve in the machine. Good nutrition underpins fertility too — a breeding flock on quality feed, covered in my feeding and nutrition guide, simply produces better hatching eggs. Fix fertility at the source and the incubator has something worth hatching.
Shipped Eggs Are a Special Case
If you bought hatching eggs and had them shipped, lower your expectations honestly: shipped eggs hatch poorly no matter how good your incubator is, often 50% or worse, because transit rattles and detaches the air cells. Let shipped eggs rest pointy-end up for 12 to 24 hours before setting so the air cells can resettle, and consider setting them upright rather than in a turner for the first few days. A poor hatch from shipped eggs is usually the shipping, not your machine — do not chase your own setup over a problem that arrived in the box.
The Automation Edge
Once the fundamentals are right, monitoring is what protects them. A temperature and humidity sensor reporting into Home Assistant, with an alert if the reading drifts out of band, catches the silent overnight failures that quietly halve a hatch — a stuck thermostat, a dry water channel, a power blip. It is the same freeze-and-spike logic I run on the coop, and on a batch worth weeks of work it pays for itself the first time it wakes me. None of it replaces calibration and clean eggs; it just keeps one bad night from undoing good fundamentals. The full method this fits into is the hatching and incubation guide.
Clean the Incubator Between Hatches
A dirty incubator quietly drags down hatch after hatch, and it is the step keepers skip because the machine looks fine. Hatching is messy — shell fragments, down, and fluid coat the interior — and that residue is a breeding ground for the bacteria and mold that cause early embryo death and blood rings in the next batch. The eggs you set into a contaminated chamber start at a disadvantage no amount of perfect temperature can overcome.
Strip and clean the incubator after every hatch once the chicks are out and in the brooder. Remove the trays and liners, wash everything with warm water and a poultry-safe disinfectant, scrub off the stuck-on debris, rinse, and let it dry completely before storing. Pay attention to the fan housing and the water channels, where film builds up unseen. I treat incubator hygiene the same way I treat the clean-out schedule on the coop — an unglamorous routine that prevents problems rather than chasing them. Combine clean equipment with clean, fresh eggs and calibrated conditions, and the four levers are all pulling the same direction. That is how a 55% first hatch becomes an 80% third hatch: not one trick, but the whole boring checklist done every time.
Frequently Asked Questions
What is a good hatch rate for chicken eggs?
With your own fresh fertile eggs and a well-run, calibrated incubator, 75 to 85 percent of all eggs set is a good result. A first hatch in the 50 to 60 percent range is common. Shipped eggs often hatch at 50 percent or less.
Why is my hatch rate so low?
Low hatch rates almost always trace to one of four causes: incorrect temperature, wrong humidity, poor egg quality or storage, or inadequate turning. Open the unhatched eggs to match the symptom to the cause, and calibrate your sensors against a reference.
Does temperature or humidity matter more for hatch rate?
Temperature is the most punishing variable; even half a degree off over 21 days harms the hatch. Humidity is a close second and the most misunderstood. Both must be right, but an uncalibrated thermostat is the most common single cause of failure.
How fresh do hatching eggs need to be?
Set hatching eggs within 7 days for the best results. Hatchability falls sharply after about 10 days of storage. Hold them at 55 to 60 degrees Fahrenheit, pointy end down, and tilt the carton daily during storage.
Should I wash dirty hatching eggs?
No. Washing strips the protective bloom and drives bacteria through the shell, lowering hatch rates. Set only clean eggs, gently buff lightly soiled ones, and leave heavily dirty eggs out of the incubator rather than washing them.
Why do shipped hatching eggs hatch poorly?
Shipping rattles and can detach the air cell, so shipped eggs often hatch at 50 percent or less regardless of your incubator. Rest them pointy end up for 12 to 24 hours before setting, and consider incubating them upright for the first few days.
How many hens can one rooster fertilize?
A mature, healthy, active rooster reliably fertilizes the eggs of roughly 8 to 10 hens. Too many hens per rooster, an immature or elderly male, or a stressed flock all reduce fertility, which caps your hatch rate before incubation begins.
Related Guides
- Hatching & Incubation: The Complete Guide
- Egg Incubator Setup and Calibration
- The 21-Day Incubation Timeline
- Candling Eggs During Incubation
- Broody Hen Hatching
- How to Store Fresh Eggs
Related Guides
DIY Chick Brooder Setup: Building Your Own Brooder
A DIY chick brooder is a draft-free box, a thermostatically controlled heat source held at 95 °F in week one, shallow…
Broody Hen Hatching: Letting a Hen Hatch Her Eggs
Letting a broody hen hatch eggs means waiting for a hen to commit to sitting, slipping fertile eggs under her…

Candling Eggs During Incubation: A Day-by-Day Guide
Candling during incubation means shining a focused light through the egg on day 7, again around day 14, and a…