Chicken eggs hatch 21 days after they reach incubation temperature. The arc is predictable: blood vessels and the embryo form in the first week, it becomes a recognizable chick by day 14, finishes growing and positions for hatch by day 18, then pips and hatches over days 19 to 21. Day 18 lockdown is the date that decides whether all that development turns into live chicks.
I keep a written timeline taped to the incubator lid for every batch, because counting days in your head is exactly how people lock down two days early or candle on the wrong morning. Knowing what is happening inside the shell on each day is not trivia — it tells you what to look for when you candle and when to leave the machine completely alone. Here is the full 21 days as I run them, day group by day group, with what you should actually see.
When the 21-Day Clock Starts
Day one is the day the eggs reach incubation temperature in the running machine, not the day they were laid and not the day you collected them. If you set a tray of room-temperature eggs and the incubator takes six hours to recover to 99.5 °F, the clock effectively starts that evening. This is why a stable, pre-calibrated incubator matters so much — covered in my egg incubator setup guide — because a slow, wandering start smears the whole timeline.
Mark the set date and the day-18 lockdown date the moment the eggs go in. Eggs that were stored cool for a week before setting still hatch on a 21-day clock from the set date; storage pauses development, it does not advance it. Expect normal variation of a day either side. A batch running consistently early usually means the incubator is a touch too warm; consistently late means a touch too cool. The timeline itself is a diagnostic.
Days 1 to 7: Formation
The first week is when the embryo and its life-support plumbing form. Within the first couple of days the heart begins to beat and the earliest blood vessels appear; by the end of the week the embryo has a beating heart, the beginnings of eyes, and a spreading web of vessels radiating across the yolk. This is the most fragile stage — temperature swings now do the most damage, because the systems being built are the ones everything else depends on.
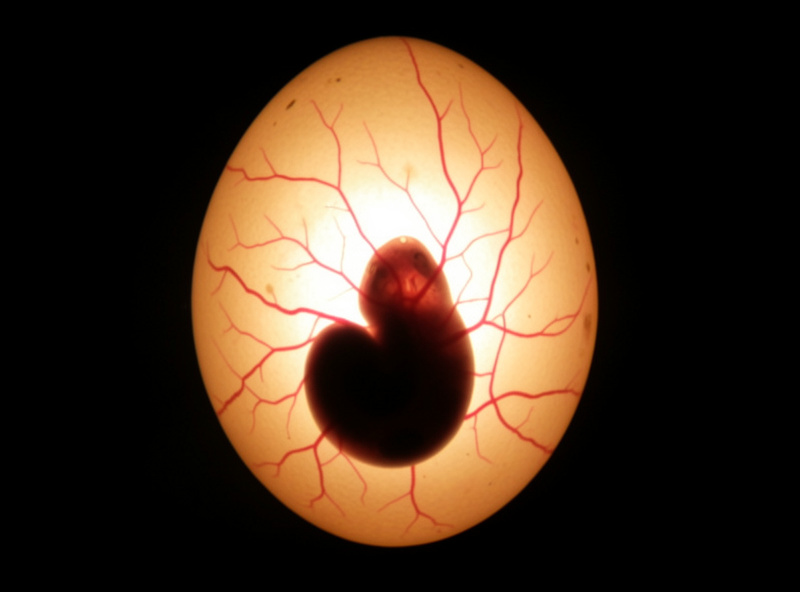
Day 7 is your first candling checkpoint. A fertile, developing egg shows a dark spot — the embryo — with a spider web of blood vessels spreading out from it, and sometimes a visible heartbeat flicker if your candling light is bright enough. An egg that is still completely clear with no veins at day 7 to 10 never started, or quit very early, and should come out. An egg showing a dark ring of blood with no vessels is a quitter, an early death. Pull both; a dead egg can rot and contaminate the tray.
Days 8 to 14: Becoming a Chick
Through the second week the embryo stops looking like a comma with veins and starts looking like a bird. Feather tracts, the beak, toes, and the egg tooth all develop. The chick grows fast and the air cell at the fat end of the egg enlarges as moisture evaporates — which is exactly why early-stage humidity is set to allow the right rate of weight loss rather than to hit a comfortable-sounding number.
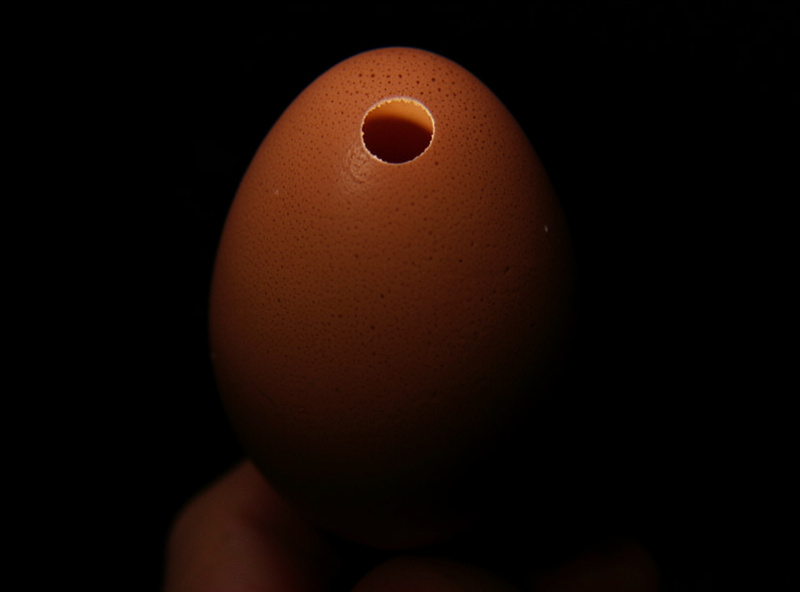
Candle again around day 14. By now the egg is mostly dark — the chick fills most of the shell — with a clear, defined air cell at the top. You will often see movement. This is the checkpoint where you confirm the air cell is growing on schedule: too small means you are running too humid and should lower it, too large means too dry. Tracking the air cell against a simple traced outline is the most reliable humidity feedback you have, far better than trusting the hygrometer number alone, as I explain in the candling during incubation guide.
Days 15 to 18: Final Growth and Positioning
The third stretch is about finishing. The chick puts on size, absorbs nutrients, and moves into hatching position — head tucked under the right wing, beak pointed toward the air cell at the fat end. Most of the work now is internal, and there is little for you to do except hold conditions steady and keep turning right up until lockdown. Resist the urge to candle constantly; by this point the egg is dark and there is not much new to see, and every opening costs you stability.
This is also when you prepare the brooder so it is warm and waiting before the first chick hatches. Scrambling to set up a brooder while wet chicks chill in the incubator is a self-inflicted wound. Get it built, get the heat on, and confirm it is holding temperature during these few quiet days.
Day 18: Lockdown
Day 18 is the hinge of the whole hatch. You stop turning the eggs — the chick is positioning and no longer needs rotating — and you raise humidity to 65 to 75%. Then you close the lid and leave it closed. The raised humidity keeps the inner membrane from drying out and shrink-wrapping the chick as it works its way around the shell.
If you are using an automatic turner, remove the eggs from it and lay them on the incubator floor, or switch the turner off, depending on your model. Do this efficiently, then commit to keeping the incubator shut. The most common late-stage failure I see is keepers who lock down correctly and then crack the lid every few hours out of anxiety, dumping the humidity they just raised. Lockdown means hands off.
Days 19 to 21: Pipping and Hatch
Hatching is a slow, multi-step process that tests every first-timer’s patience. The chick first breaks into the air cell — the internal pip — and begins breathing air; you may hear faint cheeping from inside the egg. Then it taps a small hole through the shell, the external pip. After that it often rests for many hours before slowly “zipping” a crack around the circumference of the shell and pushing free.
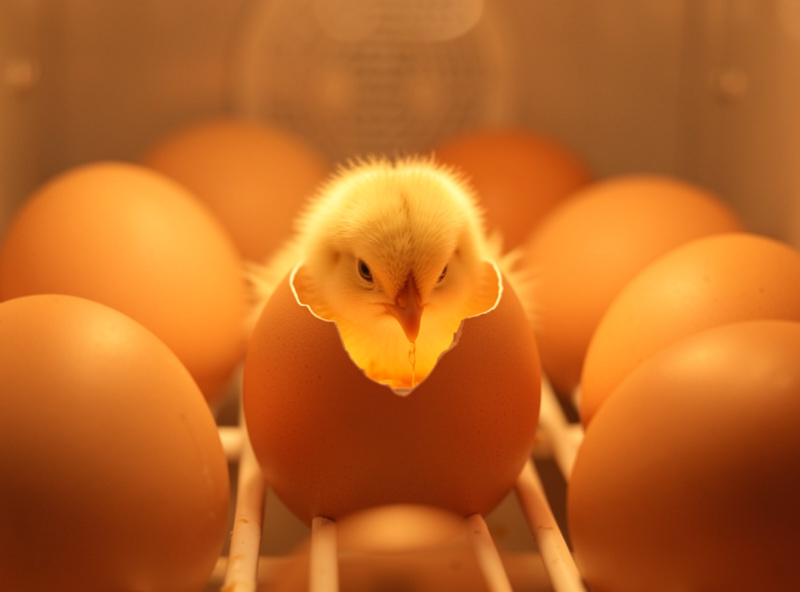
From external pip to fully hatched can take 12 to 24 hours, and that long pause after pipping is normal — the chick is absorbing the last of its yolk sac and retracting blood from the shell membrane. This is why helping too early kills chicks: open them up before they finish and you rupture vessels and bleed them out. Leave hatched, drying chicks in the warm incubator until they fluff up and the rest of the batch progresses, then move them to the brooder together.
The Timeline at a Glance
| Days | What is happening | Your job |
|---|---|---|
| 1–7 | Embryo, heart, and blood vessels form | Hold temp steady; candle day 7, pull clears |
| 8–14 | Becomes a recognizable chick; air cell grows | Keep turning; candle day 14, check air cell |
| 15–18 | Final growth; positions for hatch | Hold steady; ready the brooder |
| 18 | Lockdown | Stop turning, raise humidity to 65–75% |
| 19–21 | Internal pip, external pip, zip, hatch | Hands off; lid closed until chicks dry |
What If They Hatch Early or Late
A hatch that runs a day early across the whole batch points to an incubator running slightly warm; a hatch a day or two late points to one running slightly cool. One or two stragglers a day behind the main hatch is normal variation, not a problem — give them time before assuming the worst. If day 22 arrives with unhatched eggs and no pips, candle them carefully against a light: movement or no clear air cell means give them more time, while a cold, clear, or foul egg has quit.
Whatever the timing, the lid stays shut while any chick is actively hatching. The temptation to clear out a “finished” batch while one egg is still pipping has cost many keepers that last chick to shrink-wrapping. Patience is the whole skill here. For the complete method this timeline sits inside — method selection, candling, hatch rate — see the hatching and incubation guide.
Why a Written Hatch Log Beats Memory
The simplest tool in incubation is a strip of tape on the lid with three dates on it: set date, day 7, and day 18. Counting in your head sounds easy until day five blurs into day six and you find yourself unsure whether tomorrow is a candling day or lockdown. I log every batch, and the log has caught more of my own mistakes than any gadget.
A useful log records the set date and time, the candling results at day 7 and 14 (how many developing, how many pulled), the lockdown date, and the hatch results. Over a few batches that record turns into a personal calibration sheet: if your hatches consistently come a day early, the log is the evidence that your incubator runs warm, and you adjust the next batch accordingly. Memory will tell you “it went fine”; the log tells you it ran a day fast two batches running.
It also keeps staggered hatches straight. If you set new eggs while an earlier batch is still developing, the only sane way to track who locks down when is to write it down, ideally penciled on the shells themselves. The keepers who lock down the wrong tray, or candle a batch that is only three days in, are almost always the ones running it all from memory. Spend the thirty seconds; the log pays for itself the first time it stops you opening the incubator on the wrong day.
Frequently Asked Questions
How many days does it take to incubate chicken eggs?
Chicken eggs take 21 days to incubate, counted from when the eggs reach incubation temperature in the running machine, not from when they were laid. A day’s variation either side of day 21 is normal.
When does lockdown happen during incubation?
Lockdown is on day 18. You stop turning the eggs, raise humidity to 65 to 75 percent, and keep the incubator closed until the chicks have hatched and dried. Opening it during lockdown risks shrink-wrapping the pipping chicks.
When should I candle eggs during the 21 days?
Candle on day 7 to confirm development and remove clears, then again around day 14 to check the embryo and the growing air cell. A final quick check at day 18 before lockdown is optional. Avoid frequent candling, which cools the eggs.
How long does hatching take once an egg pips?
From the first external pip to a fully emerged chick can take 12 to 24 hours. The long pause after pipping is normal; the chick is absorbing its yolk sac and retracting blood from the membrane. Do not help too early.
What does it mean if eggs hatch early or late?
A whole batch hatching early usually means the incubator runs slightly too warm, while a late batch means slightly too cool. One or two stragglers a day behind the main hatch are normal and should be given more time.
Further Reading
- Hatching & Incubation: The Complete Guide
- Egg Incubator Setup and Calibration
- Candling Eggs During Incubation
- How to Improve Your Hatch Rate
Related Guides
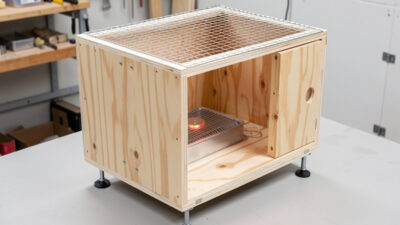
DIY Chick Brooder Setup: Building Your Own Brooder
A DIY chick brooder is a draft-free box, a thermostatically controlled heat source held at 95 °F in week one, shallow…
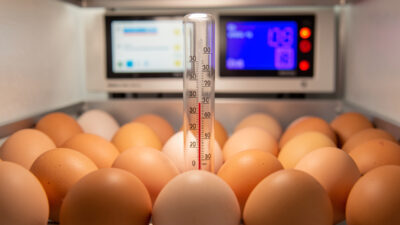
How to Improve Your Chicken Egg Hatch Rate
Improving your hatch rate comes down to four levers: temperature, humidity, egg quality, and turning. A home incubator running calibrated…
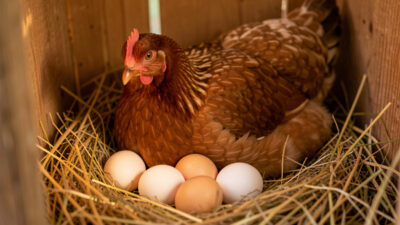
Broody Hen Hatching: Letting a Hen Hatch Her Eggs
Letting a broody hen hatch eggs means waiting for a hen to commit to sitting, slipping fertile eggs under her…