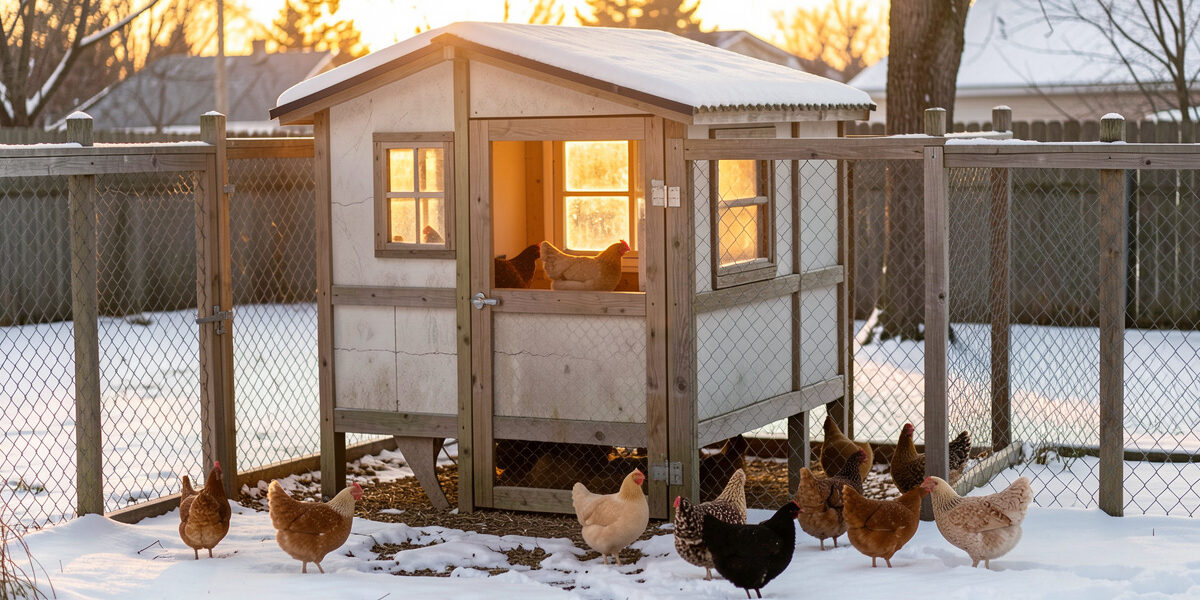
A coop worth automating runs sensors monitoring five things — temperature, humidity, ammonia, water level, and whether the pop door actually closed — and funnels all of it to one screen. On my flock in Sweden I hold winter humidity under 70% relative humidity on purpose, because above roughly 75% RH at sub-zero temperatures is where comb frostbite starts. The cold by itself is almost never what hurts a hardy flock; the wet air is.
Most “smart coop” write-ups stop at a thermometer and a camera and call the job done. That stack misses the two failures that actually cost you birds: air going toxic overnight while the birds sleep on it, and an auto-door that silently failed open at dusk. I run a full sensor stack wired into Home Assistant — the same hub that runs the rest of the house — and the difference between my setup and a gadget bolted to a wall is that mine nags me when a sensor stops reporting, not only when a number crosses a line. A green tile fed by a cached reading is the most dangerous thing on a dashboard.
This guide is the hardware map for the whole stack. I cover each sensor class in its own deep-dive, then how I wire everything into one dashboard, what I tried and pulled back out, and the two cross-cutting decisions — how the signal gets home, and how each sensor stays powered — that decide whether any of it survives a real winter. If you only read one section, read the door-state one. A door that fails open is worse than no door at all.
What Does a Coop Actually Need to Monitor?
A backyard flock needs five monitored points — air temperature, relative humidity, ammonia, water level, and door state — because those are the five things that go wrong between your visits and start hurting the birds before you would notice by eye. Light matters too, but for egg laying rather than safety, and I treat it as a separate system.
I think about the stack in two layers. The environmental layer — temperature, humidity, ammonia — tells you whether the coop itself is a healthy place to sleep. The operational layer — water level and door state — tells you whether the things you automated actually did their job. A lot of keepers build only the first layer, get bored of checking it, and then have no warning when the auto-door motor stalls half-shut with a weasel-sized gap below it. The operational layer is what lets you actually trust the automation instead of walking out every dusk to check.
Every one of these maps to a dedicated piece of hardware and a dedicated deep-dive on this site. I have run each of them through at least one full Swedish winter, mounted in my own coop or on the run, and the sections below tell you what each one is for, where I mount it, and what it cost me to learn it the hard way.
Temperature and Humidity: The Two Numbers I Watch First
A combined temperature-and-humidity sensor is the first instrument any coop should have, because together those two numbers explain almost everything about how the flock is experiencing the box they sleep in. I watch the spread between them more than either value alone: 2 °C and 90% RH tells me the ventilation is dumping heat but holding moisture, which is the exact wrong combination for a cold night.
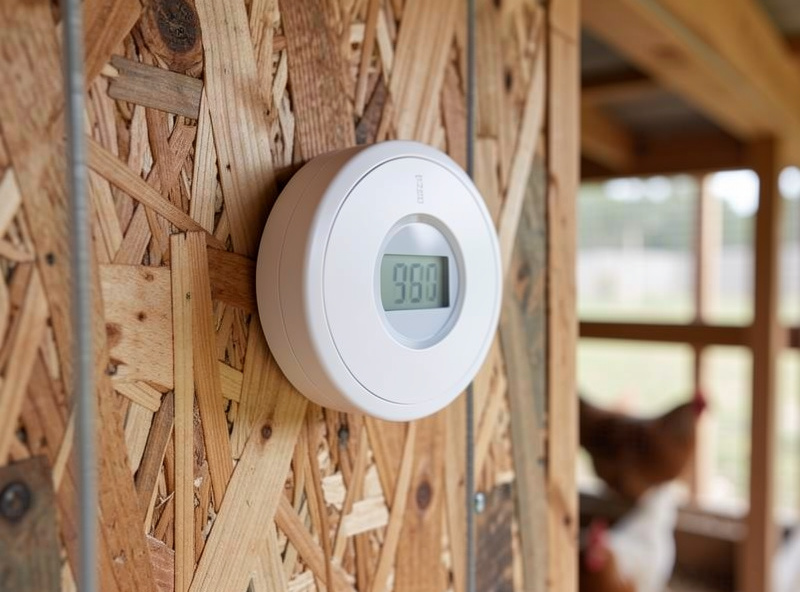
I run a small fleet of these — one inside at roost height, one in the run under the roof, and a spare I move around when I am calibrating. The unit I trust most on my own wall is a WiFi temp/humidity puck that reports every 30 seconds and runs for most of a winter on a set of cells; I have a couple of WiFi temperature and humidity sensors of the same class in service, and they have stayed within about 2% RH of my reference hygrometer after a salt-test calibration. If you want the full breakdown of which probe belongs where, the mounting heights, and the calibration ritual, that is in the dedicated temperature and humidity sensor guide.
Placement is where most keepers get this wrong. A sensor hung on the north wall near the pop door reads the draft, not the coop. A sensor hung on the ceiling reads the stratified warm air the birds never feel. Roost height — the level where the combs actually sit — is the only number that predicts frostbite or heat stress for the bird, and it is the number I log. I learned this after a winter of chasing a 5 °C discrepancy that turned out to be one sensor at 1.8 m and another at 1.2 m, reporting two different coops essentially.
Why Humidity Is the Number That Predicts Frostbite
Relative humidity, logged hourly through a cold snap, is the single best predictor of comb and wattle frostbite — far better than the temperature reading most keepers obsess over. Frostbite is moisture damage; the tissue freezes because wet skin loses heat fast, and the moisture comes from the birds’ breath, the droppings, and the waterer, not from outside.
This is the counterintuitive part of cold-climate chicken keeping that starter guides routinely botch. Sealing the coop up tight to “keep the cold out” traps the moisture the flock produces, pushes humidity past 80% RH, and frostbites combs that would have been fine at −20 °C in dry, moving air. My ventilation is sized to dump moisture, and I keep the readings from the humidity probe to prove to myself that the ridge and soffit gaps are doing their job. The deep mechanics of why a damp coop frostbites and a dry one does not — and the exact threshold I alarm on — are written up in the humidity-and-frostbite monitoring guide.
If your humidity is climbing, the fix is almost never heat. The fix is more air movement through the top of the coop, dry bedding, and a waterer that is not spilling. I cover the ventilation math that removes moisture without drafting the birds in the ventilation-versus-draft breakdown, and the broader case for never sealing a coop tight in why a coop needs ventilation at all. In summer the same humidity reading tells me when to switch on a fan; the sizing for that lives in the coop fan guide.
Ammonia: Catching Bad Air Before Your Nose Does
An ammonia sensor is the one instrument that protects the flock from a problem you cannot reliably smell yourself, because your nose desensitises to ammonia within minutes of walking into a contaminated space. By the time you can smell it clearly on each visit, the birds — who never leave — have been breathing damaging levels for hours.
The numbers are sobering. The occupational limit for human workers is a 50 ppm time-weighted average with a 35 ppm short-term ceiling, per OSHA’s permissible exposure limit table and the CDC/NIOSH pocket guide to ammonia, and poultry extension guidance pushes coop levels lower than that because the birds live in it continuously. I alarm my ammonia sensor well below the human smell threshold, which sits somewhere around 20 ppm for a fresh nose. A cheap MQ-class gas sensor on an ESP32 board will not win any accuracy awards, but it will tell you definitively when litter is generating a problem before your boots tell you. The full reasoning, the threshold I use, and why this belongs near the floor rather than the ceiling is in the ammonia sensor guide.
When ammonia climbs, the diagnosis is litter management and airflow, in that order. Wet litter from a leaking waterer or overdue clean-out generates ammonia faster than anything else, and deep-litter done right keeps it suppressed. I walk through the diagnostic in the ammonia-and-humidity control guide and the broader smell-troubleshooting path in the coop odor control article. The sensor just tells you when to start walking that path.
Water Level: Knowing the Drinkers Are Full
A water-level or flow sensor tells you the reservoir is full and the drinkers are wet without you having to lift a lid in the dark, which matters most in winter when a dry waterer and a frozen waterer look identical from the door. Hens will go off lay surprisingly fast on reduced water, and in sub-zero weather the difference between “low” and “frozen solid” is a few hours you do not want to lose.
I run a float-style level sensor in the heated reservoir and a Home Assistant automation that watches both the level and the temperature of the waterer, so I get one alert for “low” and a separate, louder alert for “cold and about to freeze.” That freeze-watch logic is the single most useful automation I have ever written for the coop, and the exact blueprint — the sensor, the threshold, and the notification — is in the freeze-watch guide. For the hardware side, including the ultrasonic option I prefer for tall tanks, see the water-level and flow sensor guide.
Door State: Proving the Pop Door Actually Closed
A door-state or contact sensor is the sensor that earns the whole stack its keep, because it converts “the door was scheduled to close” into “the door is physically shut right now” — and that is the difference between a coop that is predator-proof at night and one you only think is. The motor can stall, the track can ice up, a bird can block the travel, and the timer will still happily report success.
I use a simple magnetic reed switch on the door frame — the same component a home-security contact uses — wired back to the hub. If the door has not reached the closed magnet by a few minutes after sunset offset, I get a notification. This pairs with the sunrise/sunset logic that actually drives the door, which I document in the door-offset automation guide. The hardware, the wiring, and why I treat a door that fails open as a critical alarm rather than a convenience is all in the pop-door contact sensor guide.
This is the one sensor I would fit before any other, including the thermometer. A flock can survive a cold night, a damp night, even a thirsty night. It cannot survive the night a fox walks through a door that the app said was shut.
Getting the Signal Out: WiFi vs LoRa at the Run Edge
The choice between WiFi and LoRa is really a choice about whether the sensor at the far end of the run ever reports home at all, because a garden fence and a sheet of wet plywood will quietly kill a WiFi signal that reads full bars on the phone in your hand. WiFi is fine inside the coop and on the near run; LoRa is what reaches the cattle-panel hoop at the back of the paddock.
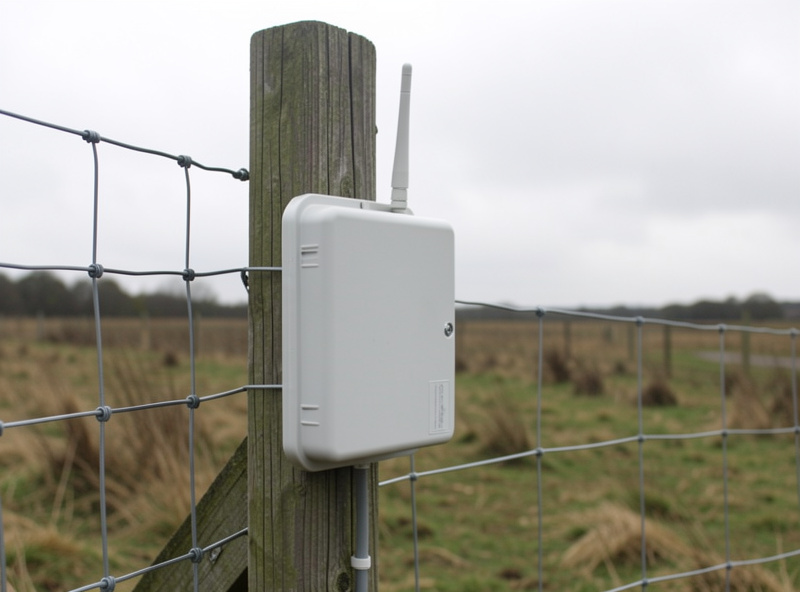
I run WiFi for the instruments that live on or in the coop — they are close enough to the house access point to be reliable — and LoRa for anything I want to read from the rotational run or a neighbour’s setup I help with. LoRa trades bandwidth for range; you send a few bytes of temperature every few minutes instead of streaming, and in return you get kilometres of reach through obstacles rather than metres. The full trade study, including the range I actually measure at my place and why I do not put WiFi at the run edge, is in the WiFi-versus-LoRa guide.
Powering It: Battery vs Wired Through a Real Winter
The battery-versus-wired question is decided by one season, because alkaline cells that last a year on a datasheet can drop to a fraction of that capacity in a prolonged freeze, and a sensor that died at 3 a.m. reports nothing useful at 7 a.m. Cold is the single biggest enemy of a battery-powered coop sensor, and it is the part of the build most guides skip entirely.
Inside the coop I prefer wired — a single low-voltage feed to a bus that the door, a sensor, and a small light all draw from, with the whole coop on the same backup battery that keeps the hub alive through a grid outage. For the battery-powered units I cannot easily wire, I run lithium iron disulfide cells, which hold almost all their capacity far below freezing where alkaline collapses. The cold-weather numbers, the chemistry that actually works, and why I back the whole coop with a small LiFePO4 bank are in the battery-versus-wired guide. If you want the cells I actually buy for the outdoor sensors, these ultimate lithium AA cells are the class I use.
As an Amazon Associate I earn from qualifying purchases.
The Coop Sensor Stack at a Glance
This is the map I build to. Each row is a sensor class, what it reads, why it earns its wire, where it sits in my coop, and the deep-dive that goes deep on it.
| Sensor | What it measures | Why it matters | Where I mount it | Deep-dive |
|---|---|---|---|---|
| Temperature & humidity | Air temperature and relative humidity | Drives frostbite, heat-stress, and laying decisions | Interior wall at roost height, away from the pop door | Temp & humidity guide |
| Humidity (frostbite watch) | RH trend through cold nights | The single best predictor of comb and wattle frostbite | Same probe, logged hourly through winter | Humidity & frostbite guide |
| Ammonia | NH3 concentration in ppm | Respiratory damage you stop being able to smell | Near the litter, about 30 cm off the floor | Ammonia sensor guide |
| Water level / flow | Reservoir level or line flow | Catches a dry or freezing waterer before the flock does | In the reservoir or on the nipple line | Water-level guide |
| Door state / contact | Pop door open or closed | Proves the door that protects the flock at night is shut | Door frame, magnetic reed switch | Door contact guide |
| Connectivity (WiFi/LoRa) | How the signal reaches the hub | Decides whether the far sensor reports at all | Gateway location and antenna placement | WiFi vs LoRa guide |
| Power (battery/wired) | How the sensor stays alive | Cold kills alkaline; decides winter reliability | Per sensor, matched to its location | Battery vs wired guide |
How I Wire Every Sensor Into One Dashboard
The reason my sensor stack is more than a pile of gadgets is that every instrument reports into a single Home Assistant dashboard, so one glance at my phone tells me the coop temperature, the humidity, the ammonia trend, the water level, and the door state at once. A sensor on its own app is a novelty; a sensor on one dashboard with the rest of the coop is a system.
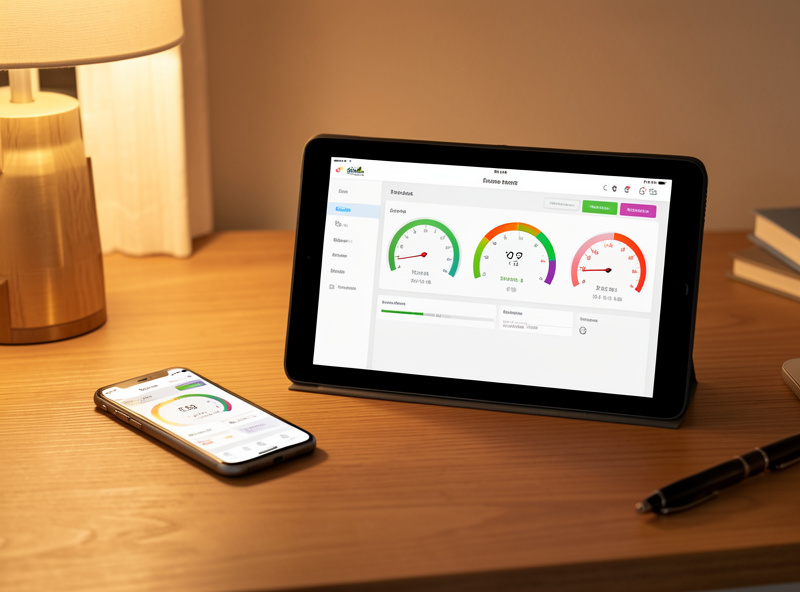
I build most of my own coop sensors on ESP32 boards running ESPHome, which means they show up in Home Assistant automatically and I control the code. The commercial WiFi units I use integrate through their integrations or via MQTT. Everything lands on the dashboard I describe in the coop dashboard build guide, which covers the tile layout and the alarm logic. The higher-level automation that ties the door, the cameras, and the sensors together is in the complete Home Assistant coop automation guide.
The one rule that makes the whole thing trustworthy: a sensor that has not reported in its expected interval must raise an alert. I do not care that humidity is “fine” at 68% if that reading is four hours stale because the sensor died. My dashboards treat stale data as a fault, not a feature, and I deliberately run the stack local-only so a cloud outage does not turn my door and my alarms into paperweights. A smart coop that stops working when the internet drops is not automated; it is held hostage.
What I Would Skip: Sensors I Tried and Pulled Back Out
Not every sensor earns its place, and I would rather tell you what I removed than pretend the stack only ever grows. A CO₂ sensor I trialed in the coop read high all winter and taught me nothing I could act on, because a coop’s air problems are dominated by ammonia and moisture rather than carbon dioxide, and the ventilation fix is the same regardless. I pulled it.
The expensive mistake, though, was trusting a cheap WiFi temperature puck I had zip-tied to the run wall. It dropped off the network during the first wet week below freezing, and because the dashboard tile kept showing its last good reading in green, I assumed the coop was fine and did not walk out. The waterer had frozen and a hen was already pecking at the ice when I finally checked. No bird was lost, but the lesson is the one I now build everything around: a sensor going silent has to read as an alarm, never as a comforting “last known good.” That single rule is worth more than any premium probe I own.
I would also skip any sensor whose data you cannot tie to an action. If a number on your dashboard never changes what you do, it is decoration. Every reading on my coop dashboard maps to a decision — open a vent, change the bedding, switch on the waterer heater, go check the door — or it does not stay on the dashboard.
How many sensors does a chicken coop actually need?
Five cover the real risks: one combined temperature and humidity probe, one ammonia sensor, one water-level sensor on the drinker, and one contact sensor on the pop door. That set catches frostbite risk, toxic air, a dry or frozen waterer, and a door that failed open. Light is a separate system for laying.
Can I monitor my chicken coop from my phone?
Yes. Run the sensors through a local hub like Home Assistant and you get one dashboard showing temperature, humidity, ammonia, water level, and door state. The key is to alert on stale data as well as bad readings, so a sensor that went offline does not look like a healthy coop.
Will a battery coop sensor survive the winter?
It depends on the chemistry. Alkaline cells lose most of their capacity in a prolonged freeze, so a battery sensor can die in a cold week. Lithium iron disulfide cells hold their capacity far below freezing, and a wired sensor backed by a small battery is the most reliable option for sub-zero climates.
Is WiFi or LoRa better for coop sensors?
WiFi is fine for sensors on or in the coop near the house access point. LoRa is the better choice for a sensor at the far end of the run or in a rotated paddock, because it trades bandwidth for several kilometres of range through walls and fences where a WiFi signal dies.
What is the most important coop sensor to install first?
A contact or door-state sensor on the pop door. It confirms the door that protects the flock at night is physically shut, which a timer alone cannot prove. A flock can survive a cold or damp night, but it cannot survive a predator that walked through a door the app reported as closed.
Do I need an ammonia sensor if the coop smells fine?
Yes, because your nose desensitises to ammonia within minutes. By the time you clearly smell it on a visit, the birds have been breathing damaging levels for hours. A sensor set to alarm below the human smell threshold catches the problem before your nose does.
Keep Building
Once the stack is in, the work shifts from installing to trusting it. These are the deep-dives on each sensor class, plus the automation pieces that tie it together:
- Best Coop Temperature and Humidity Sensor for Remote Monitoring
- Coop Humidity Monitoring: The Number That Predicts Frostbite
- Ammonia Sensors for the Coop: Catching Air Problems Before You Smell Them
- Water-Level and Flow Sensors: Knowing the Waterer Is Empty Before They Do
- Door-State and Contact Sensors: Confirming the Pop Door Really Closed
- WiFi vs LoRa Coop Sensors: Reaching the Far End of the Run
- Battery vs Wired Coop Sensors: Cold-Weather Battery Life Reality
- Building a Coop Dashboard in Home Assistant
- Home Assistant Freeze-Watch: Automating the Heated Waterer
- Home Assistant Sunrise/Sunset Door Offset
Related Guides
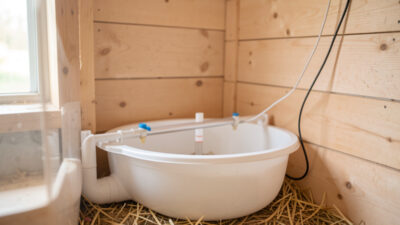
Water-Level and Flow Sensors: Knowing the Waterer Is Empty Before They Do
A coop water-level sensor tells you the drinker is going dry — or freezing solid — before the flock does,…
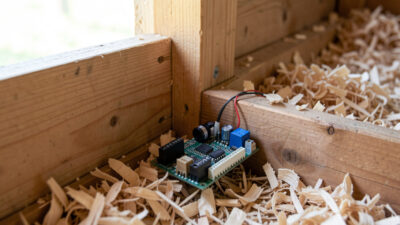
Ammonia Sensors for the Coop: Catching Air Problems Before You Smell Them
An ammonia sensor belongs at the birds’ breathing height, close to the litter where the gas is generated, because that…
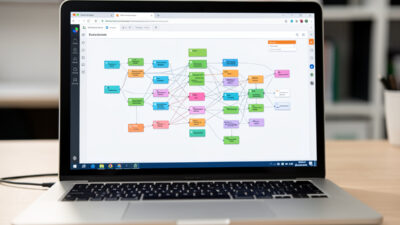
Node-RED vs Home Assistant Automations for the Coop: When to Use Which
Use native Home Assistant automations for the coop’s simple, safety-critical rules — the sunrise door, the freeze-watch waterer — and…