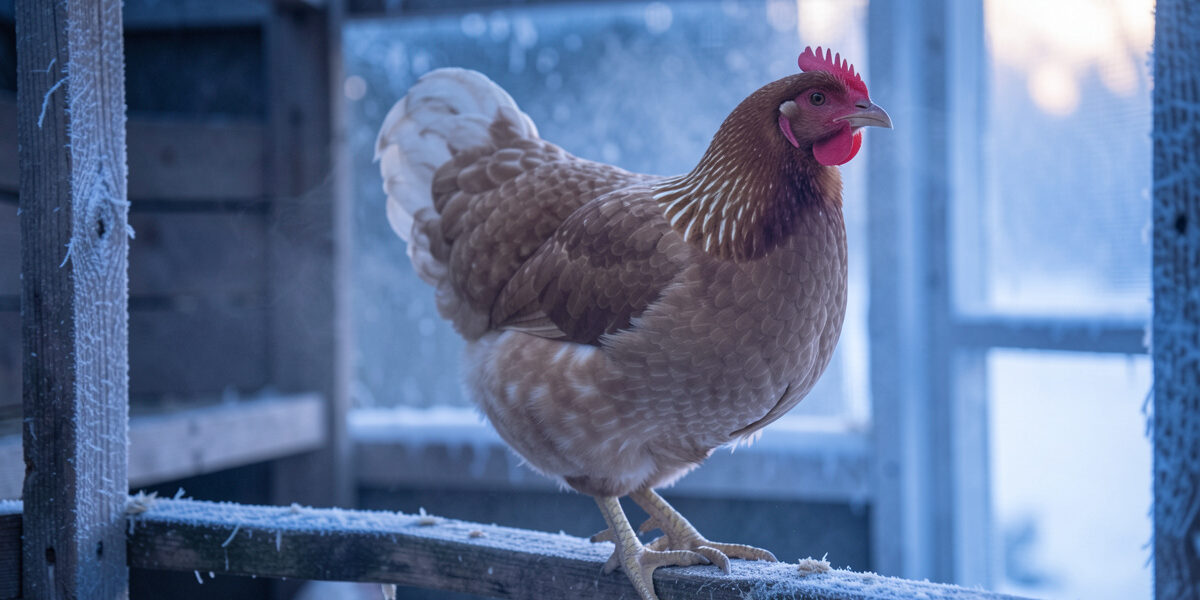
The humidity number that predicts frostbite in a chicken coop is sustained relative humidity above about 75% at sub-zero temperatures — and the cold itself is rarely what blackens a comb. On my flock in Sweden I alarm the dashboard at 70% RH overnight through winter, because a damp coop frostbites a hardy bird far faster than a dry one ten degrees colder.
This is the single most misunderstood risk in cold-climate chicken keeping, and the reason is almost always the same: keepers seal the coop up tight to keep the birds warm, trap the moisture the flock produces, and then blame the cold for the frostbite that their own insulation caused. The instrument that catches this before it happens is a humidity probe logged through the night, and it is the one reading I would not run a winter without.
This piece is about the number and what it means, not the hardware. For choosing and calibrating the probe itself, see the temperature and humidity sensor guide, and for the full sensor stack it belongs to, the coop sensors and monitoring overview. Here I want to convince you, with the overnight curve from my own coop, that the humidity reading is the one that saves combs.
What Humidity Level Causes Frostbite in Chickens?
The threshold I work to is this: once coop humidity sits above 75% RH for hours during a freezing night, frostbite risk climbs sharply, and above 85% RH in real cold it is close to a guarantee on the most exposed tissue. Below about 60% RH, even at −20 °C, a cold-hardy breed with a small comb is broadly safe. The danger band is the humid middle, the 70 to 85% range, which is exactly where an under-ventilated coop lives all winter.
The cleanest way to think about the threshold is through dew point rather than relative humidity alone, because dew point is the temperature at which the moisture in the air condenses, and condensation onto tissue is the immediate precursor to freezing. When the coop’s dew point climbs close to the surface temperature of a comb, water begins to film on that comb, and from there the step to frostbite is short. Relative humidity is a convenient proxy because it is what cheap sensors report, but the underlying physics is the dew point, and the reason high RH at low temperature is so dangerous is that cold air holds very little water — so a high RH reading in the cold means the air is already nearly saturated and condensing onto every surface cooler than itself.
Frostbite is not the cold “biting” in the poetic sense; it is tissue freezing, and wet tissue freezes at a higher temperature than dry tissue because water on the skin evaporates and pulls heat away fast. A comb and the wattles are the body parts most at risk precisely because they are thin, bare, wettable surfaces with poor circulation relative to the rest of the bird, and they stick out into the air the bird sleeps in. University poultry extension guidance frames the winter coop problem as a moisture problem first and a temperature problem second, which matches exactly what my probes have shown me over years of logging.
Why Does Moisture — Not Cold — Frostbite a Comb?
Moisture frostbites a comb because wet skin loses heat to evaporation and to conduction far faster than dry skin, so a damp bird in damp air reaches freezing tissue temperatures while the thermometer on the wall still reads a “comfortable” figure. The comb does not care what the air temperature is in the abstract; it cares how fast heat is leaving it, and wet air pulls heat fast.
Where does the moisture come from, in a coop that is not raining? Three sources, all produced from inside. The flock’s breath is the biggest: every exhale dumps warm, saturated air into the coop, and ten birds sleeping for twelve hours add up to a startling volume of water vapour. The droppings release moisture, especially under a packed roost. And any spillage or condensation from the waterer adds a steady drip. A sealed coop with no air exchange traps all of that, the relative humidity climbs through the night, and by 4 a.m. the air is saturated enough that the combs are effectively sitting in a cold cloud. That is the physics of frostbite, and it is why the fix is air movement, not a heater. I cover the design principle behind that air movement in the ventilation-versus-draft distinction and the basic case for it in why a coop needs ventilation at all.
Does Comb Type Change the Frostbite Risk?
Comb type changes frostbite risk more than almost any other single factor about the bird, which is why cold-climate keepers obsess over small, low-profile combs and why I chose the breeds I run. A large single comb — tall, blade-like, standing up off the head — is a broad, thin, highly vascularised surface built to dump heat in a hot climate, and in a freezing coop it is a frostbite magnet. A rose comb or a pea comb sits low and tight against the skull, is far less exposed to the moving air, and is the reason breeds like the Wyandotte are classed as cold-hardy by comb type in the first place.
This matters for monitoring because it changes where you set the alarm. The same 80% RH overnight that will nearly always damage a large-combed Mediterranean breed may leave a rose-combed Wyandotte untouched, so a keeper with a mixed flock is really running two risk profiles under one roof. My flock is deliberately weighted toward small-comb, dual-purpose, winter-laying types — Wyandottes, Orpingtons, Australorps, and the odd Easter-Egger — precisely so the humidity band I manage is forgiving rather than razor-thin. If I kept large single-combed breeds, I would lower my alarm threshold by a good margin and accept that some winters would still cost me comb tips regardless. The probe tells you the exposure; the comb type tells you the consequence.
Wattles are the other tissue to watch, and on some breeds they are a bigger risk than the comb because they hang free and can dip into water or wet feed. A bird whose wattles are damp at roost time is the first one I check on a cold morning, no matter what the dashboard claimed overnight.
How Do You Measure Coop Humidity Accurately?
You measure coop humidity accurately with a probe at roost height, calibrated against a known reference, and logged every few minutes through the night — because a single snapshot at chore time tells you almost nothing about the 4 a.m. peak that does the damage. The hardware and the salt-test calibration ritual are covered in detail in the sensor guide, so I will not repeat them here beyond the one point that bites keepers: an uncalibrated probe reading 8% low will have you sleeping soundly through a frostbite night.
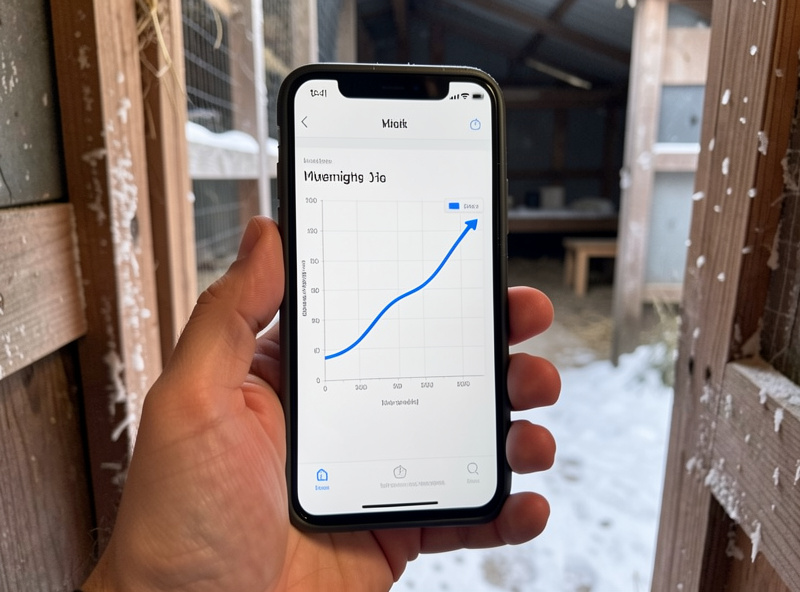
The measurement that matters is the overnight trend, not the current value. I have a Govee/Inkbird-class WiFi probe, backed by a second DIY ESP32/BME280 probe built on ESPHome, that both report into Home Assistant every thirty seconds, and the dashboard draws the curve. On a healthy night the line starts around 60% at lights-out as the birds settle, rises gently through the small hours as they breathe, peaks somewhere near dawn, and drops again once the pop door opens and the air exchanges. A coop with a moisture problem draws a different curve: it climbs fast, plateaus high, and stays there. The shape of that line is what I actually monitor, and it is more diagnostic than any single number. How I lay it out on the screen alongside the rest of the coop is in the coop dashboard build.
What Pushes Coop Humidity Up Overnight?
Four things push coop humidity up overnight, and identifying which one is dominant is how you fix the problem instead of fighting the symptom. They are the breath of the flock, the moisture from droppings, wet or soiled bedding, and waterer spillage or condensation. The first two are fixed only by ventilation; the last two are fixed by management.
Deep litter done right is a net help rather than a moisture source, because a working composting litter layer actually binds and dries droppings instead of releasing their water straight to the air — but deep litter done wrong, soaking wet and compacted, becomes the single biggest humidity pump in the coop. The difference is moisture input and turning, which I walk through in the deep-litter guide. A leaky or tipping waterer is the other common culprit; if your humidity mysteriously spikes only on certain nights, chase the waterer before you chase the vents. The diagnostic path for damp, smelly air overlaps heavily with the ammonia problem, so I keep the ammonia-and-humidity control article bookmarked for exactly these mornings.
Flock density is the multiplier on all four sources, and it is the one variable a keeper controls directly. Ten birds in a coop built for six — the chicken-math outcome most of us arrive at — exhale and deposit roughly two-thirds more moisture into the same air volume than the coop was ventilated for, which is why an overstocked coop frostbites combs that the same coop at design capacity would have protected. If your humidity curve will not come down no matter what you do with the vents and the bedding, count the birds before you count anything else.
How I Pull Humidity Back Down Without Heating
I pull coop humidity back down by increasing air exchange at the top of the coop, drying the bedding, and fixing any water leak — in that order — and never by adding heat, because a heater in a damp sealed coop raises the temperature without removing the moisture that does the damage. Warm wet air is still wet air, and the moment the heater cycles off, the humidity condenses straight onto the coldest surface in the room, which is usually the combs.
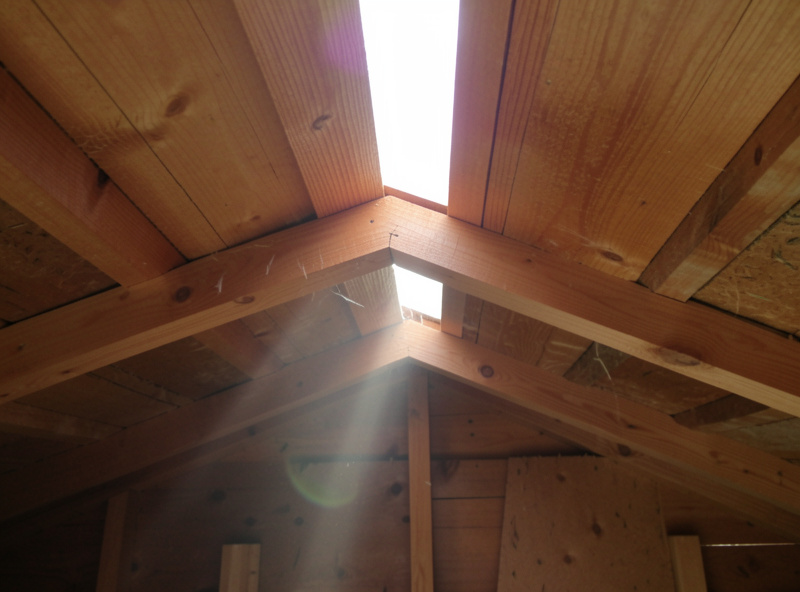
My coop is built with a passive ridge-and-soffit ventilation path sized to dump moisture without drafting the birds, which is the engineering goal of every cold-climate coop: move the damp air out the top while keeping still air at roost height. When my humidity probe shows the overnight curve climbing past my 70% alarm, my response is never to close the coop up warmer. It is to add fresh, dry shavings, check the waterer level for a slow leak, and confirm the high vent path is clear of snow or dust. More on the sizing logic behind that path is in the ventilation guide, and in summer the same humidity reading tells me when the still air has become dangerous in the other direction — that is where the coop fan sizing comes in.
The Overnight Curve I Watch Every Winter
If I could show a new cold-climate keeper one thing, it would be the overnight humidity curve from a sealed coop versus a ventilated one, because the difference is the entire education in one picture. The sealed coop’s curve rockets to the top of the graph and plates there; the ventilated coop’s curve breathes gently inside the safe band. My dashboard shows me which one my coop is drawing, every single night, without me having to open the door and ruin the reading with my own breath.
I learned this the expensive way, the first real winter I kept birds. A hard snap was forecast, and in a burst of misplaced care I stuffed the vents with straw and sealed the pop door gap to “keep the cold out.” Three damp, still days later I found the tips of a Wyandotte’s rose comb darkened and cold — the textbook first sign of frostbite on a bird that should have been bulletproof in that temperature. The thermometer had read fine the whole time. The humidity probe, which I had not yet wired up, would have read a disaster. I pulled the straw out of the vents that morning, fitted a logging probe that week, and I have not sealed a coop since. The lesson is the one this whole article rests on: the number that hurts your birds in winter is the wet one, and you cannot manage it if you cannot see it.
Related Articles
- Best Coop Temperature and Humidity Sensor for Remote Monitoring
- Chicken Coop Sensors and Monitoring: The Complete Hardware Guide
- Coop Ventilation vs Draft: The Difference That Saves Combs
- Ammonia Sensors for the Coop: Catching Air Problems Before You Smell Them
- The Deep Litter Method: A Complete Guide for Chicken Coops
Related Guides
Water-Level and Flow Sensors: Knowing the Waterer Is Empty Before They Do
A coop water-level sensor tells you the drinker is going dry — or freezing solid — before the flock does,…
Ammonia Sensors for the Coop: Catching Air Problems Before You Smell Them
An ammonia sensor belongs at the birds’ breathing height, close to the litter where the gas is generated, because that…

Node-RED vs Home Assistant Automations for the Coop: When to Use Which
Use native Home Assistant automations for the coop’s simple, safety-critical rules — the sunrise door, the freeze-watch waterer — and…