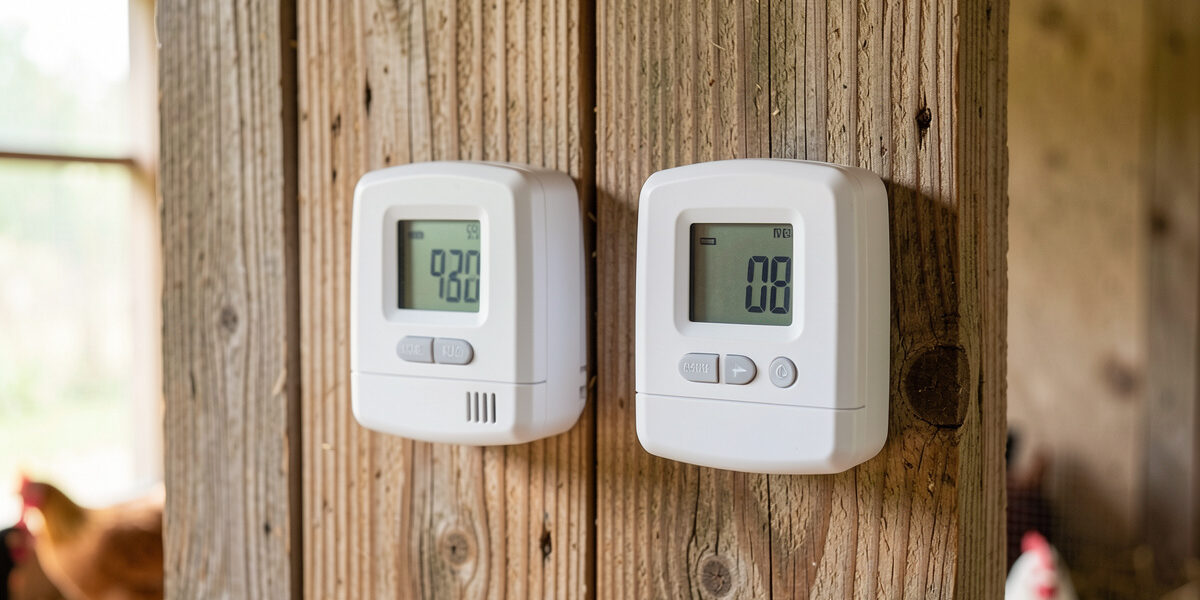
The best coop temperature and humidity sensor is a WiFi or Zigbee unit that reports to your phone every minute, holds its calibration within about 2% relative humidity after a salt test, and runs through a wet winter on one set of cells. The cheap analog dial you have to walk across the yard to squint at is not a monitoring system; it is a thermometer.
I have a mixed cold-hardy flock in Sweden and I treat the temperature-and-humidity probe as the foundational instrument of the whole coop — the one whose readings drive every ventilation, heating, and bedding decision I make. The full map of the sensor stack lives in the chicken coop sensors and monitoring guide; this article goes deep on the one probe every keeper buys first, and almost always buys wrong.
The reason it matters more than people think: in a cold climate, humidity is the number that frostbites combs, and a sensor that reads 8% high will have you convinced the coop is drier than it is all winter. You cannot manage what you cannot measure, and you cannot measure with a probe you have never calibrated.
What Makes a Temperature and Humidity Sensor Best for a Coop?
A coop-grade temperature and humidity sensor earns its place on four tests, and a generic indoor household unit usually fails at least two of them. The four tests are remote reporting, accuracy after calibration, cold-weather reliability, and a logging history you can actually scroll back through.
Remote reporting is the whole point. If you have to open the coop door and read a screen, the sensor is doing nothing at 3 a.m. when the problems happen. The unit I trust on my wall pushes a reading to my hub roughly every 30 seconds, and the moment that cadence breaks, my dashboard treats it as a fault. Accuracy matters because the decisions you make on the back of the number — open a vent, add bedding, switch on a fan — are only as good as the reading, and out-of-the-box humidity sensors routinely drift. Cold-weather reliability separates a sensor that lasts the season from one that dies in the first hard freeze, and history lets me see the overnight humidity curve rather than a single snapshot, which is how I actually catch a ventilation problem before it frostbites anything.
A cheap digital thermo-hygrometer from a hardware store fails the remote-reporting and history tests outright. It will tell you the current number when you stand in front of it, and nothing else. That has a place as a backup, but it is not the instrument that lets you stop walking out at dawn.
The Sensor Classes Compared
There are five broad classes of temperature and humidity sensor a keeper can put in a coop, and they are not interchangeable. This is the breakdown I work from when I am advising someone on what to buy.
| Class | Reports remotely? | Cold-weather power | Out-of-box accuracy | Best use |
|---|---|---|---|---|
| Analog dial thermo-hygrometer | No, read in person | Passive, no battery | Poor, drifts with age | A glance reading only |
| Basic digital thermo-hygrometer | No | Coin cells, adequate | Fair | Cheap in-coop backup |
| WiFi remote monitor | Yes, app and alerts | Cells, cold-sensitive | Good after calibration | Remote checking from the house |
| Zigbee or Z-Wave sensor | Yes, through a hub | Coin cell or USB | Good | An integrated smart coop |
| DIY ESP32 with BME280 or SHT3x | Yes, to a local hub | Wired or cell, your choice | Excellent, tunable | The keeper who writes code |
| Rugged Bluetooth logger | Yes, within BLE range | Long-life cell | Good | A spot with no WiFi |
If you want the off-the-shelf path, a WiFi temperature and humidity remote monitor in the class I run is the lowest-friction way to get readings on your phone. If your coop is already on a smart-home hub, the Zigbee route integrates cleanly; if you are the sort who already has a 3D printer and a soldering iron on the bench, the DIY ESP32 path gives you the best accuracy and total control for less money.
As an Amazon Associate I earn from qualifying purchases.
Where Should a Coop Temperature Sensor Be Mounted?
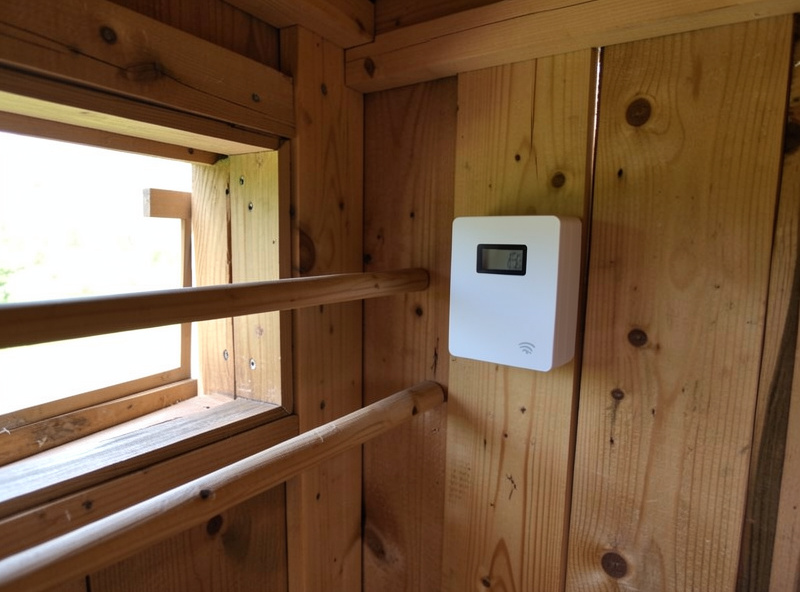
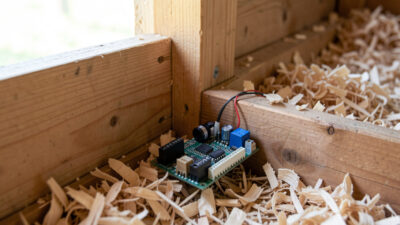
A coop temperature sensor belongs at roost height, on an interior wall away from the pop door, the vents, and the waterer — because that is the air the combs are actually breathing, and anything else reports a different coop. I mount mine at about 1.2 metres, level with the highest roost bar the birds sleep on.
Placement errors are the single most common reason two keepers compare notes and get wildly different numbers. A sensor on the ceiling reads the warm, stratified air that pools up high and that the birds never feel; on a freezing night the ceiling air can sit 4 or 5 °C warmer than the air at roost height, which is exactly the margin that hides a frostbite risk. A sensor next to the pop door reads the draft the ventilation is supposed to create, which understates the humidity the birds are trapped in. A sensor above the waterer reads the local damp microclimate and overstates humidity for the whole coop.
I also keep a second probe out in the run, under the roof but in open air, so I can compare inside to outside. The gap between those two readings tells me whether the coop is holding moisture (inside humidity well above outside humidity) or whether the air is exchanging the way the ventilation was designed to. That comparison is more useful than either number alone, and it is the same logic behind the ventilation-versus-draft distinction and the case for never sealing a coop airtight. Purdue Extension’s poultry housing ventilation guidance consistently frames moisture removal as the core job of coop ventilation, and my two-probe setup is how I confirm mine is doing it.
How Do You Calibrate a Coop Hygrometer?
You calibrate a coop hygrometer with a salt test: seal the sensor in a bag with a small dish of damp table salt slurry, wait twelve hours at a stable room temperature, and the humidity inside should read about 75% — a fixed point established by saturated sodium chloride and documented in NIST’s reference paper on humidity fixed points of saturated salt solutions. Whatever offset you see is the error you correct for.
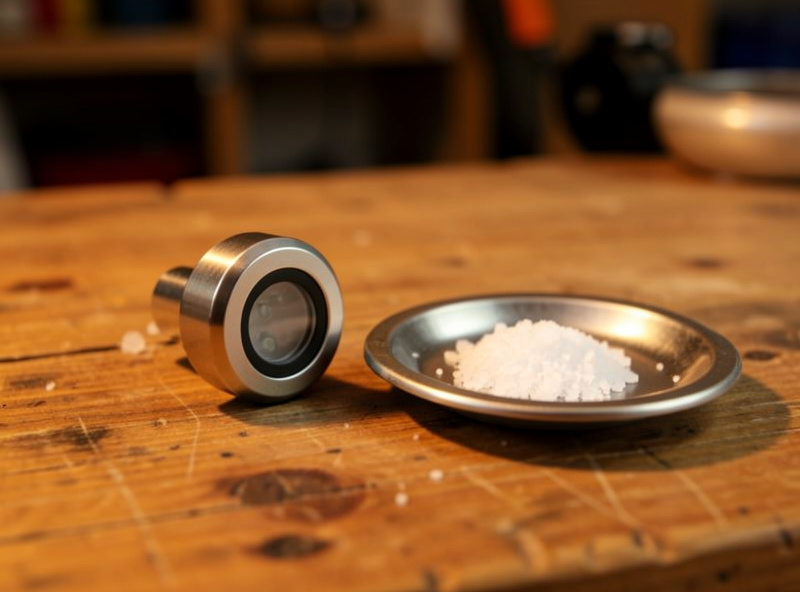
The test itself is unglamorous and worth doing slowly. You mix table salt with just enough water to make a wet slurry, not a soup — a teaspoon of salt with a few drops of water in a bottle cap does the job — set the open sensor and the cap together in a sealed bag on a quiet shelf, and leave it alone overnight while the air inside equilibrates. In the morning you read the number through the plastic without unsealing it, because one breath of dry room air ruins twelve hours of patience. The first time I did this properly, with a coffee in hand and the dawn light slanting across the bench, my supposedly trusted puck read 64% against a 75% reference, and I knew I had been lying to myself about my ventilation all winter.
This is the step most keepers skip, and it is the step that bit me. The first winter I ran remote sensors, I trusted the out-of-box calibration on a cheap WiFi puck. It reported a comfortable 68% RH through the coldest weeks, so I patted myself on the back about my ventilation. The following spring I finally ran a salt test and found the unit read 11% low — meaning the coop had actually been sitting nearer 79% RH during the very nights I thought I was safe. No combs were lost, but only because the cold-hardy breeds and their small combs were forgiving. I now salt-test every probe before it goes on the wall, log the offset, and re-test each probe once a season, because humidity sensors drift and a calibration done once is not a calibration done forever.
A two-point check is better than one if you can be bothered. A saturated magnesium chloride slurry gives a second fixed point at roughly 33% RH, so between the 33% and 75% anchors you can confirm the sensor is linear, not just correct at one spot. For a coop I find the single 75% salt test is usually enough, because the humidity band I care about — the 60 to 85% range where frostbite risk lives — sits right around that anchor.
What I Actually Run on My Coop Wall
On my own coop I run a small fleet rather than one hero sensor, because redundancy is how I trust the readings. The reference unit is a WiFi remote monitor in the Govee or Inkbird class — app alerts, a minute-by-minute history graph, and a probe on a lead so the electronics sit out of the worst of the damp while the probe reads roost-height air. That class has stayed within about 2% RH of my salt-test anchor after correction.
Redundancy is not paranoia; it is calibration you can see. Two probes that agree within a couple of points across a week give me confidence neither has drifted, and the week one of them starts to wander, I catch it before the reading leads me to open a vent I should not or close one I should. A single sensor has no witness, and a single sensor that drifts quietly is how a coop ends up damper than the keeper believes for an entire season.
Alongside it I run a DIY ESP32 board with a BME280 sensor, built on ESPHome and reporting into my Home Assistant hub. The BME280 family from Bosch Sensortec is the same sensor lineage you find inside a lot of commercial weather stations, and building my own means I control the reporting interval, the offset, and the alert logic rather than renting it from a cloud service. The two units cross-check each other: if the commercial puck and the DIY board ever disagree by more than a couple of points, one of them needs a recalibration, and I know before the reading leads me wrong. How those two land on the dashboard alongside the rest of the coop instruments is covered in the coop dashboard build, and the wider automation that consumes their data is in the Home Assistant coop automation guide.
The last habit I will press on you: log the reading, do not just glance at it. The overnight humidity curve — the slow climb from 60% at lights-out to a peak around 4 a.m. as the flock breathes and the droppings release moisture — is the signature of a healthy coop. A coop whose humidity spikes and stays high has a ventilation or a wet-litter problem brewing, and the curve shows it days before your nose or your eyes do.
What is the best temperature and humidity sensor for a chicken coop?
The best is a WiFi or Zigbee sensor that reports to your phone every minute, holds calibration within about 2 percent relative humidity after a salt test, and survives a wet winter. A cheap analog dial you must read in person does not monitor anything while you sleep.
Where should I place the temperature sensor in my coop?
Mount it on an interior wall at roost height, about 1.2 metres up, away from the pop door, the vents, and the waterer. That is the air the combs breathe. A ceiling or door sensor reports a different coop and can hide a frostbite risk.
How accurate are cheap humidity sensors?
Out of the box, cheap humidity sensors often drift by 5 to 12 percent relative humidity, so you must calibrate before trusting them. A salt test against a 75 percent fixed point takes twelve hours and tells you the exact offset to apply to every reading.
How do you calibrate a coop hygrometer with salt?
Seal the sensor in a bag with a dish of damp table salt slurry, keep it at a stable room temperature for twelve hours, and it should read about 75 percent relative humidity. The difference between that and the actual reading is the correction you apply going forward.
Do WiFi temperature sensors work in a cold chicken coop?
They can, but cold shortens battery life sharply. For a cold coop, choose a unit that runs on lithium cells or is USB-powered, and set an alert for when the sensor stops reporting, because a dead battery looks identical to a healthy coop on a dashboard.
Is a DIY ESP32 humidity sensor better than a commercial one?
It can be more accurate and far more flexible, because you control the sensor chip, the reporting interval, and the alerts. The trade-off is build effort. Running a DIY board alongside a commercial unit lets the two cross-check each other, which is how I trust my readings.
Further Reading
- Chicken Coop Sensors and Monitoring: The Complete Hardware Guide
- Coop Ventilation vs Draft: The Difference That Saves Combs
- Ammonia Sensors for the Coop: Catching Air Problems Before You Smell Them
- Water-Level and Flow Sensors: Knowing the Waterer Is Empty Before They Do
- Home Assistant Chicken Coop Automation: The Complete Guide
Related Guides
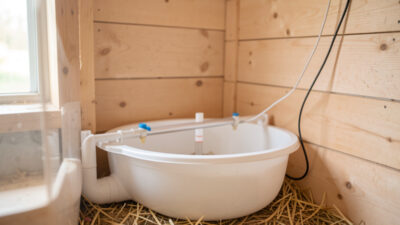
Water-Level and Flow Sensors: Knowing the Waterer Is Empty Before They Do
A coop water-level sensor tells you the drinker is going dry — or freezing solid — before the flock does,…
Ammonia Sensors for the Coop: Catching Air Problems Before You Smell Them
An ammonia sensor belongs at the birds’ breathing height, close to the litter where the gas is generated, because that…

Node-RED vs Home Assistant Automations for the Coop: When to Use Which
Use native Home Assistant automations for the coop’s simple, safety-critical rules — the sunrise door, the freeze-watch waterer — and…