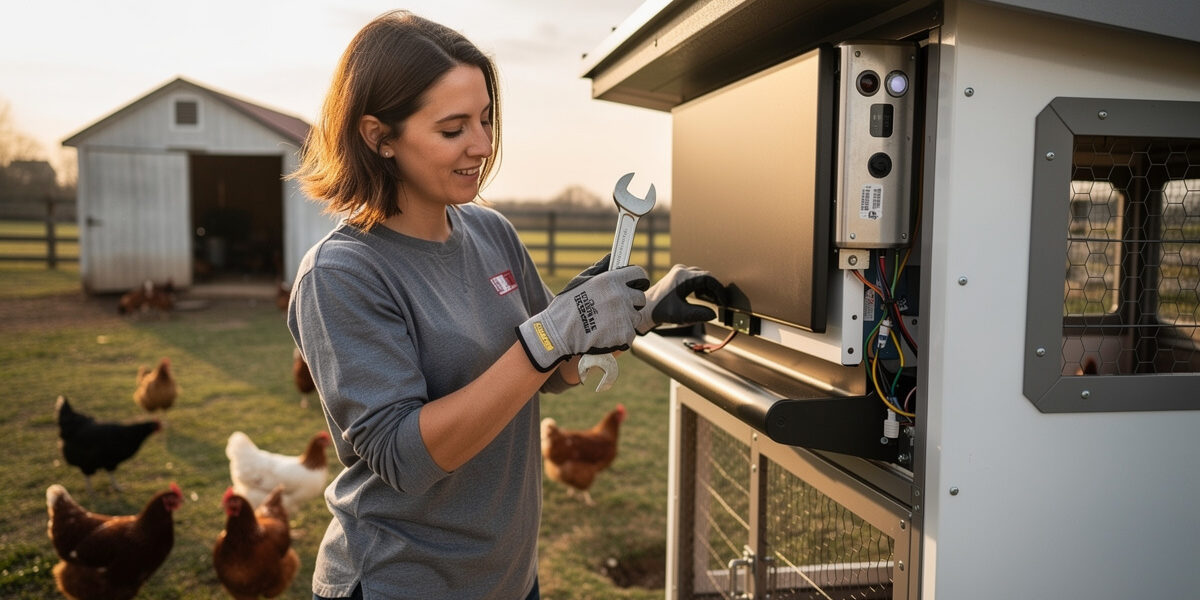
Smart chicken coop maintenance takes about 20 minutes a month plus 60–90 minutes per season — a fraction of the chore time on a manual coop, but skipping it kills more automated coops than any single component failure. The pattern that works: a 5-minute monthly checklist on every coop component, plus seasonal deep-cleans timed to the equinoxes and a hard winter check before the first freeze. It’s the same checklist I run on my own automated coop, and most months it turns up nothing — which is the point.
This guide gives you the actual checklists, expected replacement intervals, and the early-warning signs that catch problems before the flock does. For the full build context, see our complete smart chicken coop guide.
The Monthly Checklist
Run this once a month, ideally on the same day every month so it becomes habit. Total time: 15–25 minutes.
| Component | Check | Action If Failing |
|---|---|---|
| Auto door | Open/close cycle, no slipping or hesitation | Clean track, lubricate cable, check battery voltage |
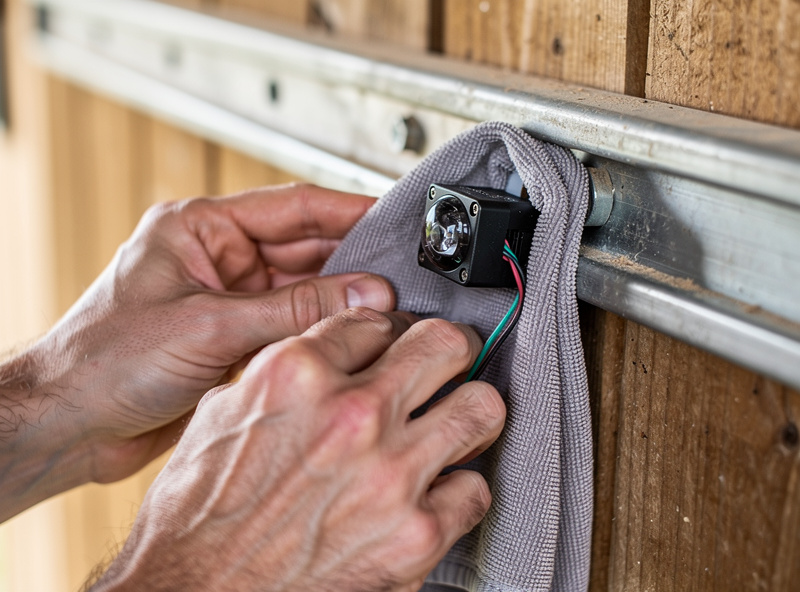
| Door light sensor | Glass/lens clean, not blocked by spider webs | Wipe with microfiber, blow out housing |
| Camera lens | Clear image, no dust haze in app preview | Wipe lens, check for moisture in housing |
| WiFi signal at coop | -65 dBm or better | Reposition mesh node (see our coop WiFi guide) |
| Sensor batteries | App shows >30% on every sensor | Replace coin cells (last 12–18 months typical) |
| Door sensor alignment | Magnet within 1/2″ of reed switch | Reseat magnet, check for loosened screws |
| Power supply housing | Cool to touch, no hot spots | Verify load total under spec; replace if degraded |
| Distribution fuses | All intact, none discolored | Replace any fuse showing brown discoloration |
| Cable strain reliefs | Tight, no daylight at penetrations | Re-seal with silicone; check for rodent damage |
Most months everything passes. The two items that need action 3–4 times per year are sensor batteries and the door track (chicken coops are dusty and the track collects debris).
Seasonal Deep-Clean and Inspection
Four times a year — at the equinoxes and solstices, roughly — do a deeper inspection. Plan 60–90 minutes per session.
Spring (March): Wake-Up
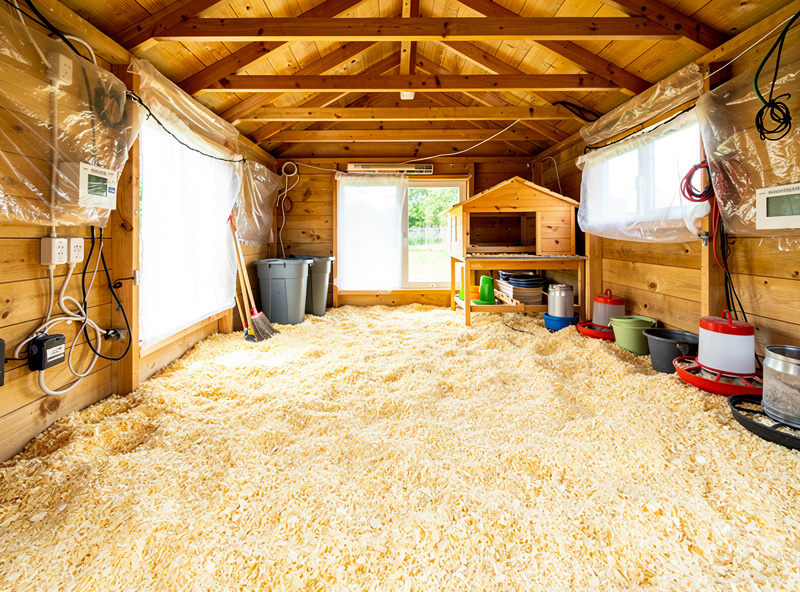
- Full deep-litter or bedding swap. Compost old bedding, scrub the floor, let it dry 24 hours before adding new bedding.
- Inspect every wall penetration. Winter freeze-thaw opens gaps. Re-caulk anything that flexes.
- Test all GFCI outlets. Press the test button, verify the trip and reset. Replace any that hesitate. The Consumer Product Safety Commission recommends testing every GFCI once a month — coop electronics near a waterer are exactly the kind of damp environment that recommendation exists for.
- Pollen filter (cameras and APs). Spring pollen clogs camera lenses and access point vents. Wipe both with isopropyl.
- Auto door full disassembly. Pull the unit, clean the gear assembly, regrease, remount. Most doors specify this in the manual.
Summer (June): Heat Prep
- Verify ventilation fans run on demand. Heat alerts come fast in July — confirm the fan triggers below your set point and runs full speed.
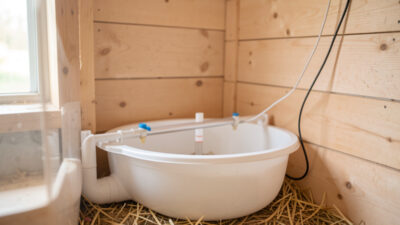
- Inspect waterer for algae. Sun-warm water grows algae. Clean nipple cups and waterer with vinegar.
- Trim foliage near WiFi access point. Spring growth can block line-of-sight signal.
- Check predator-apron edges. Summer is dig-season for skunks and foxes. Re-pin any lifted hardware cloth.
Fall (September): Winter Prep
- Full electrical safety inspection. Tighten every screw terminal at the distribution block. Loose terminals heat up under winter heater loads.
- Heated waterer test run. Plug it in, verify warm-up, leave it on a thermostatic outlet so it only runs when needed.
- Insulation check. Replace any settled or damaged insulation. Confirm vapor barrier intact.
- Battery winter prep. If on solar/off-grid, top-charge the battery and verify the heater (if equipped) cuts in below freezing. See our off-grid setup guide for cold-weather battery details.
- Stockpile spare fuses, sensor batteries, and one spare camera. Winter shipping delays kill flocks. Have parts on hand before you need them.
Winter (December): Cold-Weather Checks
- Door freeze-up check. Verify the door fully closes after a freezing rain. Spray track and gear with dry silicone if it sticks.
- Heated waterer ice test. Confirm no ice ring forming at the rim of the waterer. Adjust thermostat if needed.
- Cable insulation flex test. Some PVC jackets stiffen at -10°F and crack. Inspect any flexed-during-freeze cable for hairline splits.
- Manual override drill. Run a full manual cycle on every automated component. If something has failed, you want to know now, not at 2 AM during a power outage — I skipped this drill one December on my own coop and found out the hard way that a frozen gear box doesn’t care how good your Home Assistant automation is.
Replacement Schedule for Smart Coop Components
| Component | Expected Life | Failure Mode |
|---|---|---|
| Coin-cell sensor batteries (CR2032) | 12–18 months | Sensor drops offline, low-battery alert |
| Auto door (gear motor unit) | 3–5 years | Slipping, slow operation, motor stall |
| Auto door cable/cord | 2–4 years | Fraying at gear box, sudden break |
| WiFi camera (outdoor 1080p) | 3–5 years | IR LEDs fail, lens hazes, image artifacts |
| 12V AC-to-DC power supply | 4–6 years | Voltage drops, fan noise, overheating |
| LiFePO4 battery (off-grid) | 8–12 years | Capacity drops below 70% of original |
| AGM lead-acid battery | 2–4 years | Cannot hold charge overnight |
| Solar charge controller | 5–10 years | Won’t reach absorption voltage |
| Heated waterer base | 3–6 years | Thermostat sticks, base cracks |
Most replacements are predictable. The two that catch keepers by surprise are the door cable (fails fast once it starts fraying) and the coin-cell sensor batteries (the alert comes a week before the sensor stops reporting; a few keepers miss the alert).
What Different Alerts Actually Mean
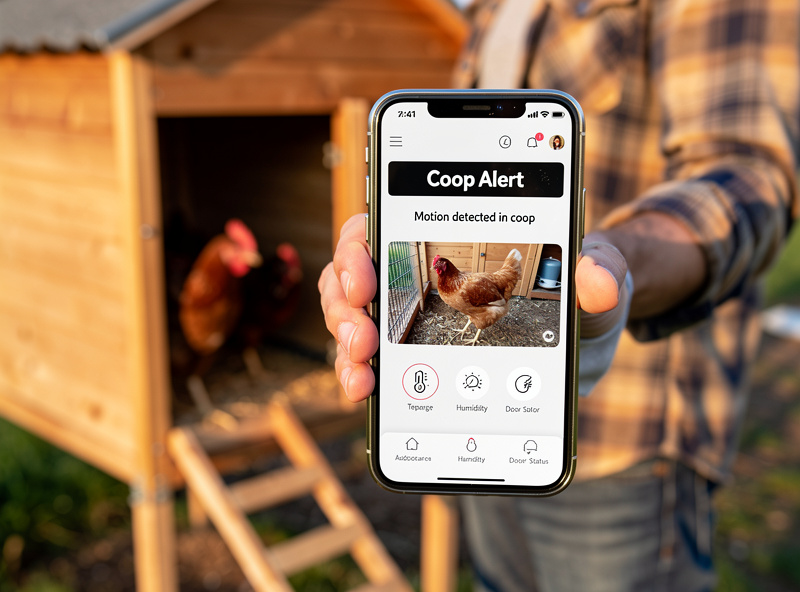
Smart coops generate alerts. Knowing which ones need same-day action versus next-month review matters:
| Alert | Urgency | Likely Cause |
|---|---|---|
| Door failed to close | Same-day | Obstruction, gear slip, frozen track |
| Temperature exceeded threshold | Same-day | Vent fan failure, heat wave, blocked vent |
| Camera offline | Same-week | WiFi signal, power, or hardware failure |
| Sensor low battery | Within 7 days | Battery near end of life |
| Sensor offline (no battery alert) | Same-day | Sensor failed, water damage, or RF interference |
| Water level low | Same-day | Refill, check for leaks |
| Motion at coop overnight | Same-day | Predator probing — investigate at dawn |
The single highest-priority alert is “door failed to close” — chickens stay outside the coop and become predator targets. Treat it like a fire alarm and respond within minutes.
Maintenance Cost Per Year
Realistic ongoing maintenance cost for a standard smart coop:
| Item | Annual Cost |
|---|---|
| Coin-cell sensor batteries (4–6 sensors) | $8–$15 |
| Auto door cable/cord (every 3 yrs) | $5–$10/yr amortized |
| Bedding (deep litter refresh quarterly) | $60–$110 |
| Cleaning supplies (vinegar, isopropyl, silicone) | $15–$25 |
| Spare fuses + minor parts | $10–$20 |
| Major component replacements (averaged) | $60–$120 |
| Total | $158–$300/year |
The variability in maintenance cost mostly tracks bedding choice and climate. Cold-climate coops spend more on heated waterer parts and supplemental heat hardware. Hot-climate coops spend more on fan parts and shading.
Cleaning Without Damaging Electronics
Coop cleaning is dusty, wet, and chemical-heavy. Three rules keep your automation alive:
- Cover or remove electronics before deep cleans. Pull the camera, cover the auto door with a plastic bag, unplug the power supply. Replace and reconnect after the coop is dry.
- Never spray water directly at sealed enclosures. IP65 is rated against a low-pressure water jet from a standard test nozzle, not the output of a garden or pressure washer — wipe enclosures with a damp cloth, never blast them. I learned this on a camera housing that leaked after a “quick rinse” with the hose on a fan setting.
- Avoid bleach near electronics. Bleach fumes corrode aluminum heat sinks and copper connections. Use vinegar or oxygen-bleach products inside coops with electronics.
The 80/20 of Smart Coop Maintenance
If you only do four things consistently, you cover 80% of what matters:
- Wipe the door light sensor monthly. Spider webs and dust over the sensor cause more “door won’t close” calls than anything else.
- Replace sensor batteries before they fail. Manufacturer specs on Zigbee sensors often claim 2+ years on a CR2032, but across the sensors I run on my own coop through a Swedish winter, real-world life lands closer to 12–18 months — set the calendar reminder for the low end, not the box claim.
- Test the manual override every fall. The day you need it is not the day to discover it does not work.
- Keep the coop dry. Damaged vapor barriers and poor ventilation kill electronics faster than any other failure mode. Address moisture issues immediately.
Combine those four with the monthly checklist above and your smart coop will outlast its components — by the time the auto door wears out at year four, you are replacing planned hardware, not chasing failures.
Frequently Asked Questions
How often should I clean a smart chicken coop?
Daily: collect eggs and observe through the camera. Weekly: scoop droppings, refresh nesting box bedding. Monthly: 15–25 minute checklist on all electronics. Quarterly: full deep clean and seasonal inspection. Yearly: replace sensor batteries and lubricate the auto door.
How long do smart chicken coop sensors last?
Battery-powered Zigbee sensors run 12–18 months on a CR2032 coin cell with normal reporting intervals. Wired 12V sensors last 5–8 years. Most sensors fail because of moisture damage, not battery exhaustion — keep them out of direct waterer splash zones.
What is the most common smart coop failure?
Auto door issues lead the list — usually a dirty light sensor (spider webs, dust) or a worn cable. Both are 5-minute fixes if caught at the monthly check. Sensor battery exhaustion is second; camera disconnection from weak WiFi signal is third.
Can I leave a smart chicken coop unattended for two weeks?
Yes if you have run the monthly checklist within 30 days, batteries are above 50%, and you have remote alerts configured. For trips longer than two weeks, also schedule a neighbor to do a visual check at the halfway point in case of an unexpected component failure.
Should I take electronics out for winter?
No, modern outdoor-rated smart coop hardware handles winter fine. The exceptions are batteries that lack a built-in low-temperature heater (charging below 32°F damages lithium) and any device without a true outdoor IP rating. For those, relocate to a heated enclosure.
How much does smart coop maintenance cost per year?
Realistic ongoing maintenance cost is $158–$300 per year for a standard smart coop, including bedding refresh, sensor batteries, cleaning supplies, and amortized component replacements. Cold-climate coops trend toward the high end of that range.
Related Articles
- How to Build a Smart Chicken Coop: The Complete 2026 Guide
- Smart Chicken Coop Monitoring: Cameras, Sensors & Apps
- Automatic Chicken Coop Doors: Complete Buyer’s Guide 2026
- Best Chicken Coop Bedding: Complete Material Guide
- Smart Chicken Coop Cost: Real 2026 Build & Operating Numbers
Related Guides
Water-Level and Flow Sensors: Knowing the Waterer Is Empty Before They Do
A coop water-level sensor tells you the drinker is going dry — or freezing solid — before the flock does,…
Ammonia Sensors for the Coop: Catching Air Problems Before You Smell Them
An ammonia sensor belongs at the birds’ breathing height, close to the litter where the gas is generated, because that…
Node-RED vs Home Assistant Automations for the Coop: When to Use Which
Use native Home Assistant automations for the coop’s simple, safety-critical rules — the sunrise door, the freeze-watch waterer — and…