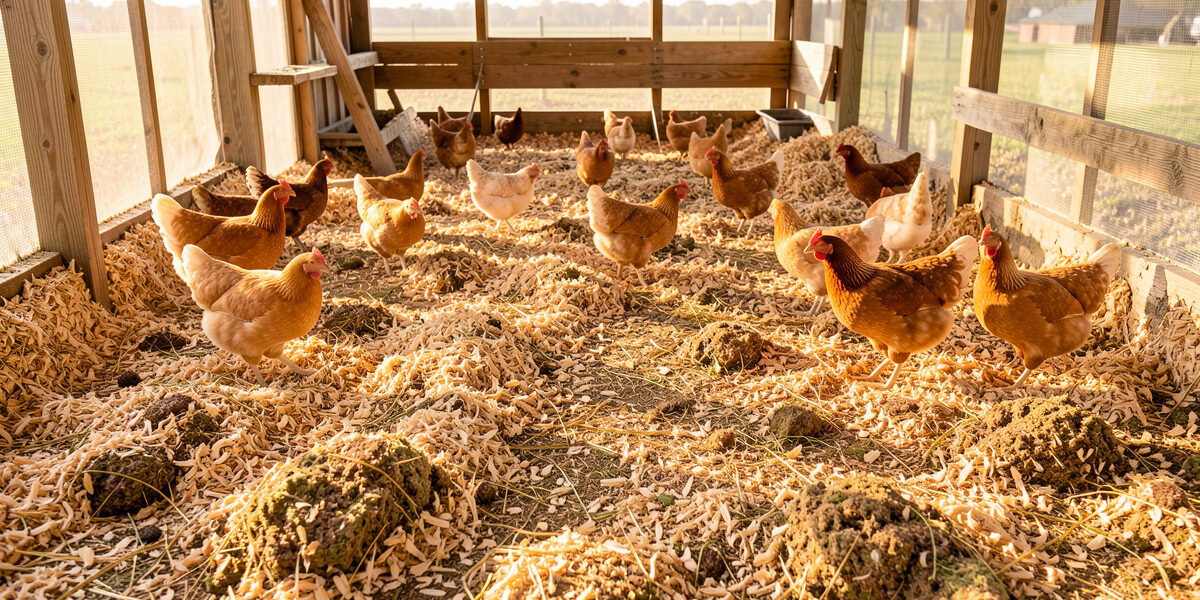
The deep litter method is a system where you let the bedding and droppings compost in place on the coop floor instead of cleaning it out every week. Done right, it builds a layer of beneficial microbes that suppress odor, generates a little warmth, and drops your full clean-outs to twice a year. On my flock in Sweden it’s the only floor system I’d run — but it has a failure mode, and the failure mode is a damp ammonia pit. Here’s how to run it so it works.
I’ve kept a deep-litter floor in a self-built insulated walk-in coop for years, through Swedish winters that sit below −20 °C. The method is genuinely low-labor, but “low-labor” gets misread as “no-labor,” and that’s where people end up with a matted, stinking floor and a flock with respiratory problems. The difference between a deep-litter floor that works and one that poisons the air is entirely about carbon, oxygen, and moisture — three things you control.
What Deep Litter Actually Is
Deep litter is cold composting under your birds. You lay down a thick carbon base — pine shavings, chopped straw, dry leaves, hemp — and the flock’s nitrogen-rich droppings fall into it. Beneficial aerobic microbes and the bedding’s own scratching-induced aeration break the manure down before it can go anaerobic and stink. Over months, the bottom layer turns into dark, earthy, half-finished compost while you keep topping the surface with fresh carbon.
It is not “let the poop pile up.” That’s the misconception that kills the method. A true deep-litter floor is a managed carbon-to-nitrogen system that you feed (fresh bedding), aerate (the birds scratch, you turn), and keep dry (ventilation and moisture control). When the balance is right, the floor smells like a forest floor, not a toilet. The whole approach sits inside the broader coop cleaning and maintenance system — deep litter is the floor strategy, not the whole job.
Starting a Deep Litter Floor From Scratch
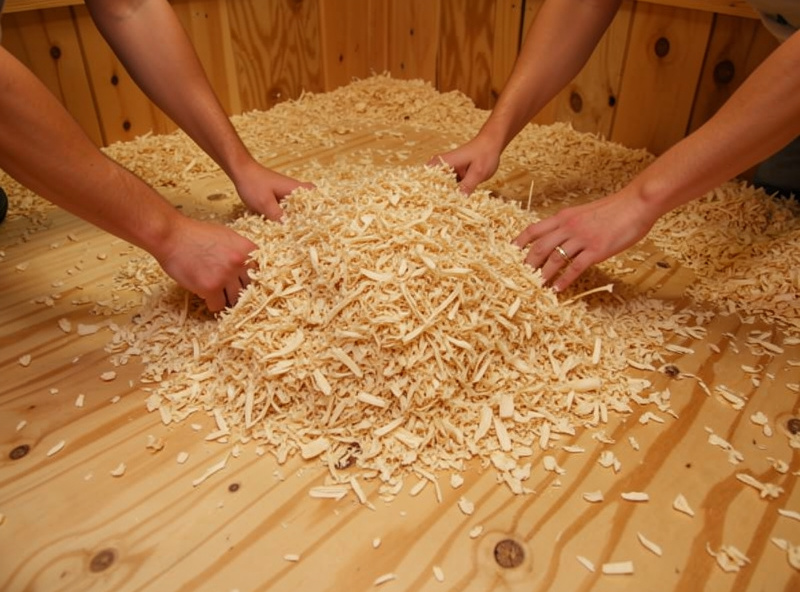
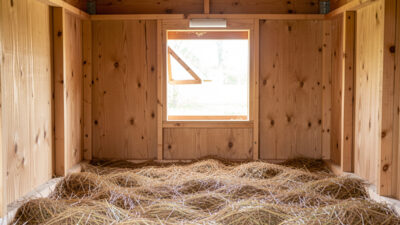
Begin on a clean, dry, well-drained floor. Bare earth, concrete sealed against rising damp, or solid plywood all work; what you cannot do is start over wet ground, because the system depends on excess moisture leaving upward through ventilation, not wicking up from below. Lay down a generous base layer — I start at 15–20 cm of large-flake kiln-dried pine shavings, which is far deeper than most beginners expect.
That depth is the whole point. A thin scatter of bedding saturates within days and has nowhere to compost; a deep base has the carbon mass to absorb weeks of droppings and the volume to host a real microbial population. For the first couple of weeks you mostly leave it alone and let the birds begin working their droppings into the surface as they scratch. If you’re choosing a base material, my bedding types comparison breaks down which ones compost well in a deep-litter system — pine and hemp do, sand does not (sand is a separate, non-composting philosophy entirely).
The Carbon-to-Nitrogen Balance You’re Managing
Composting needs roughly 25–30 parts carbon to 1 part nitrogen to run aerobically and odor-free — the carbon-to-nitrogen target is standard composting science documented by sources like the US EPA composting guidance. Chicken manure is heavy on nitrogen, so the bedding (carbon) is what keeps the ratio in range. The practical rule is simple: if you can smell ammonia, you need more carbon and more oxygen. Ammonia is the signature of nitrogen breaking down without enough carbon to balance it or enough air to keep it aerobic.
So you feed carbon. Every week or so, toss a fresh layer of shavings over the surface — more under the roost where droppings concentrate, less elsewhere. The birds do most of the mixing for you; scattering a handful of scratch grain over the litter turns them into a tilling crew that aerates the top layer hunting for it. In a deep, active floor you’re adding carbon faster than you’re removing anything, and the level slowly rises until the seasonal harvest.
Keeping It Aerobic: Turning and Moisture
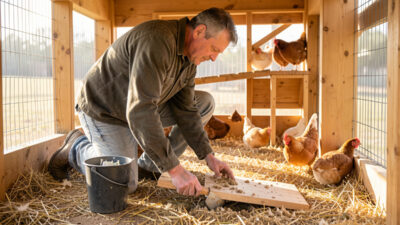
The enemy is anaerobic decomposition — the airless, wet, black-sludge rot that produces ammonia and hydrogen sulfide. You prevent it two ways. First, oxygen: the birds’ scratching aerates the surface, but the deeper layers and the wet zone under the roost need help. Once a week I turn the litter with a fork, folding the surface down and the bottom up, focusing on the roost zone. Second, moisture: the floor must be able to dry. That means a poop board catching the overnight droppings (which removes the majority of the daily water load before it hits the floor), no leaking waterers, and ventilation sized to carry humidity out.
This is why deep litter and ventilation are inseparable. A deep-litter coop generates moisture as it composts, and if that moisture can’t escape, the floor goes anaerobic and the air goes humid — the exact recipe for frostbite in winter, because moisture, not cold, is what frostbites a comb. Get the airflow right per my coop ventilation guide before you trust a deep floor through a cold winter.
Deep Litter in Winter: The Real Payoff
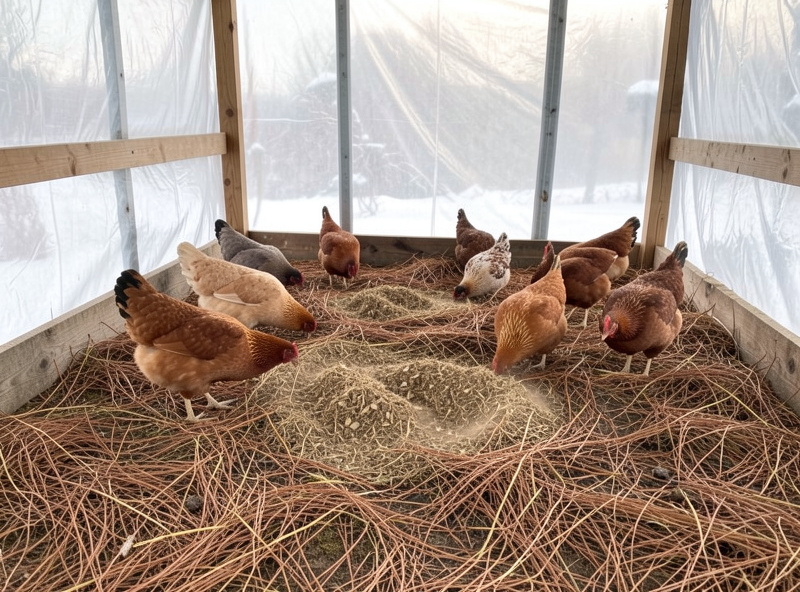
The reason I run deep litter in a Nordic climate is that an active composting floor produces a gentle, steady warmth from below as the microbes work. It’s not a furnace — don’t expect to heat the coop with it — but a thick, active litter bed takes the bottom edge off a brutal night and gives the flock a warm, dry substrate to stand on instead of cold bare floor. The birds also dig into it on the coldest days.
The catch is that winter is exactly when ventilation instinct fails people: they seal the coop to keep heat in, the deep litter’s moisture has nowhere to go, and humidity spikes. The fix is to keep topping with dry carbon through winter and never choke the airflow. I cover the cold-season specifics — depth, top-up cadence, and the humidity trap — in my deep litter for winter warmth writeup, which pairs with this general method.
Troubleshooting a Deep Litter Floor
Three problems cover almost everything that goes wrong. Ammonia smell: too much nitrogen, too little carbon or oxygen — add a thick layer of fresh shavings and turn the litter, especially under the roost. Damp, matted, capped surface: the litter is too wet to compost — find the moisture source (a leaking waterer, condensation, poor drainage), fix it, turn the mat to break the cap, and add dry carbon. Flies or a sour smell: usually a wet anaerobic pocket — dig it out, add carbon, improve airflow. If the smell points to something other than the litter, run the full diagnostic in my coop odor control guide.
One thing deep litter does not do is invite mites — that’s a myth worth killing. Red mites live in the dry cracks of the roost structure, not the composting floor, and a healthy active litter is actually inhospitable to them. Coop pests are a structural problem; see coop mite and pest control for the real battlefield.
Harvesting: Twice a Year, Straight to the Garden
Two or three times a year — I do spring and autumn — you do a partial or full harvest. Pull out the dark, broken-down bottom material (leaving a little behind as a microbial “starter” to seed the next round), and that harvested layer is already half-composted, balanced carbon-to-nitrogen, and ready for the compost bin to finish. This is deep litter’s hidden second dividend: it doesn’t just save you weekly clean-outs, it hands you premium garden fertilizer pre-mixed.
Don’t put it straight on plants — even half-composted deep litter needs a finishing cure to be safe and non-burning. Move it to a pile, let it heat and cure for a few months, and you’ve got the best free soil amendment going. The full process — curing time, when it’s safe, and how it feeds the beds — is in composting chicken manure for the garden.
Frequently Asked Questions
How deep should deep litter be?
Start with a base of 15 to 20 cm of carbon bedding like pine shavings, then build up from there as you top it with fresh material. Most beginners start far too shallow. The depth provides the carbon mass to absorb weeks of droppings and host the microbe population that keeps the floor composting instead of rotting.
Does the deep litter method smell bad?
A correctly managed deep litter floor smells like a forest floor, not a toilet. Any ammonia smell means the carbon-to-nitrogen balance is off or the litter has gone anaerobic. The fix is adding fresh carbon bedding and turning the litter to reintroduce oxygen, plus ensuring ventilation carries moisture out.
How often do you clean out a deep litter coop?
A full or partial harvest two to three times a year, typically spring and autumn. Between harvests you only top up with fresh carbon and turn the litter weekly. A poop board under the roost removes most of the daily moisture load, which is what lets the floor go months without a full clean-out.
Will deep litter keep my coop warm in winter?
It produces gentle warmth from below as the microbes compost the bedding, which takes the edge off cold nights and gives the flock a dry, warm substrate. It is not a heat source that warms the whole coop, and it only works if you keep topping with dry carbon and never seal off ventilation.
Does deep litter cause a mite problem?
No, that is a myth. Red mites live in the dry cracks of the roost structure, not in the composting floor. A healthy, active, slightly moist litter bed is actually inhospitable to them. Mite control is about treating the coop structure, not avoiding deep litter.
Keep Building
- Coop Cleaning, Bedding & Maintenance: The Complete System
- Chicken Bedding Types Compared
- Chicken Coop Odor Control
- Composting Chicken Manure for the Garden
- Coop Ventilation Guide
Related Guides
How to Compost Chicken Manure for the Garden
Fresh chicken manure is the richest free fertilizer you’ll ever produce — its nitrogen runs roughly 1.1–1.5%, hotter than cow…
The Chicken Coop Cleaning Schedule That Actually Works
A chicken coop cleaning schedule should take about five minutes a day, fifteen minutes a week, under an hour a…
Chicken Coop Odor Control: A Diagnostic Approach
A chicken coop should smell faintly of earth and warm birds — never of ammonia. That sharp, eye-watering note isn’t…