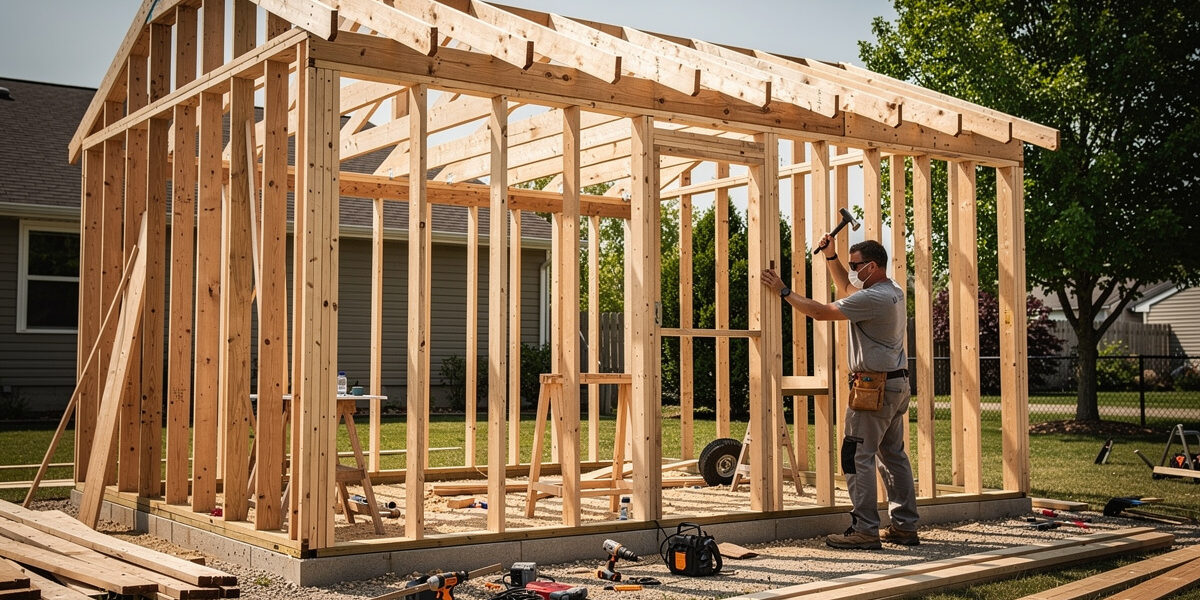
Building a chicken coop from scratch follows the same construction sequence as any small structure: site prep, foundation, floor, walls, roof, predator-proofing, fit-out. A standard 4×8 coop with all-new materials runs $810–$1,290 (itemized below) and takes 18–28 hours over two weekends with basic carpentry tools (drill, circular saw, hammer, level, square). Reusing pallets, scrap lumber, or a partial existing structure can bring that down considerably. The skill floor is lower than most beginners think — if you can hang a shelf and follow a measuring tape, you can build a chicken coop.
This guide walks through the full build from raw lumber to populated coop, with the specific decisions at each stage that determine whether the coop lasts 5 years or 25. I built my own coop’s frame this way, and the steps where I cut corners the first time — foundation drainage, predator-apron burial depth — are exactly the ones that came back to bite me a year or two later. For broader plan options, see our DIY chicken coop plans guide.
Before You Start: Five Decisions
Lock these in before buying any lumber:
- Coop size. 4 sq ft per bird minimum. For 6 birds, a 4×8 (32 sq ft) is the realistic baseline. Build for 50% larger than your starting flock — chicken math is undefeated, and the coop I sized for 6 birds now holds 10. See our chicken coop size guide.
- Site location. South or east-facing door, well-drained ground, within 100 ft of power if you want lighting or smart automation later. Walk the candidate spots at three times of day before deciding.
- Foundation type. Concrete blocks at corners (cheapest), continuous gravel base (better drainage), or treated 4×4 skids (best mobility). Pick before framing.
- Roof material. Asphalt shingles (most common), corrugated metal (best for snow), or polycarbonate panels (transparent, lets sun through). Different framing requirements.
- Run plan. Attached run (combo style) or separate run? See our coop with run guide for the decision math.
Materials List for a 4×8 Coop
| Category | Items | Quantity | Cost |
|---|---|---|---|
| Foundation | Concrete blocks (8x8x16) | 4 corners | $30–$50 |
| Floor framing | Pressure-treated 2x4x8 | 6 boards | $80–$120 |
| Floor sheathing | 3/4″ plywood | 1 sheet (4×8) | $60–$90 |
| Wall framing | 2x4x8 (untreated, kiln-dried) | 20 boards | $140–$200 |
| Wall sheathing/siding | 5/8″ T1-11 plywood | 3 sheets | $160–$240 |
| Roof framing | 2x4x8 rafters | 4 boards | $30–$50 |
| Roof sheathing | 5/8″ OSB | 1 sheet | $30–$50 |
| Roofing | Asphalt shingles + felt | 1 roll/bundle | $80–$140 |
| Hardware cloth | 1/2″ mesh | ~25 sq ft | $60–$100 |
| Predator apron | 1/4″ hardware cloth, 12″ wide | ~30 ft | $30–$50 |
| Hardware | Hinges, latches, screws, nails | — | $80–$140 |
| Paint/stain | 1 gallon exterior paint or stain | 1 gal | $30–$60 |
| Total | $810–$1,290 |
Total varies with regional lumber pricing — the itemized total above, $810–$1,290, reflects all-new materials at typical big-box pricing. It runs lower if you use OSB instead of plywood for some surfaces or reuse free/reclaimed lumber and pallets for the framing, and higher if you upgrade to LP SmartSide siding or a metal roof.
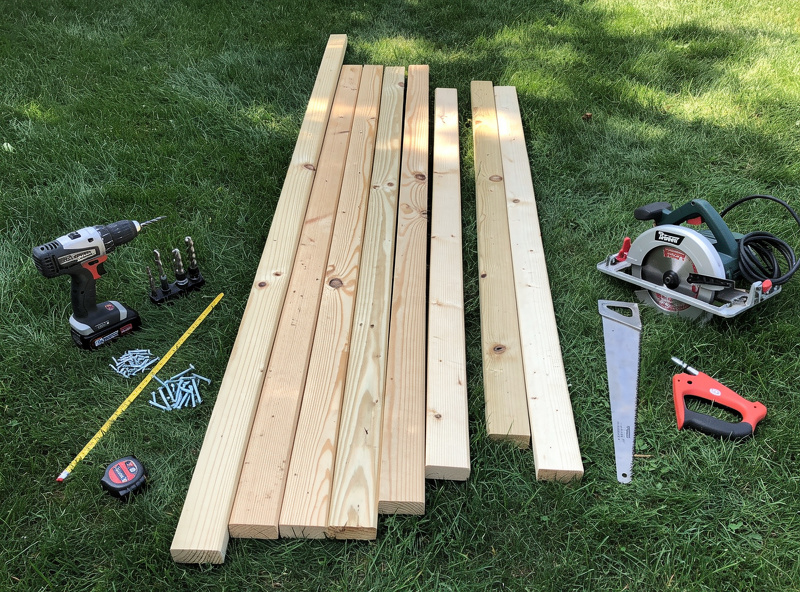
Tools You Need
The minimum tool kit:
- Circular saw or reciprocating saw (cordless 18V or corded)
- Cordless drill with screwdriver bits
- Hammer
- Tape measure (25 ft)
- Speed square or framing square
- 4-foot level
- Pencil and chalk line
- Safety glasses and ear protection
Helpful additions:
- Compound miter saw (faster than circular saw for repeat cuts)
- Framing nailer (faster than hand-driving nails)
- Tin snips (for cutting hardware cloth)
- Staple gun (for attaching hardware cloth and roofing felt)
Total tool cost if starting from zero: $180–$320 for the basics, $400–$700 with the helpful additions. Most readers already own at least the drill and tape measure.
Step 1: Site Prep and Foundation (2–4 hours)
Mark the coop footprint with stakes and string. Clear vegetation and rake the area level. For concrete-block foundation:
- Dig 4 small holes at the corners, 6–8 inches deep
- Add 2 inches of gravel for drainage
- Set concrete blocks level with each other (use the 4-foot level + a long straight board across blocks)
- Verify the rectangle is square: diagonal measurements should be equal
For continuous gravel base:
- Excavate the footprint 4 inches deep
- Lay landscape fabric to prevent weed growth
- Fill with crushed stone or pea gravel, tamped firm
- Level to within 1/2 inch over the full footprint
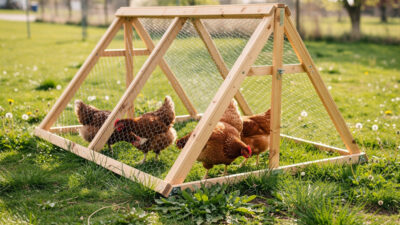
For skids (best for mobile coops):
- Lay two pressure-treated 4x4x10 skids parallel, 4 ft apart
- Level each independently
- The whole structure sits on top, can be dragged with a tractor or chain
Step 2: Floor Framing and Sheathing (2–3 hours)
Build the floor as a separate frame on the ground, then lift onto the foundation.
- Cut two 2x4x8 pressure-treated boards (these are the long sides of the floor frame)
- Cut three 2x4x45″ pressure-treated boards (these are the joists at the ends and middle)
- Assemble using 3″ deck screws — long sides outside, joists between them at 0″, 24″, 48″, and 96″ marks
- Square the frame: diagonals must be equal
- Lift onto foundation; verify level in both directions
- Lay 3/4″ plywood across the top, screw down with 2″ screws every 8 inches along joists
Step 3: Wall Framing (3–5 hours)
Build walls flat on the ground, then stand them up. Standard wall layout:
- Bottom plate (1 x 2×4 the full length of wall)
- Top plate (1 x 2×4 the full length of wall)
- Studs every 16″ on center between top and bottom plates
- Header above any door or window opening (2×4 or 2×6 doubled)
For a 4×8 coop, you need:
- 2 long walls (8 ft) with door cutout in one
- 2 short walls (4 ft) with window or vent cutouts
Build all four walls flat. Stand them up one at a time, screw together at corners with 3″ deck screws. Use temporary diagonal braces to keep walls plumb until the roof goes on.
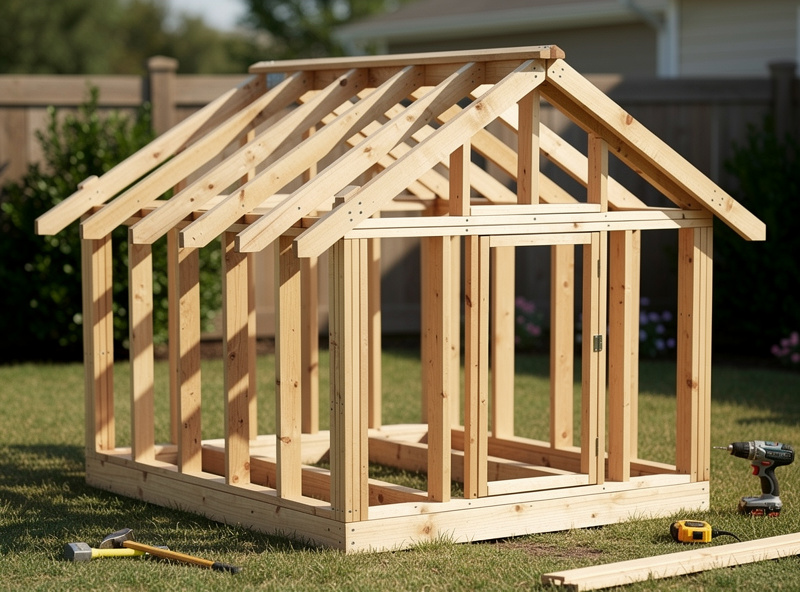
Step 4: Roof Framing and Sheathing (3–4 hours)
The simplest approach for a small coop is a shed-style roof (single slope from front to back):
- Make the front wall 6″ taller than the back wall
- Cut rafters that span from front top plate to back top plate
- Birds-mouth notch the rafters where they sit on the top plates
- Space rafters at 16″ or 24″ on center
- Attach rafters to top plates with hurricane ties or rafter ties
- Sheath with OSB or plywood
For gable-style roofs (two slopes meeting at a peak), the framing is more involved but the aesthetic is better. Both work for chickens; choose based on the look you want.
Step 5: Sheathing, Siding, and Roofing (3–5 hours)
Wrap walls in T1-11 plywood (or LP SmartSide for upgraded durability):
- Cut sheets to size for each wall
- Screw to studs every 8″ along edges and every 12″ in the field
- Cut openings for door, windows, and pop door
For roofing:
- Lay 30-pound felt or synthetic underlayment
- Install drip edge along eaves
- Lay shingles starting from the lowest edge, working up
- For metal panels: skip felt, install panels with screws into purlins
Step 6: Predator-Proofing (2–3 hours)
This is the step beginners under-estimate, and the one I’d never let anyone rush on my own build. Allocate the time:
- Hardware cloth on every opening. Cut 1/2″ hardware cloth to fit each window, vent, and the pop door area. Staple or screw to framing — not just to siding.
- Buried apron. Lay 1/4″ hardware cloth flat on the ground extending 12 inches outward from every wall. Bury 4 inches deep or pin with landscape staples every 6 inches.
- Seal gaps. Inspect every joint, every wall penetration, every corner. Anything bigger than 1/2″ gets sealed with hardware cloth, silicone caulk, or expanding foam.
- Reinforce door frames. Add corner brackets where the door frame meets the wall. Door frames are the weakest point.
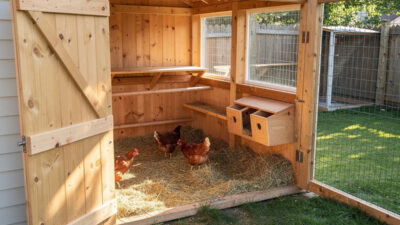
Step 7: Interior Fit-Out (3–4 hours)
The chicken-living infrastructure:
- Roost bars. Sanded 2x2s mounted 18–24 inches off the floor, allowing 8–12 inches per bird. Higher than nesting boxes.
- Nesting boxes. 12x12x14″ minimum per box, one box per 4 birds. Mounted lower than the roost. External egg-collection door is a major time-saver.
- Pop door. 9–13″ wide, 12–16″ tall, mounted on the wall facing the run. Hardware cloth covers the opening when door is closed.
- Feeder and waterer mounts. Hang or wall-mount to keep waste out. Floor-level feeders fill with dust and droppings.
- Bedding base. 4–6 inches of pine shavings, hemp, or sand on the floor. See our chicken coop bedding guide.
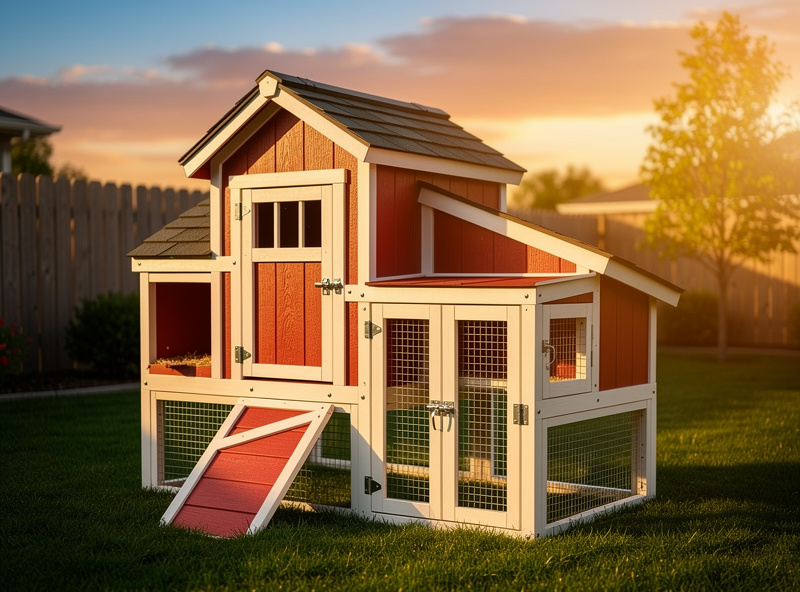
Step 8: Exterior Finish (2–3 hours)
Paint or stain protects the siding and adds curb appeal. Most readers use exterior latex paint in two coats. Stain works on cedar siding but does nothing for plywood T1-11 and is mostly cosmetic.
Install latches, hinges, and any remaining hardware. Add a name plate or decorative trim if you want — pure cosmetic but gratifying.
Step 9: Run Construction (10–18 hours, separate project)
If you are building an attached run, allow another weekend. Run framing follows the same general principles — pressure-treated posts, hardware cloth on all surfaces, buried apron. Detail in our chicken run guide.
Step 10: Move Chickens In
Give fresh paint or stain time to cure before moving birds in — off-gassing runs heaviest in the first 24 to 72 hours, so wait at least 48–72 hours with the coop well-ventilated, longer in cool or humid weather when paint cures slower. Add bedding, install feeder and waterer, and let the chickens explore at dusk for the first time so they associate the coop with sleeping.
Total Build Schedule
| Phase | Hours | Realistic Timeline |
|---|---|---|
| Site prep + foundation | 2–4 | Saturday morning |
| Floor framing + sheathing | 2–3 | Saturday afternoon |
| Wall framing | 3–5 | Sunday morning |
| Roof framing + sheathing | 3–4 | Sunday afternoon |
| Sheathing, siding, roofing | 3–5 | Following Saturday |
| Predator-proofing | 2–3 | Following Sunday morning |
| Interior fit-out | 3–4 | Following Sunday afternoon |
| Exterior finish | 2–3 | Third Saturday morning |
| Total | 20–31 hours | 2–3 weekends |
First-time builders should plan toward the high end. Experienced builders compress to 1–2 weekends. Add another weekend for the run if you are building an attached one.
Mistakes to Avoid
- Untreated lumber on bottom plates. This is the failure I see most often on coops that don’t make it past a decade — moisture from the ground or a concrete pad steadily rots untreated sill lumber, which is exactly why building code requires pressure-treated, ground-contact-rated lumber wherever wood touches concrete or ground.
- Skipping the predator apron. Foxes and dogs dig under above-ground walls within months. Buried apron is mandatory.
- Chicken wire on any opening. Use hardware cloth (1/4″ or 1/2″). Period.
- Ventilation undersized. Plan 1 sq ft of vent per 10 sq ft of floor. Add gable vents and soffit vents.
- Roost bars below nesting boxes. Hens roost in the highest spot. If nesting boxes are higher than roosts, eggs get fouled.
- Not building square. Out-of-square framing causes doors to bind and walls to lean. Check diagonals every step.
- Rushing predator-proofing. Spend the time. Every gap matters.
- Cleaning-out access too small. Build a large clean-out door. Your future self will thank you.
Smart Coop Compatibility During Build
If you plan to add automation later, do these three things during the build. My own auto-door and camera mounts sit on blocking I framed in before the siding went up, and running the sunrise/sunset-offset door logic through Home Assistant instead of a dumb timer was a decision I made at the framing stage, not an afterthought:
- Run conduit. 1/2″ PVC conduit through walls during framing for future wiring. Costs $20 in materials and saves a half-day later.
- Reinforce mounting blocks. Add solid wood blocking where you might mount a camera, sensor, or auto door later.
- Plan automation zone. Reserve a 2×3 ft wall area near the people door for the future distribution block. Don’t put nesting boxes or roosts there.
For the full smart-coop plan, see our complete smart chicken coop guide and wiring guide.
Frequently Asked Questions
How long does it take to build a chicken coop?
A standard 4×8 chicken coop takes 18–28 hours over two weekends for first-time builders, or 12–18 hours for experienced builders. Walk-in coops at 6×8 to 8×10 require 32–60 hours over 3–5 weekends. Add another weekend for an attached run.
What materials do I need to build a chicken coop?
For a 4×8 coop: pressure-treated 2×4 floor framing, kiln-dried 2×4 wall framing, 5/8 inch T1-11 plywood siding, 3/4 inch plywood floor, 1/2 inch hardware cloth, asphalt shingles or metal roofing, hinges, latches, screws, and concrete blocks for foundation. All-new materials at typical big-box pricing run $810–$1,290; reusing pallets or reclaimed lumber brings that down.
What tools do I need to build a chicken coop?
Minimum tool kit: cordless drill, circular saw or reciprocating saw, hammer, tape measure, speed square, 4-foot level, and pencil. Helpful additions: compound miter saw, framing nailer, and tin snips for cutting hardware cloth. Tools cost $180–$320 if starting from zero.
What size chicken coop should I build?
Plan 4 sq ft per bird inside the coop, plus 8–10 sq ft per bird in the attached run. For 6 birds, a 4×8 coop (32 sq ft) is the realistic baseline. Build for 50% larger than your starting flock since most keepers expand within 24 months.
Can I build a chicken coop in one weekend?
A small 4×4 basic coop or pallet build can be completed in one weekend (12–18 hours). The standard 4×8 coop usually requires two weekends for first-timers. Experienced builders compress to one long weekend. Walk-in coops always require multiple weekends.
Do I need to be a carpenter to build a chicken coop?
No. Basic chicken coop construction is at the simplest end of carpentry — straight cuts, square corners, screws and nails. If you can hang a shelf and follow a measuring tape, you can build a 4×8 coop. The skill floor is much lower than most beginners think.
Related Articles
- DIY Chicken Coop Plans: 12 Free Designs by Skill Level
- Chicken Run Guide: Sizing, Materials & Best 2026 Models
- Chicken Coop Size Guide: How Many Chickens Per Square Foot
- Best Chicken Coop Bedding: Complete Material Guide
- Smart Chicken Coop on a Budget: DIY Automation Under $200
Related Guides
DIY Chicken Tractor Plans: Free Mobile Coop Builds
A DIY chicken tractor — the mobile coop+run combo on wheels or skids — is one of the most-built backyard…
Walk-In Chicken Coop Plans: Free Blueprints
A walk-in chicken coop built with free blueprints delivers the maintenance-friendly height (6.5+ ft ceiling) most backyard keepers eventually wish…
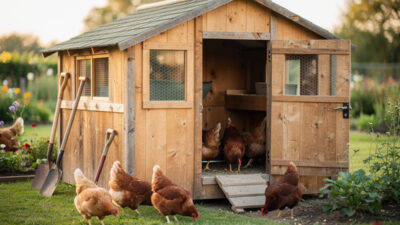
Chicken Coop Shed Conversion: Garden Shed to Coop
Converting a garden shed into a chicken coop shed takes 8–16 hours and $200–$500 in materials, delivers far better insulation…