Solar panel sizing math for off-grid chicken coops. Watts needed for lights, heaters, and automatic doors with climate multipliers and battery sizing.
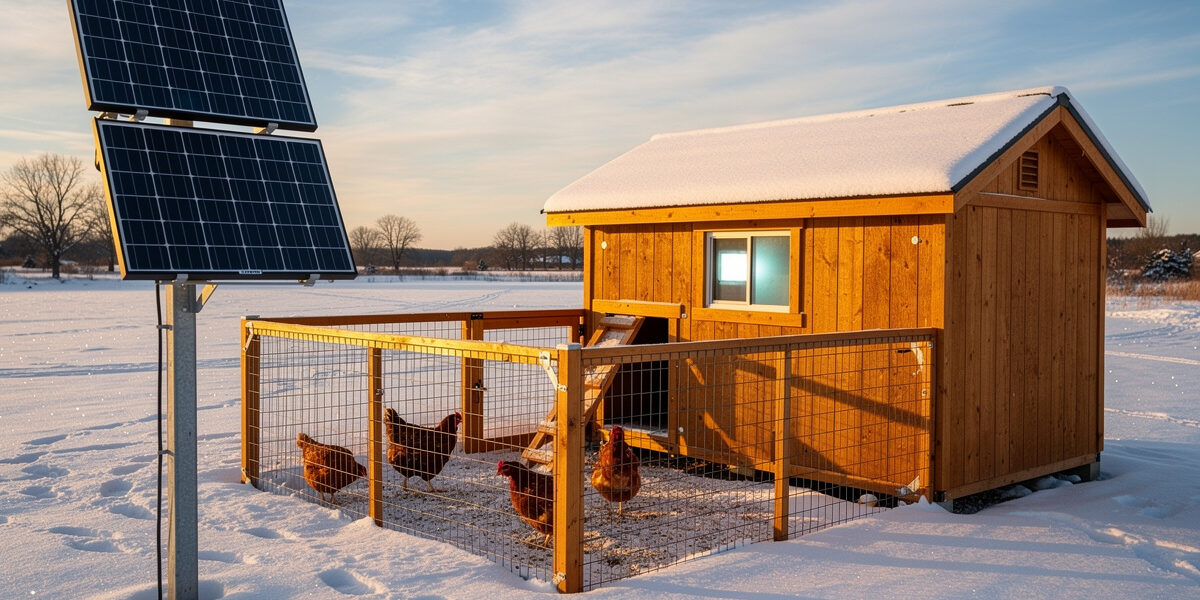
A solar-powered chicken coop is one of the simplest off-grid energy projects you can run. The loads are tiny compared to a house — a few LED lights, a coop door motor, maybe a heated waterer in winter. The trap is that “tiny” stops being tiny once you stack winter heating onto a December solar week. Sizing the panel for August fails the coop in January. Full honesty up front: my own coop in Sweden doesn’t run on solar — December daylight this far north makes the winter-heating math genuinely bad, and I lean on a LiFePO4 UPS bank for outage bridging instead. But I’ve run this exact sizing math for keepers in sunnier climates who asked, and the math doesn’t change with latitude — only the inputs do. This guide walks the math the right way: total your watt-hours, apply your climate multiplier, then size the panel — and the battery bank that pairs with it — for the worst week of the year, not the average.
For the broader off-grid system overview, the off-grid smart chicken coop guide covers the full setup. This article zooms in on the panel side specifically — wattage selection, climate adjustment, mounting, and the controller choice that determines how much of your panel’s rated wattage you actually capture.
The Three Coop Loads That Define Solar Panel Size
Most backyard coops draw 50–400 watt-hours per day depending on what you power. Three load categories cover virtually every coop:
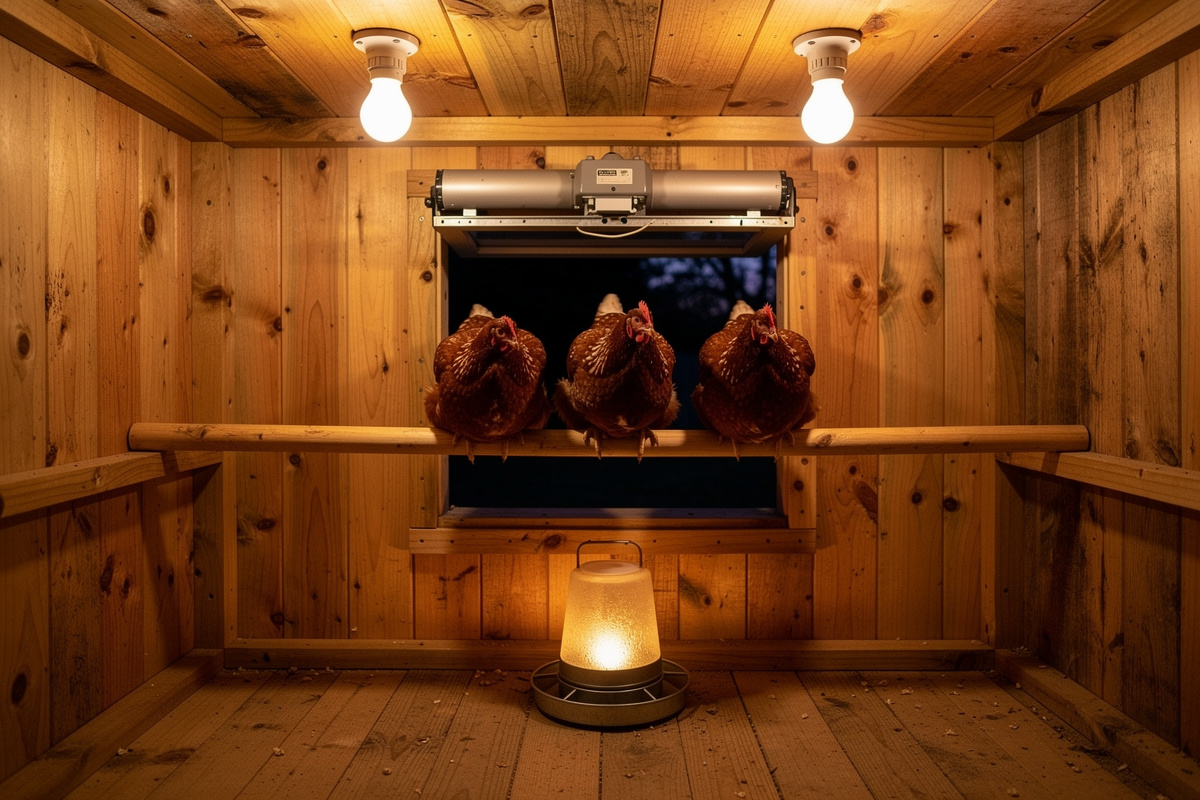
1. Lighting. Two to four 5W LED bulbs running 4–8 hours per day for winter laying extension. Total: 40–160 Wh/day. The cheapest, most predictable load.
2. Automatic coop door. Most pull 2–10 watts only when actively opening or closing — total daily energy is under 5 Wh. Negligible against the lights but worth listing because failed door cycles cost chickens.
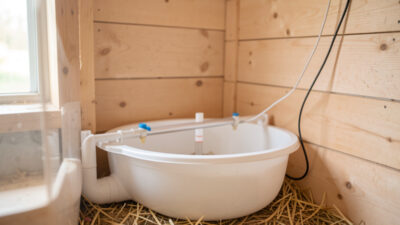
3. Heated waterer / coop heater. The load that wrecks bad sizing. A 60W heated base for a 3-gallon waterer thermostatically cycling at 40% duty cycle in winter draws 24W average × 24 hours = 576 Wh/day. A 200W coop heater on similar duty draws 1,920 Wh/day. The solar coop heater article covers the specific math for heat-only systems; this guide assumes you may or may not have heat depending on climate.
Optional loads worth budgeting if you have them: smart camera (2–10 Wh/day), Wi-Fi access point inside the coop (50–100 Wh/day), pump for an automated waterer reservoir (5–20 Wh/day). The full off-grid stack pulls from 200 Wh/day for a lights-only setup to 2,500+ Wh/day for a heated-and-monitored coop in a cold climate.
Calculating Daily Watt-Hours (Wh) for Your Coop
Watt-hours measure energy consumed over time. Watts × hours = watt-hours. The number you need is daily Wh — which determines panel size, battery size, and ultimately whether the system survives winter.
Worked example for a typical Zone 6 (Iowa) coop with lights and a heated waterer, no coop heater:
| Device | Watts | Hours/day | Wh/day |
|---|---|---|---|
| 4× LED bulbs (5W each) | 20 | 5 | 100 |
| Automatic coop door | 5 | 0.1 | 0.5 |
| Heated waterer base | 60 | 10 (40% of 24h) | 600 |
| Smart camera | 3 | 24 | 72 |
| Total | 772 Wh/day |
The same coop without the heated waterer drops to 172 Wh/day. The same coop with a 150W coop heater added (50% duty cycle in deep winter) climbs to 2,572 Wh/day. The heating decision is the single biggest variable in coop solar sizing. The chicken coop battery backup article covers the storage side of the same equation — battery sizing follows directly from this Wh number.
Solar Panel Sizing Math: How Many Watts Per Coop
The basic formula: panel watts = daily Wh ÷ peak sun hours ÷ 0.7. The 0.7 factor accounts for system losses (charge controller efficiency, battery round-trip losses, panel temperature derating, wiring resistance, dirty panels). Solar industry calls this the “real-world derating factor”; some sources use 0.75 for ideal conditions.
Peak sun hours (PSH) is not the same as daylight hours. PSH is the equivalent number of hours per day where the sun delivers 1,000 W/m² — the panel rating condition. NREL’s PVWatts database publishes monthly PSH for every US zip code; for sizing purposes use the December value, not the annual average.
Worked example for the 772 Wh/day Iowa coop:
- December PSH in central Iowa: 2.8 hours
- Required panel watts: 772 ÷ 2.8 ÷ 0.7 = 394 watts
So a 400W panel covers the lights+waterer load year-round. A 100W panel covers the lights-only load (172 Wh/day ÷ 2.8 ÷ 0.7 = 88W; round up to the next standard size). A 1,000W-plus panel array is needed for the heated coop scenario (2,572 Wh/day ÷ 2.8 ÷ 0.7 = 1,313W; round up to two 660W panels or four 400W panels — three 400W panels only totals 1,200W, which falls short).
The seasonal asymmetry is the trap. The same Iowa coop in June has 5.8 PSH — almost twice December. A panel sized to exactly meet the load in June would deliver only about 48% of the needed power in December (2.8 ÷ 5.8), because output scales directly with peak sun hours. Always size for December, then accept that you’ll have surplus in summer.
Climate and Latitude: Multiplier Tables for the US
Peak sun hours in December range from 2.0 hours in Seattle to 5.5 hours in Tucson — a 2.75x difference. Use this table to look up a starting estimate; refine with your specific zip code via PVWatts.
| US Region | December PSH | Wh→W multiplier (incl. 0.7 derate) |
|---|---|---|
| Pacific Northwest (Seattle, Portland) | 1.8–2.2 | 0.71 |
| Northern Midwest (Minneapolis, Chicago) | 2.4–2.8 | 0.55 |
| Northeast (Boston, NYC) | 2.6–3.0 | 0.50 |
| Mid-Atlantic (DC, Richmond) | 3.0–3.4 | 0.43 |
| Mountain West (Denver, Salt Lake) | 3.4–4.0 | 0.38 |
| South (Atlanta, Dallas) | 3.4–4.0 | 0.38 |
| Southwest (Phoenix, Tucson) | 4.5–5.5 | 0.27 |
| Florida / Gulf Coast | 3.6–4.2 | 0.36 |
Multiply your daily Wh by the multiplier to get required panel wattage. A 772 Wh/day coop in Seattle: 772 × 0.71 = 549W panel. The same coop in Tucson: 772 × 0.27 = 208W. Climate is more important than coop design for solar panel sizing.
Panel Mounting: Roof, Pole, Ground
Three mounting locations work for backyard coops; each has trade-offs that matter more than the panel brand.
Coop roof mount. Most convenient if the coop is south-facing with no shade. Requires the roof to handle 30–80 lbs of additional weight (most well-built wooden coops handle this fine). Tilt is fixed at the roof pitch — usually 15–30°, suboptimal for winter sun (which wants 50–60° in northern latitudes). Acceptable for southern climates; sub-optimal in the north where you most need winter production. The smart coop wiring guide covers the through-roof wire routing.
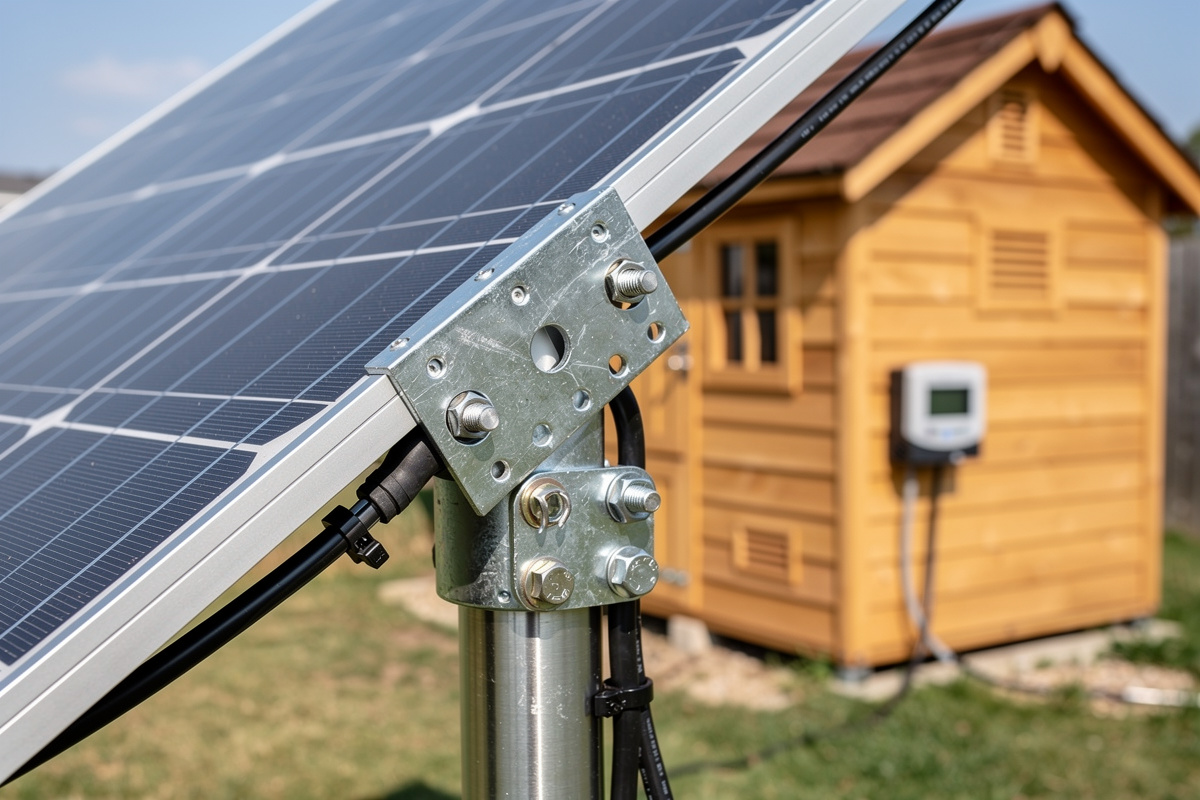
Pole mount. Adjustable tilt — change with the seasons (steeper in winter, shallower in summer) for 15–25% more annual production. Costs an extra $40–80 for the tilt-adjustable bracket. Best for owners willing to adjust twice a year and located above 35° latitude where the seasonal sun-angle change matters.
Ground mount. Cheap, easy, and the optimal tilt is whatever you want. Downside: shadow management (chickens will scratch under the panel and undermine it; vegetation grows tall enough to shade), and physical security (pole-mounted panels are harder to walk off with). Use a 2×4 frame on concrete piers; budget $30–50 in lumber.
For coops located in the North (above 40° latitude), pole mounts with adjustable tilt produce noticeably more winter watt-hours than roof mounts. South of 35°, the difference is smaller and the convenience of roof mount usually wins.
Panel Selection: Monocrystalline vs Polycrystalline vs Flexible
Monocrystalline rigid panels are the right default for most coop applications. They cost slightly more per watt than polycrystalline but produce more power per square foot, last longer, and perform better in low-light conditions (cloudy winter days — exactly when coops need power). The main exception is a genuinely tight budget where polycrystalline’s lower $/W and a bit of extra roof space closes the gap.
Quick comparison:
- Monocrystalline rigid: 18–22% efficiency, 25-year warranty common, $0.45–0.70/W. Best for permanent installations.
- Polycrystalline rigid: 15–17% efficiency, 25-year warranty common, $0.35–0.55/W. Cheaper but you need 20% more square footage for equivalent watts.
- Flexible (CIGS or thin-film mono): 12–18% efficiency, 5–10 year warranty, $1.50–3.00/W. Useful only when you need to bend the panel around a curved surface — which a chicken coop almost never has.
- Used / refurbished panels: 70–80% of original output, 1–5 year warranty, $0.15–0.30/W. Excellent for budget builds; just verify the panels test at rated voltage before purchase.
For a 400W coop array, the right purchase is one 400W monocrystalline panel from a major brand (Renogy, Newpowa, Mission Solar) for $180–280. Or two 200W panels in parallel if mounting space dictates.
Charge Controller Choice: PWM vs MPPT
The charge controller sits between the panel and the battery. It regulates voltage and prevents overcharge. Two technologies dominate; the choice has a 15–30% impact on actual power delivered to the battery.
PWM (pulse-width modulation): Cheap ($15–40 for typical coop sizes). Works by clamping panel voltage down to battery voltage — wastes the difference as heat. Acceptable for small systems where the panel and battery voltages match closely (12V panel + 12V battery). Loses 20–30% of available power when the panel runs hot or the battery is depleted.
MPPT (maximum power point tracking): $50–150 for typical coop sizes. Actively tracks the panel’s maximum power point voltage and converts to battery voltage at 95–98% efficiency. Real-world cold-weather testing puts MPPT’s advantage over PWM at roughly 15-30%+ in winter conditions (when panels are cold and produce higher voltage that PWM throws away) — the gap that made the recommendation above.
For coop systems above 200W panel size or in northern climates, MPPT pays back the extra cost within one winter. For systems under 100W in southern climates, PWM is fine.
Recommended specific models:
- Up to 100W panel: Renogy Wanderer 10A PWM ($25)
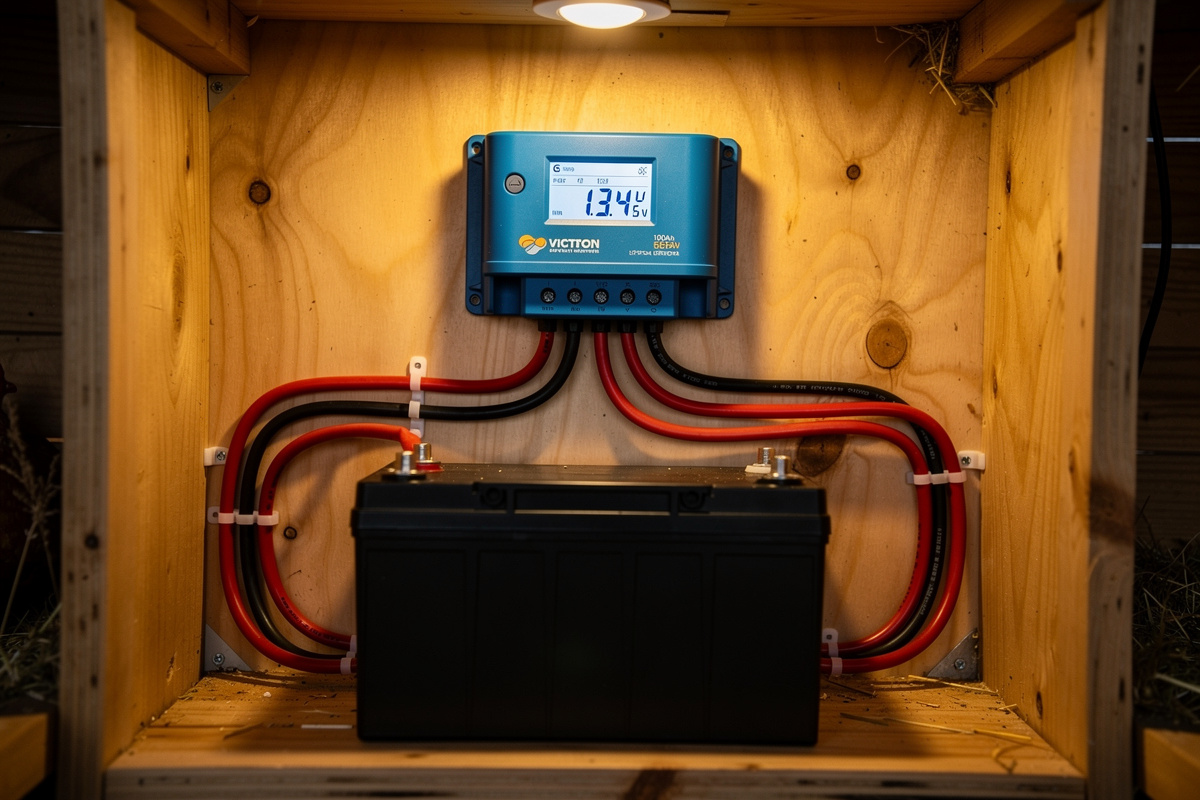
- 100–400W panel: Victron SmartSolar 75/15 MPPT ($90), or EPEver Tracer A series ($45–80)
- 400–800W panel: Victron SmartSolar 100/30 MPPT ($170), or EPEver Tracer 4210AN ($130)
The Victron line earns the recommendation because its Bluetooth app exposes panel and battery readings live, integrating cleanly with home automation — the same kind of live-state visibility I rely on for my own UPS bank inside Home Assistant, so I know it’s dead before a device is.
Battery Bank Sizing
Battery sizing follows directly from the daily Wh number, multiplied by autonomy days (typically 2–3 for coop applications) and divided by depth-of-discharge limit.
For LiFePO4 (the right chemistry for off-grid coops), use 80% depth of discharge — the chemistry tolerates it without damaging cycle life, unlike lead-acid which needs 50% DoD ceilings to hit a comparable cycle count.
For the 772 Wh/day Iowa coop with 2 days of autonomy:
- Required usable Wh: 772 × 2 = 1,544 Wh
- Required total Wh (at 80% DoD): 1,544 ÷ 0.8 = 1,930 Wh
- At 12.8V LiFePO4: 1,930 ÷ 12.8 = 151 Ah battery
Practical purchase: 100Ah LiFePO4 covers most lights+waterer coop loads with roughly 1.3 days autonomy. A 200Ah pack covers heated coops or two-day winter storms. My own coop runs a smaller LiFePO4 bank for a different job — bridging grid outages on the auto-door, cameras, and the Home Assistant hub itself rather than daily solar charging — but it’s the same chemistry logic either way: LiFePO4’s tolerance for deep, repeated discharge is what makes both use cases work. The battery chemistry comparison guide covers why LiFePO4 wins over NMC, AGM, and flooded lead-acid for off-grid applications — the cycle-life math means LiFePO4 is cheaper over a 10-year horizon despite the higher upfront cost.
Common Sizing Mistakes
Three sizing mistakes account for most off-grid coop failures.
Sizing for the average month, not December. A 200W panel that delivers 1,000 Wh/day in June delivers 400 Wh/day in December. Always run the math for the month with lowest peak sun hours.
Forgetting the heated waterer in winter sizing. The heater isn’t on in summer when sizing decisions get made; in February it’s the dominant load. Add 600 Wh/day to your winter load budget if you’ll run a heated waterer base.
Undersized wire from panel to controller. A 10-meter run of 14 AWG to a 200W panel loses 4–8% of the watts to resistance. For runs over 6 meters, step up to 12 AWG; over 10 meters, 10 AWG. The wire cost is trivial compared to the panel; the loss is silent and continuous.
Less common but worth flagging: snow accumulation on roof-mounted panels can cut December production to zero for days. Pole and ground mounts at 50°+ tilt shed snow naturally; flat roof mounts in heavy-snow regions need a manual brushing routine or a tilted secondary mount.
Frequently Asked Questions
What size solar panel do I need for a chicken coop?
For lights only (under 200 Wh/day), a 100W panel covers most US climates. For lights plus a heated waterer (around 800 Wh/day), 400W is typical. For a fully heated coop in northern winters (2,500+ Wh/day), 1,000W or more. Always size for December peak sun hours, not the annual average.
Can a 100-watt solar panel run a chicken coop?
Yes for lights-only setups (4 LED bulbs, 5 hours per day). No for heated waterers or coop heaters. A 100W panel delivers about 200-500 Wh per day depending on climate, enough for the lights and an automatic door but not winter heating.
Do I need batteries for a solar chicken coop?
Yes if any device runs after dark — lights, automatic doors at sundown, or anything thermostat-controlled. Direct panel-to-device wiring only works for daytime-only loads like ventilation fans. Most coops need 100Ah of LiFePO4 storage minimum.
Should I use 12V or 24V for a chicken coop solar system?
12V for systems under 400W panel size. 24V or 48V for larger systems where wire runs are over 5 meters or panel size exceeds 600W. Higher voltage means thinner wire for the same power, but most coop equipment (lights, doors, waterers) is 12V native.
How much does an off-grid solar coop system cost?
For a basic setup (200W panel, 100Ah LiFePO4 battery, 20A MPPT controller, mounting): expect $400-650 in parts. For a heated-coop system (800W panel, 200Ah battery, 40A MPPT): $1,200-1,800. Add 30-40% for cold-climate cabling and snow-shedding mounts.
Can solar power run a chicken coop heater?
Yes but the panel array gets large. A 150W coop heater drawing 50% duty cycle in deep winter consumes 1,800 Wh/day. With 2.5 December peak sun hours, that requires roughly 1,000W of solar panel plus 200-300Ah of battery storage. Most owners use heaters only for sub-zero forecasts.
Related Articles
- Off-Grid Smart Chicken Coop: Solar Power & Battery Setup — full system overview
- Chicken Coop Battery Backup for Power Outages — battery sizing math
- Solar Chicken Coop Heater: Winter Heating Guide — heater-specific sizing
- Smart Chicken Coop Wiring: Electrical Layout — wire gauge and routing
- Smart Chicken Coop Planning: Blueprint Before You Build — planning context
Related Guides
Water-Level and Flow Sensors: Knowing the Waterer Is Empty Before They Do
A coop water-level sensor tells you the drinker is going dry — or freezing solid — before the flock does,…
Ammonia Sensors for the Coop: Catching Air Problems Before You Smell Them
An ammonia sensor belongs at the birds’ breathing height, close to the litter where the gas is generated, because that…

Node-RED vs Home Assistant Automations for the Coop: When to Use Which
Use native Home Assistant automations for the coop’s simple, safety-critical rules — the sunrise door, the freeze-watch waterer — and…