
A complete guide to solar-powered chicken coop heating systems. Compare DIY builds, commercial units, costs, and sizing for your climate to keep your flock warm safely and efficiently.
Why Solar Heating Matters for Your Chicken Coop
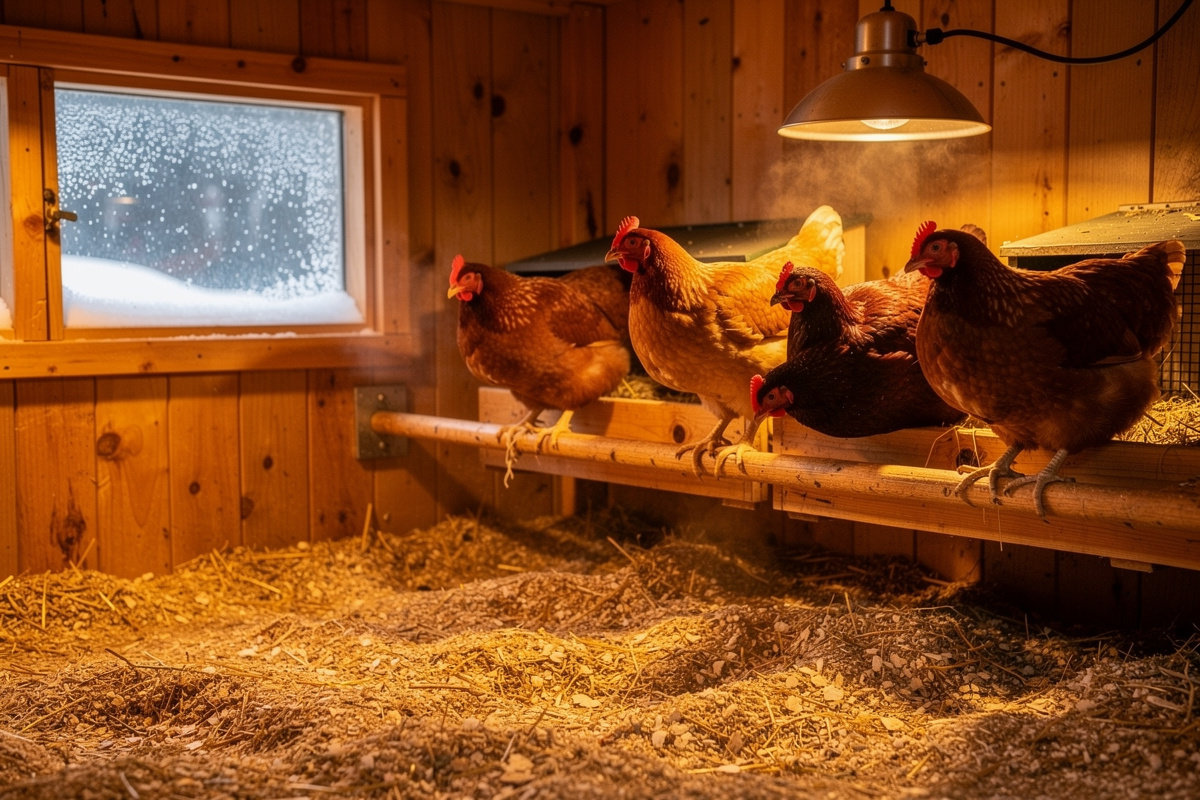
Keeping chickens warm during winter is one of the biggest challenges for backyard flock owners. Traditional electric heat lamps are effective but come with serious fire risks and high energy costs. A solar chicken coop heater offers a safer, more sustainable alternative that works independently of the grid.
Solar-powered heating solutions have improved dramatically in recent years. Modern panels are more efficient, battery storage is more affordable, and smart controllers can manage heat output based on actual coop temperature. This guide covers everything from DIY solar heater builds to commercial units, so you can choose the right system for your flock and climate. One thing I will say up front from my own Swedish winters: spend the solar budget first on the things that actually fail in the cold — a thawed waterer and a door that still cycles — because cold-hardy birds handle cold air far better than they handle a frozen waterer at dawn.
A quick note: some links below are affiliate links — if you buy through them I may earn a small commission at no extra cost to you. I only point to gear I would actually wire into my own coop. Details on my disclaimer page.
How Solar Chicken Coop Heaters Work
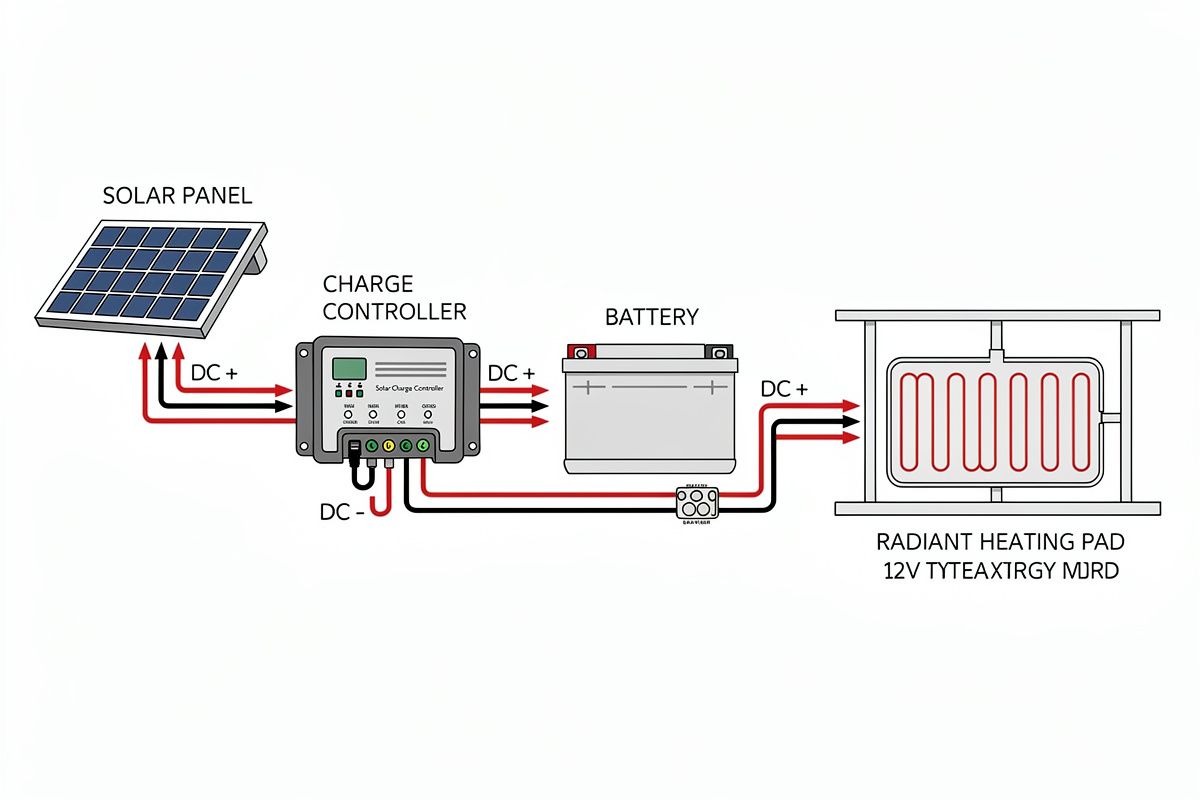
A solar chicken coop heater converts sunlight into usable heat through a straightforward process. Understanding each component helps you choose the right system and troubleshoot problems when they arise.
The Solar Panel
The solar panel captures sunlight and converts it into electrical energy. For coop heating, you typically need a 50W to 200W panel depending on your climate severity and coop size. Monocrystalline panels are the most efficient option, producing more power per square foot than polycrystalline alternatives. In winter months, expect 30-50% of the panel’s rated output due to shorter days and lower sun angles.
Battery Storage
Since chickens need warmth most during the night, battery storage is essential. A 12V deep-cycle battery (AGM or lithium) stores energy generated during the day for nighttime heating. A 100Ah battery can power a small radiant heater for 6-8 hours. Lithium batteries cost more upfront but last 3-4 times longer than lead-acid AGM batteries and perform better in cold temperatures.
Charge Controller
A charge controller regulates the flow of electricity from the panel to the battery, preventing overcharging and extending battery life. MPPT (Maximum Power Point Tracking) controllers are 20-30% more efficient than PWM controllers, especially in cloudy conditions. For a small coop heating system, a 20A MPPT controller handles panels up to 260W.
Heating Element
The actual heating component can take several forms:
- Radiant heating pads: Flat panels that warm the surface chickens stand on, using 10-20W continuously
- Ceramic heat emitters: Bulb-style heaters that radiate warmth without light, using 40-100W
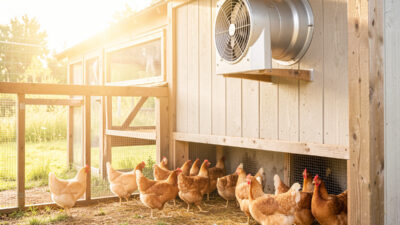
- Fan-forced heaters: Small units that circulate warm air, using 50-150W
- Water-based radiant systems: Heated water tubes under the floor, using 30-60W
Types of Solar Chicken Coop Heating Systems
Not every coop needs the same heating approach. The right system depends on your climate, flock size, and budget.
Passive Solar Heating
Passive solar heating uses no electricity at all. Instead, it relies on strategic coop design to capture and retain solar warmth. South-facing windows, dark-colored thermal mass walls, and proper insulation can raise coop temperatures by 10-15°F above outside temperature on sunny days. This approach works best in moderate climates where temperatures rarely drop below 20°F.
Cost: $50-200 for materials during coop construction
Pros: Zero operating cost, no maintenance, completely silent
Cons: Only works during sunny days, no nighttime heating
Active Solar Electric Systems
Active systems use solar panels to generate electricity that powers heating elements. These are the most common and versatile solar chicken coop heaters. A typical setup includes a 100W panel, 100Ah battery, MPPT controller, and a 40W radiant heater. This combination can maintain a coop at 40-50°F when outside temperatures drop to 10-20°F.
Cost: $200-500 for a complete system
Pros: Works day and night, scalable, reliable in most climates
Cons: Requires battery maintenance, limited runtime during extended cloudy periods
Solar Thermal (Hot Water) Systems
Solar thermal systems heat water or a glycol solution that circulates through tubes in the coop floor or walls. These systems are highly efficient because they transfer heat directly without converting to electricity first. A simple DIY version uses black-painted water containers placed in direct sunlight, connected to a small pump that circulates warm water through PEX tubing under the coop floor.
Cost: $150-400 for DIY, $600-1,200 for commercial
Pros: Very efficient, even heat distribution, no electrical hazards
Cons: Complex installation, risk of freezing in very cold climates, requires antifreeze
DIY Solar Chicken Coop Heater Build
Building your own solar chicken coop heater is a weekend project that can save 40-60% compared to buying a commercial unit. Here is a proven design that works reliably in zones 5-7.
Materials Needed
| Component | Specification | Estimated Cost |
|---|---|---|
| Solar Panel | 100W Monocrystalline, 12V | $80-120 |
| Battery | 100Ah AGM Deep Cycle, 12V | $100-150 |
| Charge Controller | 20A MPPT | $30-60 |
| Heating Pad | 12V Radiant Floor Pad, 20W | $25-40 |
| Wiring & Connectors | 10 AWG solar cable, MC4 connectors | $20-30 |
| Mounting Hardware | Panel brackets, battery box | $15-25 |
| Total | $270-425 |
Step-by-Step Assembly
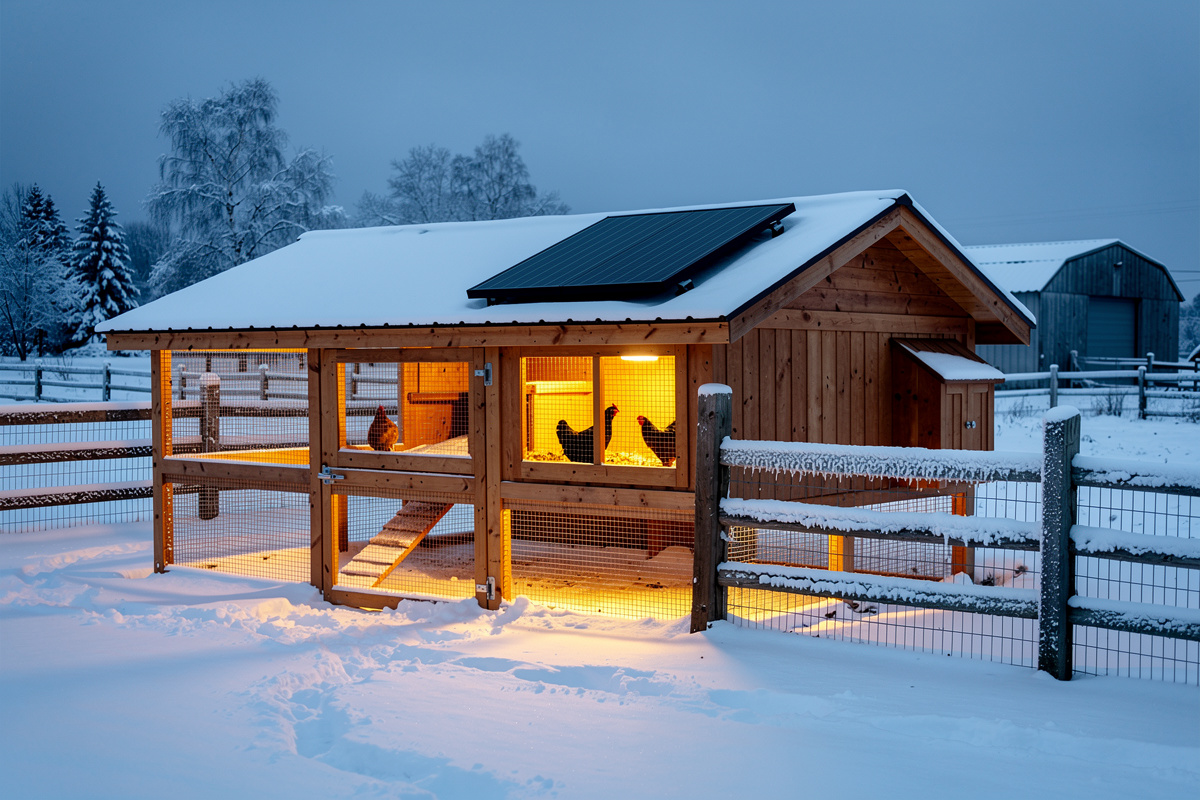
Step 1: Mount the Solar Panel. Position the panel on the south-facing side of your coop roof at a 45-degree angle for optimal winter sun exposure. Use aluminum brackets and stainless steel screws. Ensure the panel is tilted enough that snow slides off naturally.
Step 2: Install the Battery. Place the battery in a weatherproof enclosure inside the coop or in an attached shed. The battery should be elevated off the floor on a wooden shelf. Keep it away from areas where chickens can peck at terminals.
Step 3: Wire the Charge Controller. Connect the battery to the charge controller first, then connect the solar panel to the controller. This sequence prevents voltage spikes. Use 10 AWG cable for runs up to 15 feet. For longer runs, use 8 AWG to minimize voltage drop.
Step 4: Connect the Heating Element. Wire the radiant heating pad to the battery through the charge controller’s load output (if available) or directly to the battery with an inline fuse. Place the heating pad under the roosting area where chickens sleep at night.
Step 5: Add a Thermostat. Install a 12V thermostat to turn the heater on only when the coop temperature drops below a set point (typically 35-40°F). This extends battery life significantly by preventing unnecessary heating.
Commercial Solar Chicken Coop Heaters
If you prefer a plug-and-play solution, several manufacturers offer pre-built solar heating systems designed specifically for poultry coops. These units typically include integrated panels, batteries, and heating elements in a single package.
What to Look For
Wattage rating: Match the heater’s output to your coop’s volume. A general rule is 10W per 10 cubic feet of coop space in moderate climates, or 20W per 10 cubic feet in harsh winters.
Battery capacity: Look for at least 50Ah of storage. Anything less will struggle to last through a full winter night.
Weatherproofing: The entire system should be rated IP65 or higher for outdoor use. Check that connectors are sealed and the panel frame is corrosion-resistant.
Warranty: Quality solar panels carry 10-25 year warranties. Batteries should have at least a 2-year warranty. Avoid units with no battery warranty.
Price Comparison
| System Type | Panel Size | Battery | Heater Output | Price Range |
|---|---|---|---|---|
| Basic (small coop) | 50W | 50Ah | 15W radiant | $150-250 |
| Standard (medium coop) | 100W | 100Ah | 40W radiant | $300-500 |
| Premium (large coop) | 200W | 200Ah lithium | 100W ceramic | $600-1,000 |
Solar Heater Sizing for Your Climate
Choosing the right system size depends on your winter temperatures and coop insulation. Here is a practical sizing guide:
| Climate Zone | Lowest Temp | Panel Size | Battery Size | Heater Output |
|---|---|---|---|---|
| Zone 7-8 (mild) | 10-20°F | 50W | 50Ah | 15-20W |
| Zone 5-6 (moderate) | -10-10°F | 100W | 100Ah | 40-60W |
| Zone 3-4 (cold) | -30 to -10°F | 200W | 200Ah | 80-100W |
In zones 3-4, a single solar system may not be sufficient during the darkest weeks of December and January. Consider a hybrid approach that combines solar heating with a backup propane heater for extreme cold snaps.
Installation Tips for Maximum Efficiency
Getting the most from your solar chicken coop heater requires careful installation and placement. These tips apply whether you are building a DIY system or installing a commercial unit.
Panel Placement
Mount the solar panel where it receives unobstructed sunlight from 9 AM to 3 PM during the shortest day of the year. Trim any tree branches that cast shadows on the panel. Even partial shading can reduce output by 50% or more.
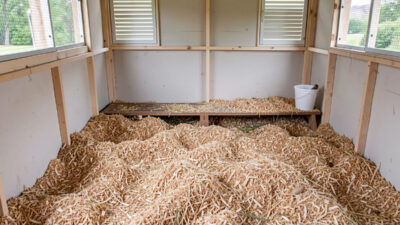
Insulation First
No heating system works efficiently in a poorly insulated coop. Before installing any solar heater, seal drafts, insulate walls with rigid foam board, and ensure the roof has adequate R-value. A well-insulated coop needs 60-70% less heating energy than an uninsulated one. In my own coop, insulation and a moisture-dumping ridge vent do more for the birds than any heater — what frostbites a comb is damp air, not cold.
Ventilation Balance
Chickens produce significant moisture through breathing and droppings. Even in winter, your coop needs ventilation to prevent condensation and ammonia buildup. Install vents near the roof peak (above roost level) so warm, moist air escapes while cold air does not blow directly on the birds.
Battery Temperature Protection
Battery capacity drops 20-30% at freezing temperatures. Insulate the battery box with foam board and consider a small 12V heating pad wrapped around the battery itself. This keeps the battery warm enough to deliver its rated capacity.
Maintenance and Winter Care
Solar chicken coop heaters require minimal maintenance, but a few seasonal checks keep them running reliably all winter.
Monthly Checks
- Wipe snow and debris off the solar panel with a soft brush
- Check battery voltage with a multimeter (should read 12.4V+ when fully charged)
- Inspect all wire connections for corrosion or looseness
- Verify the thermostat is triggering the heater at the correct temperature
Seasonal Maintenance
Before winter begins, test the complete system on a sunny day. Measure the panel’s output voltage under load and confirm the battery charges properly. Clean the panel surface with water and a soft cloth to remove summer dust and bird droppings that reduce efficiency.
In spring, disconnect the heating element and store it indoors. Clean the battery terminals and apply a thin layer of petroleum jelly to prevent corrosion. Check the panel mounting hardware for any loosening caused by winter wind and snow loads.
Safety Considerations
While solar heaters are much safer than traditional heat lamps, they still require attention to electrical safety.
- Use a fuse: Install an inline fuse between the battery and heating element, rated at 125% of the maximum current draw
- Protect wiring: Run all wires through conduit or cable channels where chickens can reach them
- Ground the panel: Connect the panel frame to a ground rod to protect against lightning strikes
- Battery ventilation: AGM batteries are sealed, but any lead-acid battery produces hydrogen gas during charging. Ensure the battery enclosure has ventilation holes
- Fire prevention: Keep all heating elements at least 12 inches from bedding, walls, and nesting boxes
Cost Analysis: Solar vs Electric Heating
The economic case for solar chicken coop heating depends on your local electricity rates and how many months per year you need heating.
| Cost Factor | Solar System | Electric Heater |
|---|---|---|
| Initial investment | $300-500 | $30-80 |
| Monthly operating cost | $0 | $15-40 |
| 5-year total cost (4-month winter) | $300-500 | $330-880 |
| System lifespan | 10-25 years | 2-5 years |
| Fire risk | Very low | Moderate to high |
A solar system pays for itself within 2-3 winters compared to running an electric heater. Over a 10-year period, the savings range from $1,200 to $3,500 depending on your climate and electricity rates.
When Solar Heating Is Not Enough
Solar heating has limitations. Understanding when you need supplemental heat prevents disappointed chickens on the coldest nights.
Extended cloudy periods: More than 3-4 consecutive cloudy days in winter can drain your battery below the point where the heater runs effectively. Keep a backup 12V battery charged indoors that you can swap in during these periods.
Extreme cold snaps: When temperatures drop 20°F below your climate’s normal low, even a properly sized solar system may struggle. Have a propane brooder heater or electric backup ready for these events.
Large coops: Solar heating works best for coops housing 4-12 chickens. Larger flocks generate enough body heat that supplemental heating may be unnecessary, but if you need it, the solar panel and battery requirements scale up quickly.
Related Articles
- Smart Chicken Coop on a Budget: DIY Automation Under $200
- Smart Chicken Coop Monitoring: Cameras, Sensors & Apps That Actually Work
- Backyard Chickens for Beginners: Everything You Need to Know in 2026
- How to Build a Smart Chicken Coop: The Complete 2026 Guide
- How Automatic Chicken Coop Doors Work: Sensors, Motors, and Safety
Do solar chicken coop heaters work in winter?
Yes, solar chicken coop heaters work in winter as long as the panel receives direct sunlight for at least 3-4 hours per day. Winter sun angles are lower, so tilt the panel at 45-60 degrees for optimal exposure. Battery storage ensures heat runs through the night when chickens need it most.
How much does a solar chicken coop heater cost?
A DIY solar chicken coop heater costs $270-425 for materials including the panel, battery, charge controller, and heating element. Commercial pre-built systems range from $150 for basic units to $1,000 for premium large-coop systems.
Can a solar heater keep chickens warm in freezing temperatures?
A properly sized solar system can maintain a coop 15-25°F above outside temperature. In zones 5-6, a 100W panel with 100Ah battery keeps a well-insulated coop above 35°F even when outside temperatures drop to 10°F. In colder zones, add supplemental heating for extreme cold snaps.
How long does a solar chicken coop heater battery last?
A 100Ah AGM battery powers a 20W radiant heater for about 50 hours. With a thermostat that cycles the heater on and off, this typically covers 6-8 winter nights. Lithium batteries last 3-4 times longer than AGM batteries and perform better in cold weather.
Is a solar chicken coop heater safer than a heat lamp?
Yes, solar chicken coop heaters are significantly safer than traditional heat lamps. Heat lamps are the leading cause of coop fires, responsible for thousands of barn and coop fires annually. Solar radiant heaters operate at low voltage (12V) with no exposed heating element, virtually eliminating fire risk.
Related Guides
Best Fan for a Chicken Coop in Summer
The best fan for a chicken coop in summer is a thermostat-controlled exhaust fan sized to roughly 5 to 8…
Controlling Coop Ammonia and Humidity
Controlling coop ammonia and humidity is mostly about keeping the litter dry and the air moving: ammonia forms when wet…
Chicken Coop Ventilation vs Draft: The Difference That Saves Combs
The difference between ventilation and a draft is direction: ventilation is air moving above your birds, a draft is air…