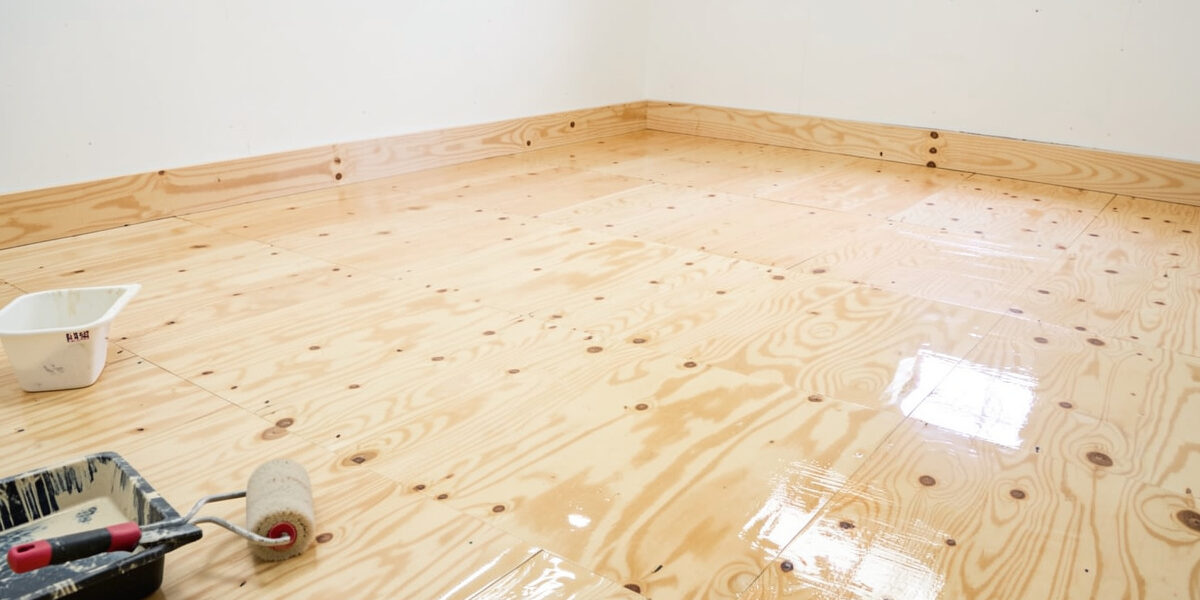
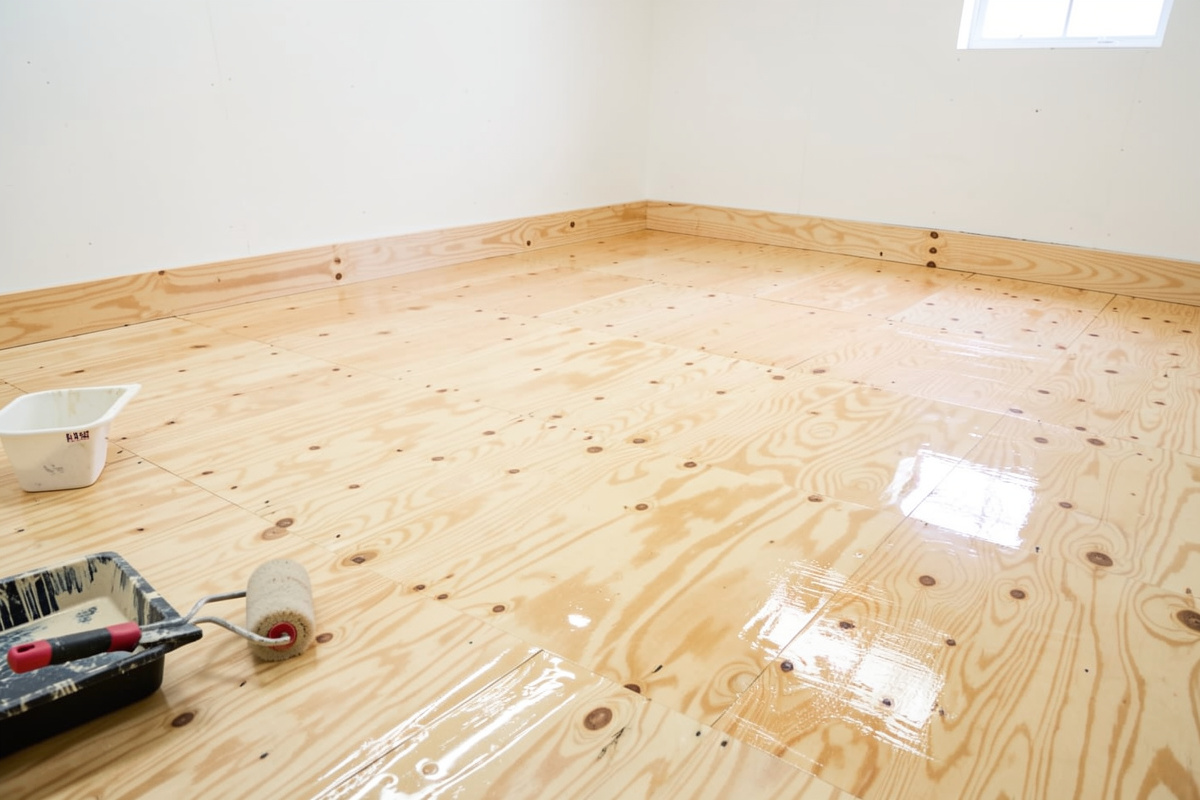
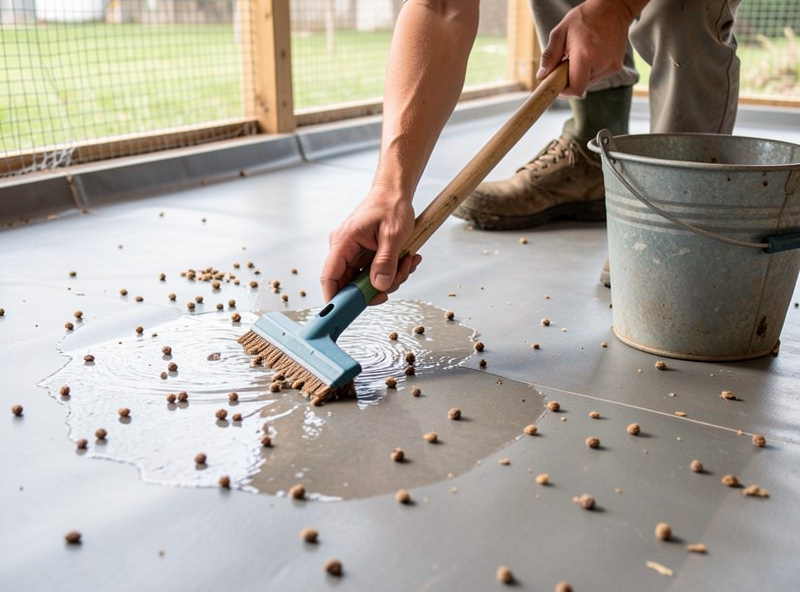
A properly sealed plywood coop floor cleans in seconds because nothing soaks in — droppings and spilled feed sit on a hard, glossy film you scrape or squeegee off in one pass. An unsealed floor drinks everything, holds the moisture against the wood, and turns cleaning into a scrubbing chore while it quietly rots from the seams. The difference is two or three coats of the right sealer and a coved edge at the walls. That’s it. That’s the whole secret.
I say this as someone who learned it by getting it wrong. My first coop floor was bare exterior plywood, and within two winters the seams under the waterer had gone black and spongy — I could push a screwdriver into wood that used to ring hard. When I rebuilt, I sealed the floor like it was a boat, and that floor is still tight and wipes clean years later. Below is exactly how I do it now: the sealer I reach for, the edge detail that matters more than the coating itself, and the mistakes that waste your afternoon.
This is a deep-dive off the broader chicken coop flooring options guide, and it pairs with the concrete vs plywood comparison — if you’ve already decided plywood is your floor, this is how you make it last.
Why Does a Sealed Plywood Floor Clean So Much Faster?
Sealing turns porous, absorbent wood into a non-porous surface, so droppings and moisture stay on top instead of soaking into the grain. A sealed floor releases muck in one scrape; an unsealed one grips it, stains, and holds damp against the wood where it rots. The time saved on every clean-out is the real payoff, and the rot you avoid is the bonus.
Raw plywood is a sponge with a wood-grain veneer. Every drop of water, every wet dropping, wicks into the exposed fibers and especially into the cut edges and screw holes, where the end-grain acts like a bundle of straws — which is exactly why the exterior-exposure glue-line ratings published by APA – The Engineered Wood Association matter before you even open a paint can: a lower-grade panel will delaminate under a coop’s constant damp no matter how well you seal it. Seal a proper exterior panel and you cap all of that: the surface goes hard and slick, so a wide scraper takes the deep litter and the droppings off cleanly and a quick squeegee finishes it. On my sealed floor a full scrape-and-refresh takes minutes, and it stays part of the low-effort system I describe in my coop cleaning and maintenance routine. Unsealed, that same job means scrubbing stains out of soft grain and watching the panel soften anyway.
What’s the Best Sealer for a Chicken Coop Floor?
The best coop-floor sealer is a tough, moisture-blocking film finish — an oil-based porch-and-floor enamel or a two-part epoxy floor coating — applied in two to three coats over a primer. Water-based polyurethane works but wears faster under grit and nails. Whatever you choose, it must fully cure and off-gas before the birds go back in.
Here’s how the common options actually behave underfoot in a coop, which is a harsher environment than a porch — constant grit, acidic droppings, and nails.
| Sealer type | Durability in a coop | Ease of application | Notes |
|---|---|---|---|
| Oil-based porch & floor enamel | High — hard, moisture-blocking film | Easy, roller/brush | Strong smell; needs full cure before birds return |
| Two-part epoxy floor coating | Highest — near-waterproof | Harder — mix, work fast | Toughest against grit and nails; pricier |
| Water-based polyurethane | Medium — wears at traffic points | Easy, low odor | Recoat sooner; lower fumes |
| Exterior deck stain/sealer | Low–medium — penetrating, not a film | Easy | Cheap top-up but doesn’t shed muck as well |
I run an oil-based porch-and-floor enamel over an oil primer on my plywood floors — it’s cheap, it lays down a hard film that sheds droppings, and I can recoat the high-traffic strip by the pop door every couple of years without redoing the whole thing. For a floor I never want to think about again, a two-part epoxy is the toughest option going. Manufacturer datasheets like those from Rust-Oleum spell out cure times and recoat windows — read them, because the cure time is the part people skip. You can browse the enamels and epoxy kits people use for this on Amazon’s porch and floor enamel listings to compare coverage and finish.
As an Amazon Associate I earn from qualifying purchases.
How Do You Seal the Edges and Corners So Water Can’t Get In?
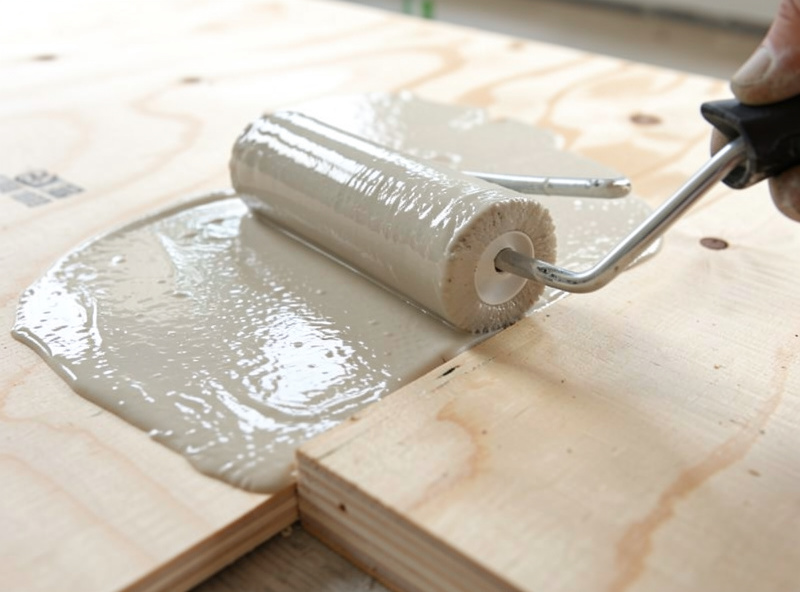
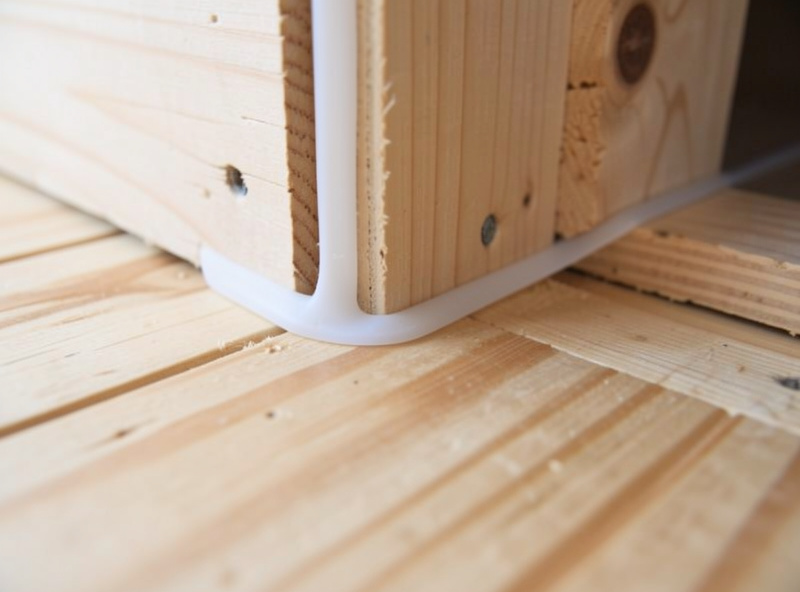
The edges and the floor-to-wall joint are where sealed floors fail, so they matter more than the field of the floor. Cove the wall junction with a silicone or polyurethane fillet and run the floor sealer up the wall a few inches, so there’s no flat seam for muck and moisture to pack into. Soak the cut edges and screw holes with extra sealer before the first full coat.
This is the detail that separates a floor that lasts fifteen years from one that lasts three. Water never attacks the middle of a well-coated panel; it finds the ninety-degree corner where the floor meets the wall, packs it with damp litter, and wicks in behind the coating. So I lay a coved bead of sealant into that corner, tool it to a smooth radius, and paint over the whole thing — now the floor and the bottom of the wall are one continuous, wipeable surface with no crack. The end-grain of every cut edge gets a flood coat first, brushed in until the wood stops drinking, because those exposed fibers are the thirstiest part of the whole floor. Get the corners and edges right and the flat middle almost takes care of itself.
How Many Coats, and How Long Before the Chickens Come Back?
Plan on a primer plus two to three finish coats, and keep the birds out until the coating is fully cured and odor-free — typically several days to a week for oil-based enamel or epoxy, longer in cold weather. The film needs to harden completely, not just feel dry, because solvent fumes and soft coatings are both a problem for a flock in a closed coop.
Cure time is where impatience bites. A coating can feel touch-dry in hours but still be off-gassing solvents and soft enough to scuff for days — and a coop is a small, enclosed box where fumes concentrate. I seal a floor in the shoulder seasons when I can leave the coop empty and ventilated, run a couple of thin coats rather than one thick gluey one (thin coats cure harder and faster), and I don’t move birds back until I can kneel down, put my nose to the floor, and smell nothing. In a Swedish spring, cold slows the cure right down, so I give it extra days. Rushing this is the one mistake here that can actually harm the flock rather than just the floor, so don’t.
What Goes Wrong When People Seal a Coop Floor?
The common failures are all avoidable: sealing over damp or dirty plywood so the coating won’t bond, skipping the edges and corners, one thick coat instead of several thin ones, and putting birds back before the cure. Each one either lifts the coating or lets water in behind it.
The first coop floor I resealed, I did in a hurry over wood that wasn’t fully dry, and the enamel bubbled and peeled within a season because it never bonded to the damp grain. Now I seal only clean, bone-dry plywood, I sand the surface lightly so the first coat keys in, and I never trust a single heavy coat — it skins over, traps solvent underneath, and stays soft. Grit tracked in from the run is the long-term enemy of any coating, acting like sandpaper at the traffic points, so I keep a strip of extra sealer or a rubber mat on the busiest lane by the pop door. Do the boring things — dry wood, clean surface, thin coats, sealed edges, full cure — and a plywood floor becomes the fastest-cleaning surface in the coop instead of the thing you’re tearing out.
Keep Building
Once the floor is sealed, the rest of the low-effort coop falls into place: a managed bedding layer on top, a poop board catching the worst of it, and a cleaning rhythm you can actually keep. Start with the flooring options hub if you’re still choosing a material, then read the deep litter method and pick your bedding from the bedding material guide. A sealed floor plus the right bedding is what makes an automated coop stay clean with minutes of work, not hours.
What is the best sealer for a plywood chicken coop floor?
A tough film finish works best: an oil-based porch-and-floor enamel or a two-part epoxy floor coating over a primer, applied in two to three coats. Both block moisture and shed droppings so the floor cleans in seconds. Water-based polyurethane is lower odor but wears faster under grit and nails.
How long should chickens stay out after sealing the floor?
Keep birds out until the coating is fully cured and completely odor-free, which usually means several days to a week for oil-based enamel or epoxy and longer in cold weather. A coating can feel dry in hours but still off-gas solvents, and fumes concentrate in a closed coop, so wait until you can smell nothing at floor level.
Do I need to seal the edges of the plywood too?
Yes, the cut edges and the floor-to-wall joint are where sealed floors fail. Flood the exposed end-grain and screw holes with extra sealer before the first full coat, and cove the wall junction with a silicone or polyurethane fillet so there is no flat seam for moisture and muck to pack into.
Why did my coop floor sealer peel or bubble?
Usually because it was applied over damp or dirty wood so it never bonded, or because one thick coat was used that skinned over and trapped solvent underneath. Seal only clean, fully dry plywood, sand lightly so the first coat keys in, and use several thin coats rather than one heavy one.
Related Guides
Rat-Proof Coop Floor: Stop Diggers Coming Up Through It
Rats don’t come over the coop wall — they come up through the floor, gnawing through plywood or tunneling under…
Raising a Coop Off the Ground: Footings & Skids
Every coop with a wooden floor should sit off the ground — a few inches at minimum, ideally enough to…
Vinyl & Linoleum Coop Floor: The Easy-Clean Upgrade
Sheet vinyl or linoleum over a plywood subfloor is the single best-value upgrade you can make to a coop floor:…