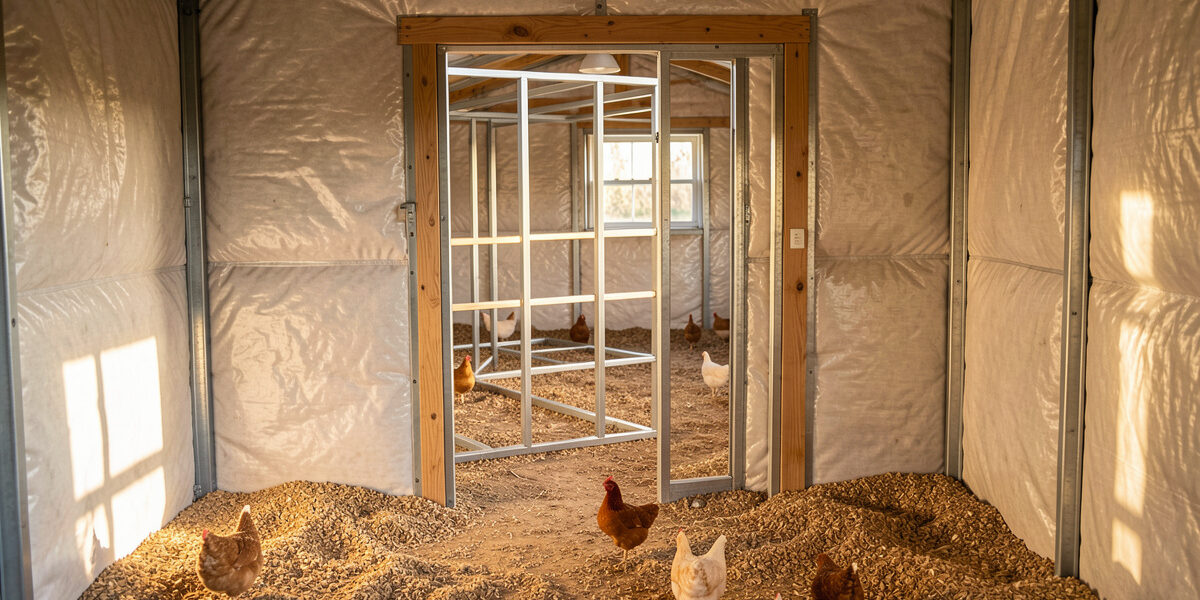
The best chicken coop floor is the one that stays dry, cleans fast, and stops a rat from tunneling up into your flock at 3 a.m. Concrete, plywood, dirt, sand, and vinyl each hit those three targets differently, and picking wrong costs you either a rotted floor in two winters or a predator breach in one night. There is no universally “best” material — only the right match for your climate, your build, and how much cleaning you’ll actually tolerate.
I learned that the expensive way. The first coop I built in Sweden had a bare ¾-inch plywood floor, unsealed, because every backyard-chicken video told me plywood was fine. By the second spring the seams under the waterer had gone black and spongy, and the whole panel flexed when I stepped on it. Moisture had wicked into the end-grain and the deep litter on top held it there like a poultice. I tore it out, and everything I’ve built since starts with one question the starter kits never ask: where does the water go?
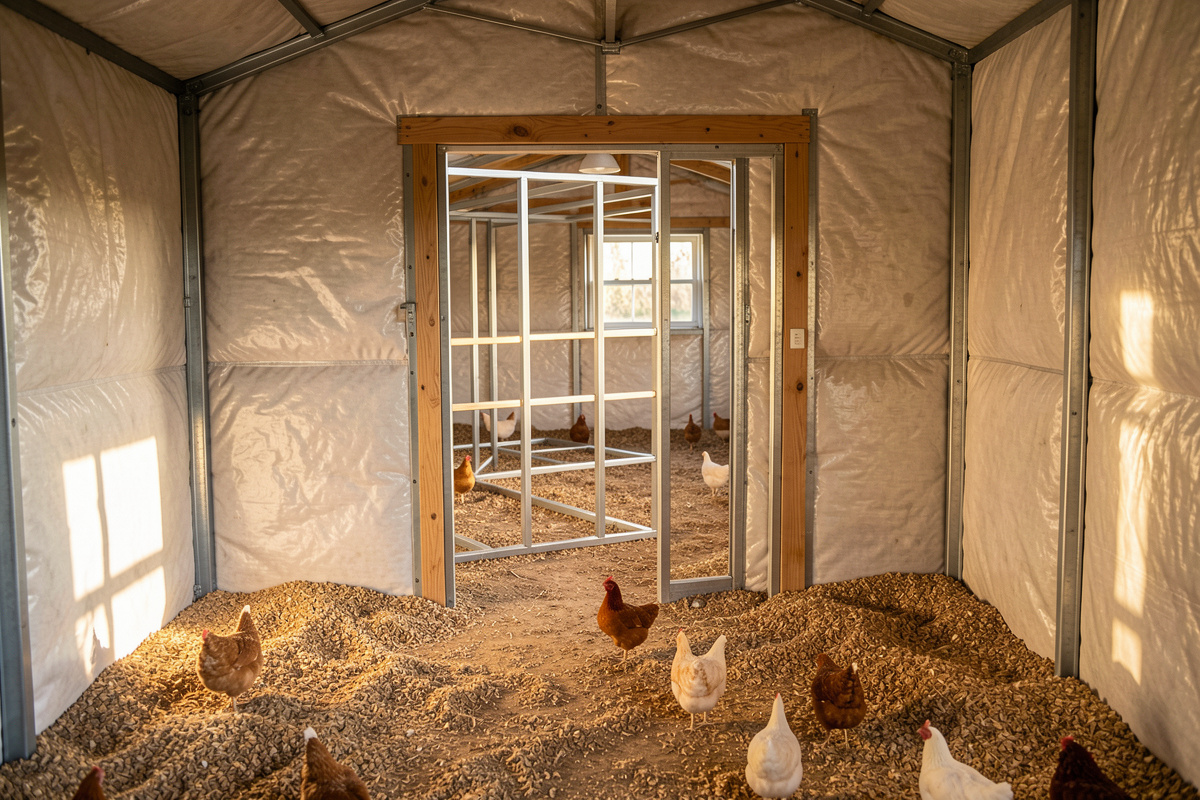
This is the map of the whole territory — the structural floor and the foundation under it, not the bedding that sits on top. Bedding is a consumable you rake out; the floor is the machine those consumables run on. Get the floor right and every other coop chore gets easier. Get it wrong and you’ll fight damp, rot, and diggers for the life of the coop. Below I’ll walk each material by how it actually behaves through a wet autumn and a −20 °C night, then point you to the deep-dive on whichever one fits your build.
What Are Your Real Chicken Coop Flooring Options?
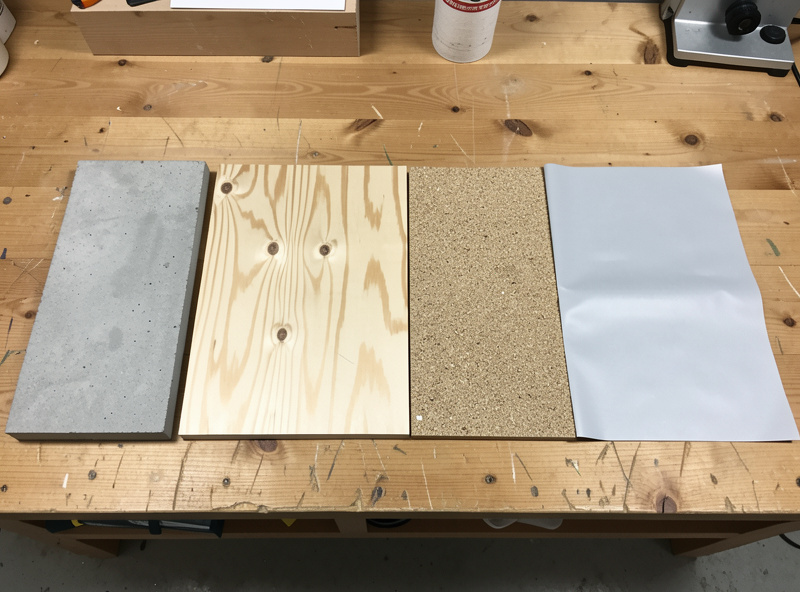
You have five practical structural floors: poured concrete, sealed plywood, bare dirt, sand over a base, and vinyl or linoleum laid over a subfloor. Each is a different trade between cost, cleanability, warmth, and how hard it is for a predator to get through. Everything else — rubber mats, pavers, wire — is a variant or an add-on to one of those five.
Here’s the frame I use before I pour, cut, or dig anything. A coop floor has four jobs: keep ground moisture out, keep a determined digger out, let you clean it in minutes not hours, and not freeze the birds’ feet or trap ammonia. No single material aces all four, which is why the honest answer is always “it depends” — and why I built a whole cluster of guides instead of one smug “just use concrete” post. Concrete wins on predators and loses on warmth. Dirt wins on cost and warmth and loses the moment your water table rises. The skill is matching the weakness you can live with to the climate you actually keep chickens in.
If you’re choosing between the two most common DIY defaults, start with the head-to-head breakdown in Concrete vs Plywood vs Dirt Coop Floor: The Real Trade-Offs — it puts numbers on the decision most keepers make on gut feel.
Why Coop Flooring Is Really a Moisture Problem, Not a Comfort Problem
Ninety percent of coop-floor failures are moisture failures. Wood rots because it stays wet, dirt turns to stinking mud because it can’t drain, and frostbite happens because humid coop air — not cold air — condenses on a bird’s comb overnight. The floor’s first job is moisture control; comfort is downstream of dry.
This is the part the glossy content skips, and it’s the single most important thing I can tell you. Chickens are little water pumps. A dozen birds respire and poop out a startling volume of water vapor every night, and in a closed winter coop that moisture has to go somewhere. If your floor holds it — bare plywood wicking it up, dirt that won’t drain, sand gone solid with frozen droppings — your humidity climbs and combs frostbite even when the thermometer isn’t that low. Poultry housing guidance from land-grant programs like Penn State Extension hammers the same point about ventilation and litter moisture for good reason.
So the floor and the ventilation work as one system. My coop runs passive ridge-and-soffit ventilation sized to dump humidity without drafting the birds, and the floor underneath is chosen and sealed so it never adds moisture back. Ammonia is the other half of that equation — keep it under roughly 25 ppm (the level at which you start smelling it sharply at bird height and where welfare guidance flags harm) and you do it by keeping the litter and the floor beneath it dry, not by hosing the place down. A floor you can actually keep dry is a floor that keeps your flock healthy.
How Do the Main Floor Materials Actually Compare?
Concrete is the most durable and predator-proof but the coldest and most expensive; plywood is the cheapest DIY floor but rots unless sealed; dirt is free and warm but drains poorly; sand cleans beautifully until it freezes; vinyl over plywood is the fastest to clean of them all. The table below is the shortlist I keep in my head.
| Floor | Rough cost | Cleanability | Winter warmth | Predator resistance | Lifespan |
|---|---|---|---|---|---|
| Poured concrete (4 in slab) | Highest | Excellent (hose/scrape) | Cold without bedding | Excellent — nothing digs through | Decades |
| Sealed plywood (¾ in) | Low–medium | Good once sealed | Warm | Fair — needs a wire skirt | 8–15 yrs sealed |
| Bare dirt | Free | Poor (dig out yearly) | Warmest | Poor — must apron/bury wire | Indefinite if it drains |
| Sand over base | Low–medium | Excellent (sift daily) | Cold; freezes solid | Poor alone — needs a hard base | Years; top up as it thins |
| Vinyl/lino on plywood | Low add-on | Best — wipes clean | Warm (over ply) | Inherits the plywood’s | 5–10 yrs before it tears |
Read that table as a menu of weaknesses, not winners. The right question isn’t “which row is best” — it’s “which weakness can my climate and my schedule absorb?” In Sweden I can’t absorb sand’s freezing, so sand lives in my summer run, not the winter coop. In a mild, dry climate that whole objection evaporates.
Concrete Coop Floors: The Permanent, Predator-Proof Base
A poured 4-inch concrete slab is the only floor nothing digs through, which makes it the gold standard for predator security and the worst on its own for cold feet. You solve the cold with bedding depth, not by avoiding concrete. It’s the floor I’d choose for a permanent, fixed coop where a fox, rat, or mustelid pressure is high.
The strength of concrete is exactly its rigidity: a rat can gnaw plywood and a fox can excavate under a dirt wall, but neither gets through a proper slab with a thickened edge. When I welded the steel run frame for my current setup, I set the posts into concrete footings for the same reason — a determined digger meets a hard stop. The catch is thermal. Bare concrete pulls heat straight out of a bird’s feet and stays clammy with condensation in a cold snap, so a concrete coop lives or dies on deep litter management: I run 4–6 inches of pine shavings building to 8–12 over the season, and the composting litter itself adds a little warmth. Concrete also demands you get the grade and a moisture barrier right the first time, because you are not re-pouring it. If you’re weighing that permanence against a plywood build you can modify later, the trade-offs are laid out in the concrete versus plywood comparison.
Plywood Coop Floors: The DIY Default (And Why It Rots)
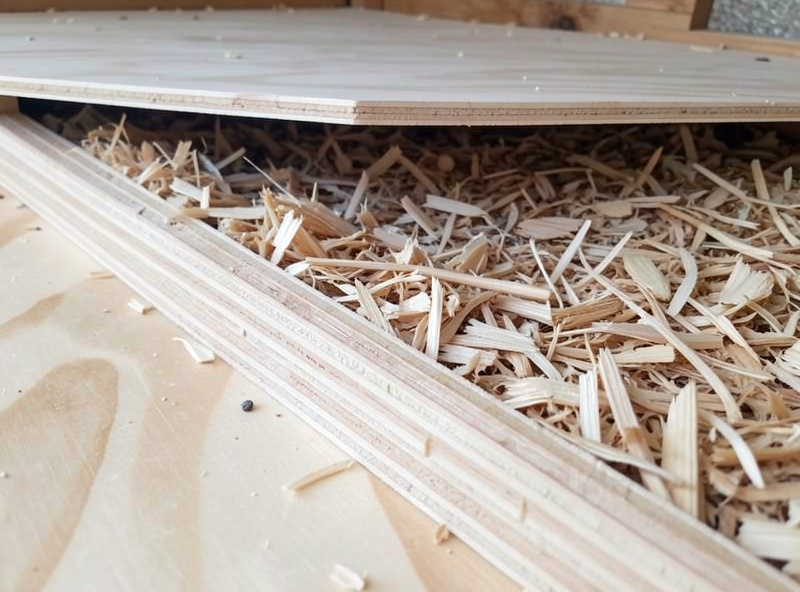
Plywood is the most common DIY coop floor because it’s cheap, warm, and easy to cut — and it fails faster than any other material because unsealed wood wicks moisture into its end-grain and rots from the seams out. Sealed properly, ¾-inch exterior plywood lasts 8–15 years; left bare, it can go spongy in two wet seasons, as mine did.
The failure mode is specific and predictable. Water gets into the exposed edges and screw holes, the glue lines delaminate, and the panel softens exactly where you can’t see it — under the waterer, along the wall seams, beneath the deep litter that traps the damp against the wood. Use exterior-grade or better; the exposure ratings from APA – The Engineered Wood Association tell you which glue survives repeated wetting. Then seal it like you mean it — the difference between a floor you squeegee clean in seconds and one you scrub for an hour is entirely in the finish and the coving at the wall edges. I walk through exactly the products and the corner detail I use in Sealing a Plywood Coop Floor So It Cleans In Seconds, Not Hours. And because plywood is the one floor a rat can actually chew through, pair it with the defenses in the rat-proof coop floor guide.
Dirt Floors: Cheapest, Warmest, and the Most Misunderstood
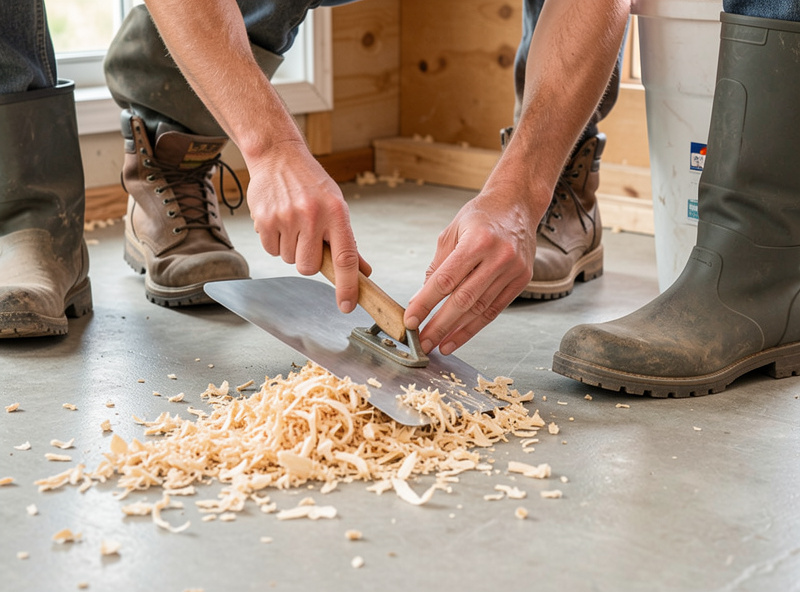
A bare dirt floor is free, warm, and lets birds dust-bathe naturally — but it only works where the ground drains and where you’ve buried wire to stop diggers. On heavy clay or a high water table it turns to reeking mud, and that’s when keepers wrongly conclude dirt floors are always bad. Done right, dirt is a fine floor; done on wet ground, it’s a health problem.
The whole game with dirt is drainage and dig-proofing. You want the coop pad raised a few inches above the surrounding grade so water runs away, not in, and you want a hardware-cloth apron or a buried skirt so a fox can’t excavate under the wall — chicken wire won’t do it; a determined mustelid or dog pushes right through poultry-grade netting-gauge wire. Over a well-drained dirt floor, deep litter genuinely shines: the droppings and carbon bed compost in place, staying dry and warm, and once a year you fork the finished material straight into the garden. That closed loop — coop to compost to soil — is exactly the cycle I run into the beds over at cityrooted. If a dirt floor is your plan, build the drainage and the dig barrier first, the way I lay it out in Dirt-Floor Coop Done Right: Drainage, Dig-Proofing, and Deep Litter.
Sand as a Coop Floor: The Nordic Reality Check
Coarse construction sand over a hard base is the easiest floor to keep clean in a warm, dry climate — you sift droppings out daily like a giant cat box — and it’s a genuine liability in a hard freeze, when it locks solid with moisture and offers no insulation. Sand is a summer-run superstar and a winter-coop mistake in a climate like mine.
I want to be precise here because sand has a passionate fan base and they’re not wrong — where it fits, it’s brilliant. The mechanism is drainage and drying: coarse sand (not fine play sand, which compacts and holds water) lets moisture percolate away and dries droppings so you can rake them out. In a dry, temperate coop that’s a low-effort, low-odor floor. But in Sweden the same sand freezes into a cold concrete-hard slab that wicks heat out of the birds and can’t be sifted at all, so it becomes a net negative exactly when reliability matters most. It also needs a firm base under it or it just migrates into the soil. I go through the temperature line where sand flips from asset to liability, and how to use it seasonally, in Sand Coop Floor: When It Wins and When It Freezes Your Birds.
Vinyl and Linoleum: The Clean-In-Seconds Upgrade
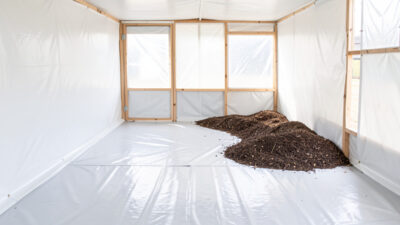
Sheet vinyl or linoleum laid over a plywood subfloor is the fastest-cleaning coop floor there is — droppings and spilled feed wipe off a seamless surface and nothing soaks in. Its weakness is durability: birds’ nails and sharp bedding eventually tear it, so budget on replacing it every 5–10 years. As an upgrade layer it’s cheap insurance for the plywood beneath.
This is the single best value-for-effort improvement I’ve made to a wooden coop floor. A one-piece sheet run up the walls a few inches (coved, so there’s no seam at the floor-wall junction for muck to pack into) turns cleaning from a scrubbing chore into a five-minute wipe, and it protects the plywood from the moisture that would otherwise rot it. The trade is that a hard freeze makes cheap vinyl brittle, and nails will eventually scratch through the wear layer, so you want a heavier commercial-grade sheet rather than the thinnest bargain roll. I cover the grades that survive a coop, and the coving trick that makes it truly waterproof, in Vinyl and Linoleum Coop Floor: The Easy-Clean Upgrade That Lasts.
Does Your Coop Need a Raised Foundation?
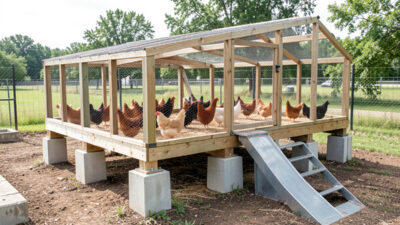
Any coop with a wooden floor should sit off the ground — on skids, concrete blocks, or proper footings — because a floor resting on soil rots from below and invites diggers into the void. Raising it a few inches to a foot keeps the wood dry, kills the rodent harborage under it, and lets air circulate. It’s the cheapest rot-prevention there is.
The mistake I see constantly is a beautiful coop set straight onto damp grass, its plywood floor drinking ground moisture through the underside where no amount of top-side sealing helps. Lifting it changes everything: on skids you can even drag the whole thing to fresh ground, and on footings you get a permanent, level, rot-proof base. Raising it also removes the dark, undisturbed cavity where rats love to nest and burrow up into the coop — either close that gap tight or lift it high enough that it’s exposed and unwelcoming. How high, what to use, and how to detail the wood-to-ground contact so nothing wicks or rots is the subject of Raising the Coop Off the Ground: Footings, Skids, and Rot Prevention.
How Do You Stop Rats Coming Up Through the Floor?
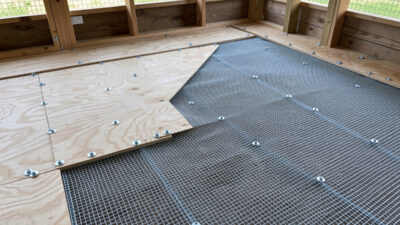
Rats don’t come over the wall — they come up through the floor, gnawing through plywood or tunneling under a dirt or sand base. You stop them by putting ½-inch, 19-gauge hardware cloth under or into the floor and by removing the food and harborage that draw them. A rat can chew through unprotected wood, so the wire is the wall they can’t beat.
This is where my welding and the coop meet: the run frame is steel because a rat’s jaws don’t argue with it, and the vulnerable floor gets a full underlay of hardware cloth — not chicken wire, which rats squeeze through and slip between, but ½-inch mesh in a heavy 19-gauge that stops both the digging up and the gnawing through. The last mustelid my cameras caught at the wire was working a corner where two apron sections overlapped by only a few inches; I now overlap every seam by a hand’s width and screw down the edges with fender washers. Rats are also a food problem — a treadle feeder that closes when the bird steps off, droppings kept dry so they don’t attract, and no spilled grain sitting overnight. The full defense-in-depth for the floor specifically is in Rat-Proof Coop Floor: Stopping Diggers From Coming Up Through It.
What Bedding Goes On Top of the Floor?
The structural floor is only half the system — what you layer on top (deep-litter pine shavings, straw, or hemp over a hard floor; sifted sand as its own surface) manages moisture, warmth, and smell day to day. The floor determines what bedding strategy is even possible: deep litter needs a floor that won’t rot under a permanent damp-composting bed.
I run deep litter over a sealed hard floor in winter: a carbon bed of pine shavings that I turn and top up rather than strip out, letting it compost gently in place so it stays warm and dry and drops the smell to almost nothing. Under the roost I keep a removable poop board — a 3D-printed bracket holds it — so the single dirtiest square meter of the coop gets scraped every morning and never loads the litter below. That combination, a right-chosen floor plus a managed bedding layer plus a poop board, is what actually makes an automated coop low-maintenance. The whole point of getting the floor right is that everything you stack on it then works with less effort for years.
What I’d Choose Starting Today
If I were building one coop today in a cold, wet climate, I’d pour a concrete slab with a thickened, wire-reinforced edge for a permanent build, or lay sealed ¾-inch plywood with a coved vinyl top and a hardware-cloth underlay for anything I might move — and I’d run deep litter over whichever one I chose. Predator resistance and dryness come first; warmth I buy back with bedding.
Start with the two questions that actually decide it: is this coop permanent or movable, and how hard does your climate freeze? Permanent plus high predator pressure points to concrete. Movable, or a DIY budget build, points to sealed plywood with a vinyl layer and a good raised foundation under it. Sand and dirt are climate-dependent specialists — brilliant in the right place, a liability in the wrong one. Whatever you pick, remember the through-line of every coop project I’ve ever built: the floor is the one part you can’t easily fix later, so spend your attention there first. Then work through the specific guide for your material, get the moisture and the dig barrier right, and the coop will mostly run itself.
Further Reading
- Concrete vs Plywood vs Dirt Coop Floor: The Real Trade-Offs
- Sealing a Plywood Coop Floor So It Cleans In Seconds, Not Hours
- Sand Coop Floor: When It Wins and When It Freezes Your Birds
- Dirt-Floor Coop Done Right: Drainage, Dig-Proofing, and Deep Litter
- Vinyl and Linoleum Coop Floor: The Easy-Clean Upgrade That Lasts
- Raising the Coop Off the Ground: Footings, Skids, and Rot Prevention
- Rat-Proof Coop Floor: Stopping Diggers From Coming Up Through It
What is the best flooring for a chicken coop?
There is no single best floor. Concrete is the most durable and predator-proof but the coldest, sealed plywood is the cheapest warm DIY floor but must be sealed to avoid rot, dirt is free and warm but needs good drainage, sand cleans easily but freezes in cold climates, and vinyl over plywood is the fastest to clean. Match the material to your climate and whether the coop is permanent or movable.
Do chicken coops need a floor at all?
Not always, but a floor of some kind is strongly recommended. A bare dirt floor works where the ground drains well and you bury hardware cloth to stop diggers. Any wooden or elevated coop needs a solid, sealed floor to control moisture and block predators from tunneling up from below.
Why does my plywood coop floor keep rotting?
Unsealed plywood wicks moisture into its exposed edges and screw holes and rots from the seams outward, especially under waterers and where deep litter traps damp against the wood. Use exterior-grade plywood, seal it fully including the edges, cove the wall junction, and raise the coop off the ground so the underside stays dry.
Is sand a good chicken coop floor?
Coarse sand over a hard base is excellent in warm, dry climates because you can sift droppings out daily and moisture drains away. In cold climates it freezes into a hard, cold slab that cannot be sifted and offers no insulation, so it is best used seasonally in the run rather than as a winter coop floor.
How do I stop rats getting through the coop floor?
Line the floor or the ground beneath it with half-inch, 19-gauge hardware cloth, not chicken wire, and overlap every seam by a hand’s width. Remove the food and shelter that attract rats: use a treadle feeder that closes when birds step off, keep litter dry, and never leave spilled grain overnight.
Related Guides
Rat-Proof Coop Floor: Stop Diggers Coming Up Through It
Rats don’t come over the coop wall — they come up through the floor, gnawing through plywood or tunneling under…
Raising a Coop Off the Ground: Footings & Skids
Every coop with a wooden floor should sit off the ground — a few inches at minimum, ideally enough to…
Vinyl & Linoleum Coop Floor: The Easy-Clean Upgrade
Sheet vinyl or linoleum over a plywood subfloor is the single best-value upgrade you can make to a coop floor:…