The smart chicken coop kit vs DIY choice usually breaks on three factors: how much you value your time, your comfort with basic electronics, and whether you want a polished cloud app or a self-hosted system. Kits cost $400–$900 and install in a weekend; DIY builds cost $150–$300 in parts but need 15–25 hours and basic ESP32/Home Assistant skills. Both produce reliable smart coops — they just take different paths to get there.
This guide compares both approaches across cost, time, capability, and long-term upgrade flexibility. My own coop runs the hybrid path described below — a purpose-built door I trust for reliability, everything else DIY on Home Assistant. For overall build context, see our complete smart chicken coop guide.
What “Kit” and “DIY” Actually Mean Here
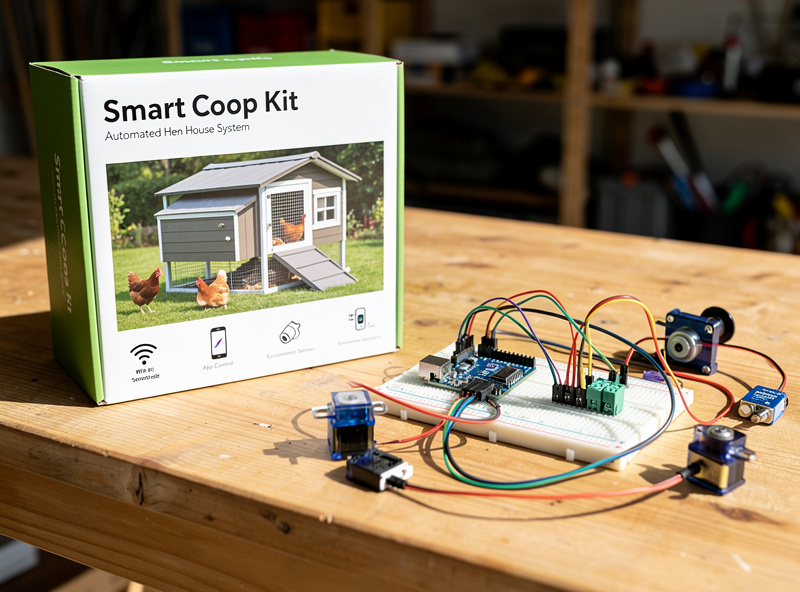
“Kit” in this context covers commercial smart-coop bundles like Run-Chicken, Omlet Autodoor + camera bundle, ChickenGuard ecosystem, or hub-of-app bundles from various brands. They share three traits: pre-paired hardware, manufacturer cloud apps, and consumer-grade install (mostly screw it on and download the app).
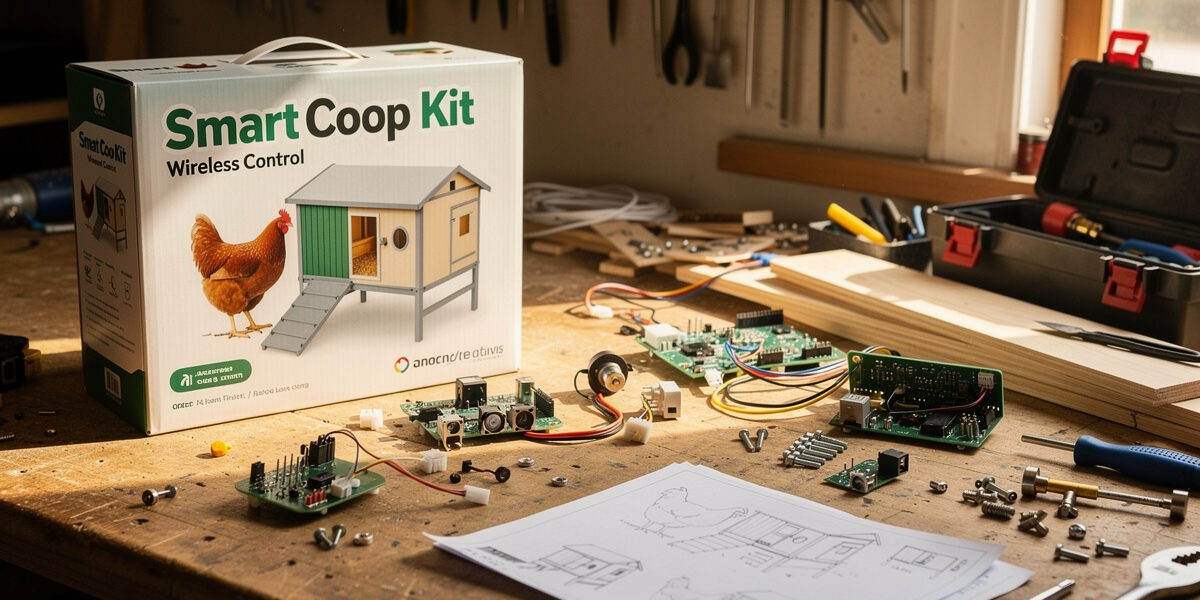
“DIY” covers builder-assembled systems using:
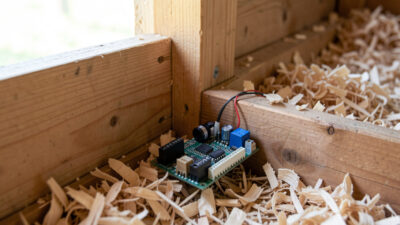
- Microcontroller hub — typically an ESP32 or Raspberry Pi running Home Assistant
- Standalone components — generic 12V auto door motor, off-the-shelf Zigbee sensors, IP cameras chosen separately
- Self-hosted automation — runs on your local network, no cloud dependency
The middle option exists too: buy a polished auto door (kit-style) but DIY the rest of the automation around it. Many readers end up here without explicitly choosing it.
Cost Comparison
| Approach | Hardware Cost | Total Including Time |
|---|---|---|
| Full kit (Omlet, Run-Chicken bundle) | $600–$900 | $700–$1,050 (with 5 hrs install) |
| Mid-tier kit (auto door + camera + sensors) | $400–$600 | $500–$750 (with 8 hrs install) |
| DIY budget (ESP32 + generic components) | $120–$220 | $420–$720 (with 20 hrs build at $15/hr) |
| DIY mid-range (good components + Home Assistant) | $280–$400 | $580–$800 (with 20 hrs build) |
| DIY premium (high-end self-hosted setup) | $450–$700 | $750–$1,000 (with 20 hrs build) |
If you value your build time at $15/hour (low estimate), DIY budget and mid-range kits land at similar total cost. The actual choice depends more on capability and learning curve than on dollars.
Time Investment Profile
| Phase | Kit Approach | DIY Approach |
|---|---|---|
| Research / planning | 2–4 hours | 6–12 hours |
| Component sourcing | 30 minutes (one order) | 4–8 hours (multiple sources) |
| Hardware install | 3–6 hours | 6–10 hours |
| Software setup | 30–60 minutes (app pairing) | 3–8 hours (Home Assistant config) |
| Calibration + testing | 1–2 hours | 2–4 hours |
| Total | 7–13 hours | 21–42 hours |
DIY takes 2–4× the time of a kit. Some builders enjoy the process (it is a hobby); others find it work. Honest self-assessment matters here — if you do not enjoy electronics tinkering, the time is a real cost.
Capability Comparison
| Capability | Kit | DIY (Home Assistant) |
|---|---|---|
| Auto door open/close | Excellent (purpose-built) | Good (depends on motor choice) |
| WiFi camera streaming | Good (manufacturer app) | Excellent (any RTSP camera) |
| Sensor integration | Limited to brand ecosystem | Any Zigbee/WiFi sensor |
| Custom automations | Pre-defined options only | Unlimited (YAML or visual editor) |
| Local-only operation | Rare — most need cloud | Yes by default |
| Voice control | Usually Alexa/Google integrated | Yes via Home Assistant Cloud or local |
| Multi-coop coordination | Sometimes (single-brand only) | Trivial |
| Long-term software support | Manufacturer-dependent (cloud sunset risk) | Forever (open source) |
Kits win on initial polish — they “just work” in the first week. DIY wins on flexibility — you can add anything later, and nothing depends on a manufacturer’s cloud surviving.
The Cloud Dependency Trade-Off
The single biggest hidden trade-off between kit and DIY is cloud dependency.
Most kits route everything through the manufacturer’s cloud:
- Door open/close commands go to the cloud, then to the door
- Camera footage streams via cloud servers
- Alerts come through manufacturer-controlled email/SMS
- If the manufacturer goes out of business or sunsets the product, the device becomes a brick
This has happened repeatedly in the smart-home space. Insteon shut its servers down overnight in 2022 with no warning, bricking hubs for customers who’d been on the platform since 2005; Wink didn’t brick devices outright but forced a pay-or-lose-access subscription on existing hardware in 2020 (How-To Geek’s rundown of bricked smart-home brands covers both, plus several more). It’s the running argument I make to anyone leaning kit-only: read the cloud-dependency fine print before you commit a $600 door to someone else’s server staying online.
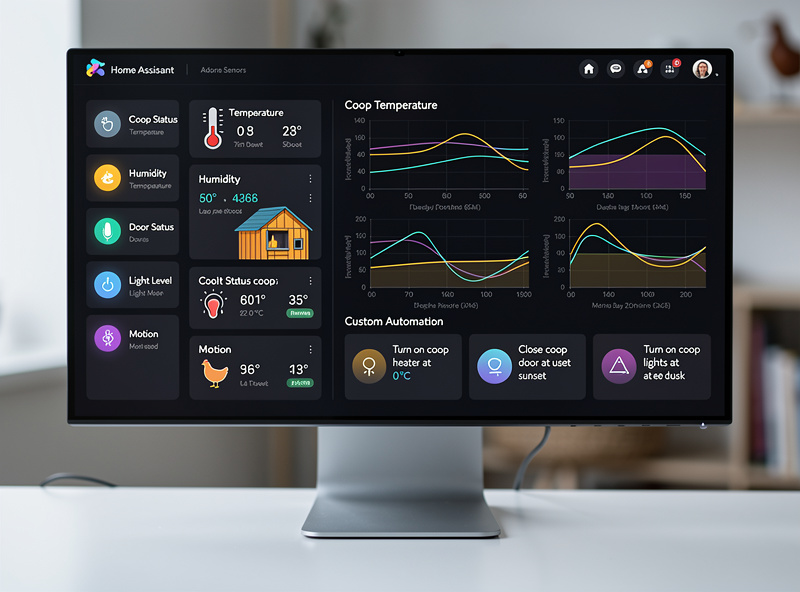
DIY systems built on Home Assistant or similar self-hosted platforms run entirely on your local network by design — Home Assistant’s own project is built around local control with no cloud requirement, run by a non-profit that can’t be sold or acquired out from under users. Internet outages do not affect them. Cloud sunsets do not affect them. The trade-off is the upfront learning curve.
When a Kit Is the Right Choice
- You value your time at $25+/hour and have limited free time. 25 hours of build time is real labor; pay the kit premium and reclaim it.
- You are not interested in electronics or programming. Forcing yourself through a DIY build you do not enjoy creates negative ROI.
- You want a polished smartphone app from day one. Manufacturer apps are typically prettier than Home Assistant out of the box.
- You only have one coop and no plans to expand. The custom flexibility of DIY mostly pays back when you add more devices over time.
- You have reliable internet and accept cloud dependency risk. Most kits work fine for years if the manufacturer survives.
When DIY Is the Right Choice
- You enjoy electronics or basic programming. The build is itself a benefit, not a cost.
- You have multiple smart-home devices already on Home Assistant. Integration costs drop to near zero.
- You want full control and zero cloud dependency. Self-hosted systems survive any manufacturer’s exit.
- You expect to expand the coop or property over time. Adding components to a Home Assistant setup is trivial.
- You want a specific feature no kit offers. Multi-camera AI detection, custom routines, integration with greenhouse/garden systems.
Hybrid Approach: Best of Both
Many experienced builders use a hybrid setup that captures most kit polish with most DIY flexibility:
- Kit-style auto door — buy a quality commercial door (Omlet, Run-Chicken). Skip the DIY motor mount; door reliability matters too much.
- DIY camera + sensors — generic IP camera + Zigbee sensors integrated through Home Assistant.
- Self-hosted automation — Home Assistant ties everything together with custom rules.
Total cost: $300–$500. Total build time: 12–18 hours. Captures the door reliability of the kit world while keeping the rest of the system flexible and cloud-independent — this is the setup I run, and it’s the one I recommend most often when a reader asks where to start.
What You Need to Know for DIY
The minimum technical floor for a successful DIY smart coop:
- Basic 12V wiring — connecting a power supply to a distribution block, fuses, and devices. Covered in our smart coop wiring guide.
- Home Assistant install on Raspberry Pi or NUC — 2–3 hours of YouTube tutorials covers this.
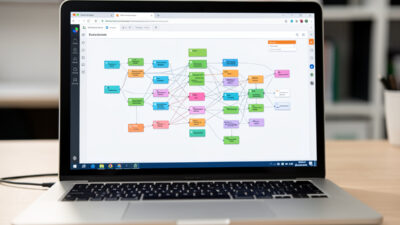
- YAML editing or visual editor use — Home Assistant supports both. Learn whichever feels comfortable.
- Basic networking — assigning static IPs, opening firewall ports for Zigbee dongle. Two Saturday afternoons for someone new to this.
If those bullets sound like obvious skills, DIY is your path. If they sound intimidating, pick a kit.
Software Lifespan
One often-overlooked factor: how long the system stays useful.
| System Type | Typical Useful Life | Sunset Risk |
|---|---|---|
| Major brand kit (Omlet, ChickenGuard) | 5–10 years | Low — established brands |
| Smaller brand kit | 3–7 years | Moderate — bankruptcy or pivot risk |
| Generic Tuya/eWeLink-based kit | 4–8 years | Moderate — platform consolidation |
| Self-hosted Home Assistant | 10+ years | None — open source |
If you want a smart coop you build once and use for 15 years, DIY/Home Assistant is the only option that consistently delivers that lifespan. Kits get replaced more often as the underlying hardware ages and the manufacturer drops support.
Real-World Recommendation
For most readers:
- If you have never used a microcontroller and do not want to learn — choose a kit. Omlet Autodoor + a generic IP camera + their app. $500–$700, 6 hours install, works fine.
- If you are tech-comfortable but new to home automation — choose a hybrid. Quality auto door + Home Assistant + Zigbee sensors. $400–$600, 14 hours, much more flexible than pure kit.
- If you already run Home Assistant for other purposes — go full DIY. Adding a coop is two evenings of YAML editing and a handful of components. The marginal cost is tiny.
- If you want the cheapest possible automation — full DIY budget. ESP32 + generic relays + Home Assistant. $120–$220 in parts, 25 hours, captures most smart benefits. See our budget DIY guide.
Frequently Asked Questions
Is a smart chicken coop kit worth the price?
For readers without electronics experience or limited free time, yes — a $500–$700 kit saves 15–25 hours of DIY build time and delivers a polished app from day one. For tech-comfortable builders, the hybrid approach (quality kit door + DIY automation) usually wins on total value.
Can I build a smart chicken coop without coding?
Yes — Home Assistant has a visual automation editor that requires no code. You can build a complete smart coop with auto door, camera, sensors, and custom rules using only point-and-click configuration. The learning curve is real but no programming knowledge required.
What is the cheapest way to make a smart chicken coop?
DIY budget approach using an ESP32 microcontroller, generic relays, light-dependent resistor, and Home Assistant runs $120–$220 in parts. The trade-off is 20–25 hours of build time. Quality is comparable to commercial kits if components are chosen carefully.
What happens if my smart coop kit manufacturer goes out of business?
Most cloud-dependent kits become bricks — the door, camera, and app all stop working when the manufacturer’s servers go offline. This has happened to multiple smart-home brands. Self-hosted DIY systems running Home Assistant continue working indefinitely.
How long does it take to build a DIY smart chicken coop?
21–42 total hours including planning, sourcing, hardware install, Home Assistant setup, and calibration. Experienced home automation builders complete it in 12–18 hours. First-time builders should plan 30–40 hours spread across 2–3 weekends.
Should I mix kit and DIY components in my smart coop?
Yes — the hybrid approach is often the best value. Use a quality commercial auto door (kit-style) for reliability, then DIY the camera, sensors, and automation through Home Assistant for flexibility. Total cost $300–$500 with most kit polish and most DIY flexibility.
Related Articles
Related Guides
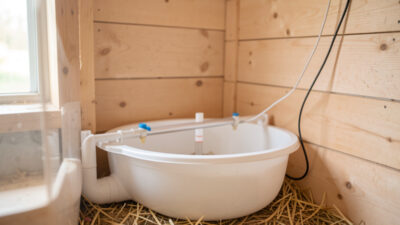
Water-Level and Flow Sensors: Knowing the Waterer Is Empty Before They Do
A coop water-level sensor tells you the drinker is going dry — or freezing solid — before the flock does,…
Ammonia Sensors for the Coop: Catching Air Problems Before You Smell Them
An ammonia sensor belongs at the birds’ breathing height, close to the litter where the gas is generated, because that…
Node-RED vs Home Assistant Automations for the Coop: When to Use Which
Use native Home Assistant automations for the coop’s simple, safety-critical rules — the sunrise door, the freeze-watch waterer — and…