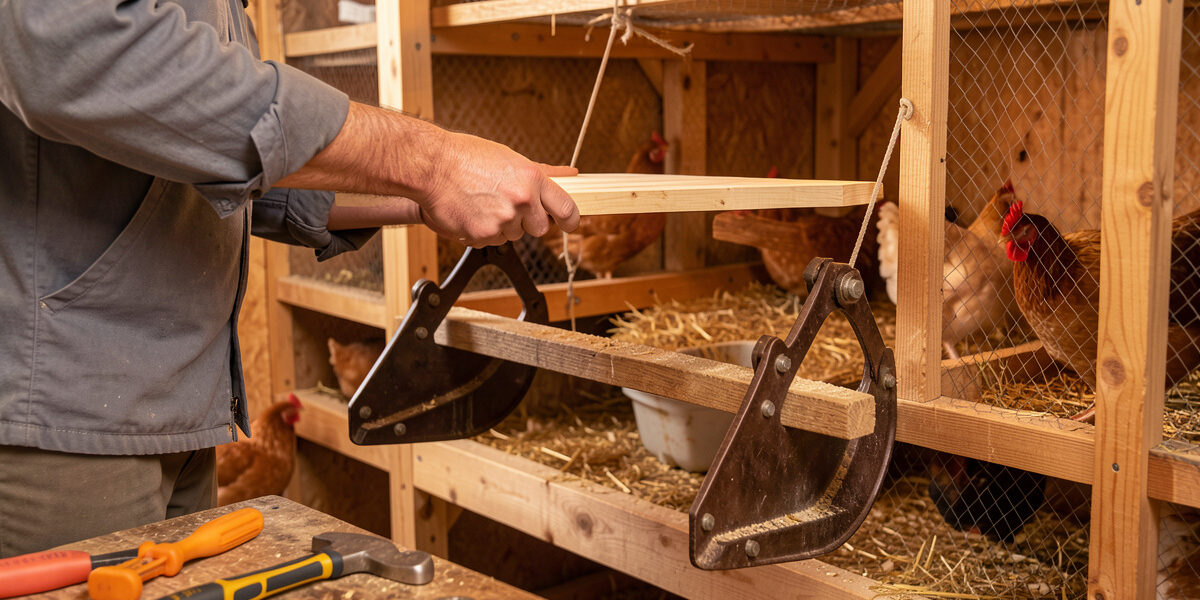
The best roost you can build is one you can lift out in ten seconds without a tool. Removable roost bars — flat 2x4s that drop into open saddle brackets — turn the two coop chores everyone dreads, scraping droppings and checking for red mite, into a 30-second job you’ll actually do. Fixed, screwed-down bars are exactly how mite infestations get a foothold, because nobody dismantles a coop to look.
I screwed my first roost down solid, like the plans said, and then spent a year not really inspecting it because getting to the underside meant a screwdriver and a bad mood. When I finally did, the bracket seams were grey with mite dirt. I rebuilt every bar as a drop-in the following weekend, and mite checks went from a chore I avoided to something I do while the coffee brews. Here’s the full build — brackets, cut list, and the routine — as part of my roost design system. It’s the one upgrade I’d tell every keeper to make.
Why Should Roost Bars Be Removable?
Roost bars should be removable so you can clean, inspect, and replace them in seconds instead of dismantling the coop. Red mites hide in the cracks and bracket seams of a roost during the day and feed on the birds at night, so the underside of the bar is the one surface you most need to see — and the one a fixed bar hides. Removable bars also make swapping a worn or fouled bar trivial.
The logic is simple: you inspect what’s easy to inspect. A bar that lifts out gets checked; a bar you’d need tools to reach gets ignored until there’s a problem you can smell. Red mite (Dermanyssus gallinae) populations explode fast — a mild case becomes a heavy one in a couple of weeks — and the Merck Veterinary Manual notes these mites shelter off the bird in crevices by day, which is exactly the roost-and-bracket seam. Catching them at ten mites instead of ten thousand is the whole game, and removability is what makes early catching realistic. Beyond mites, a removable bar lets you scrape the top clean, sand a rough spot, or replace a bar that’s had its day without a demolition project. Everything about maintenance gets easier.
What Do I Need to Build Removable Roost Bars?
You need flat 2x4s for the bars, some scrap 2×4 or 2×6 for the saddle brackets, exterior screws, and a saw, drill, and sanding block. That’s it — this is a genuinely simple build using cheap, common materials. Two shop-made saddle brackets and a bar cut to length gives you one removable roost; repeat for as many bars as your flock length needs.
For the brackets you can either cut your own U-shaped saddles from offcuts or use galvanized metal joist hangers sized for a 2×4, which make a fast, sturdy open cradle the bar drops straight into. Either works; I make my own from scrap because the shop always has it, but a pack of joist hangers is the quickest route if you don’t want to cut saddles. The bar itself is a plain untreated softwood 2×4 run flat, edges eased — the same profile I argue for in flat 2×4 versus round roost. A nominal 2×4 is a true 1.5 by 3.5 inches, a dressed-lumber standard the American Wood Council documents, so laid flat it gives the 3.5-inch top you want and it drops cleanly into a saddle sized to that width. Here’s the cut list for a single 6-foot removable bar.
As an Amazon Associate I earn from qualifying purchases.
| Part | Material | Size / qty | Notes |
|---|---|---|---|
| Roost bar | Untreated softwood 2×4 | 1 @ 6 ft | Run flat, top edges sanded |
| Saddle brackets | Scrap 2×4/2×6 or metal joist hangers | 2 | Open U so bar lifts out |
| Wall cleats | Scrap 2×4 | 2 | Anchor brackets to studs |
| Screws | Exterior/deck screws | ~12 | Fasten cleats and saddles only |
| Poop board | Plywood or plastic sheet | 1 | Slides out under the bar |
How Do I Build the Drop-In Brackets?
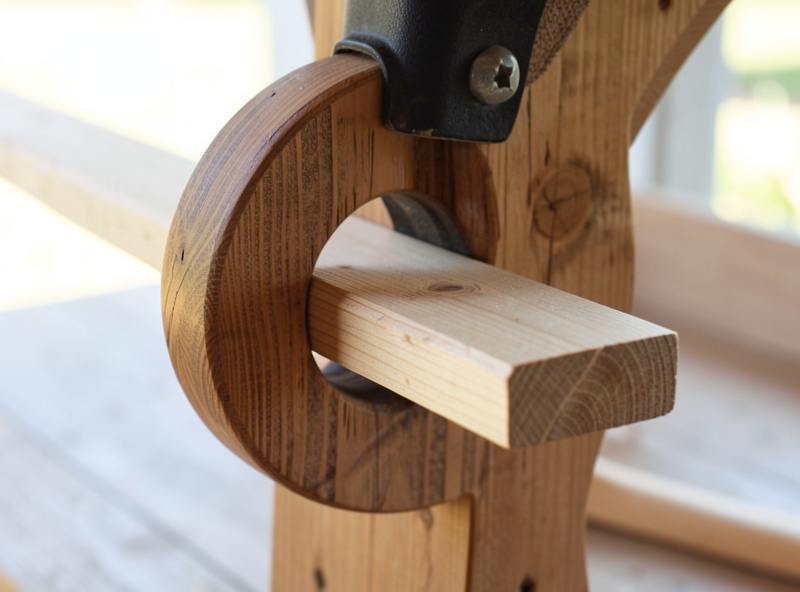
Screw a short vertical cleat to the studs at each end of where the roost will go, then fasten an open U-shaped saddle to the top of each cleat so the 2×4 drops in flat-face-up. The saddle should cradle the bar snugly on three sides but leave the top open, so the bar lifts straight up and out. The bird’s weight holds it dead still; nothing needs to be fastened to the bar itself.
My method: cut two cleats from scrap 2×4, screw them to the wall studs at 30 inches with a level, then build each saddle by screwing short blocks into a shallow U on top of the cleat — deep enough to hold the bar securely, shallow enough that it lifts out with one hand. Set the bar in, flat side up, and check it doesn’t rock. The whole point is that not a single screw touches the roost bar, so it’s a true drop-in. If you use metal joist hangers instead, fasten those to the cleats and skip the wooden saddle entirely. Follow the same height, wall setback, and spacing numbers you’d use for any roost — removability changes how the bar mounts, not where it goes.
How Do Removable Bars Make Mite Checks Easier?
With a removable bar you lift it out, flip it over, and run a flashlight along the underside and the bracket seams — the exact spots red mites shelter during the day. The whole check takes under a minute, which means you’ll do it weekly instead of never. Early detection is everything with mites, and a bar you can hold in your hands is a bar you’ll actually inspect.
What you’re looking for is tiny grey or reddish specks in the seams and crevices, sometimes moving, and a fine grey “ash” of mite dirt — most visible where the bar met the bracket. On a bad night the mites are engorged and red. I run this check when I clear the poop board, flashlight in hand, and it’s saved me from at least one infestation that would have gotten out of control on a fixed roost. A word of caution on the health side: identifying mites is general husbandry, but if you find a real infestation, treating it properly means following product label directions exactly and, when in doubt, getting guidance from your avian vet or local extension office rather than improvising. Prevention through easy, frequent inspection is the part fully in your control — and it’s what removable bars buy you.
How Does the Poop Board Fit Under the Roost?
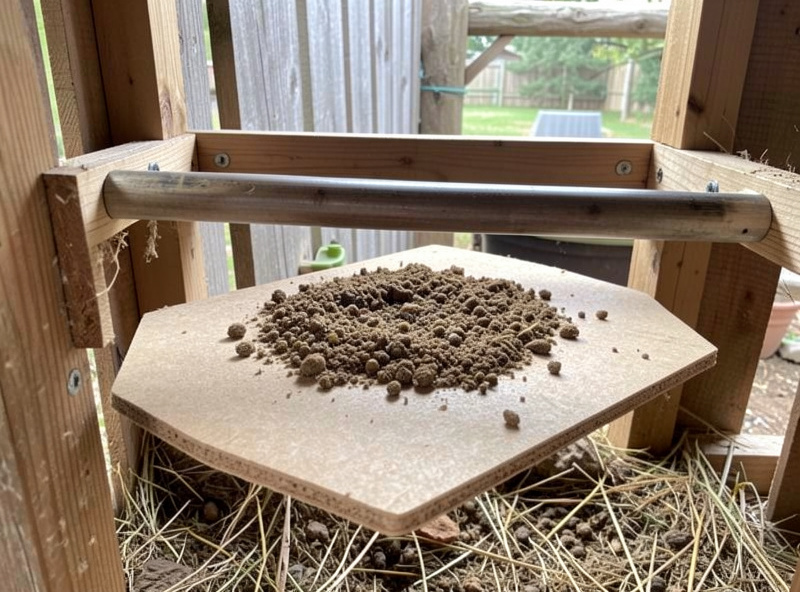
A poop board is a flat tray — plywood or a plastic sheet — that sits directly under the roost to catch the overnight droppings, which is where more than 60 percent of a coop’s manure lands. Build it to slide out like a drawer so you can pull it, scrape it, and slide it back in seconds. Paired with removable bars, it makes the whole roost zone a two-minute daily job.
Mine is a sheet of plywood on simple runners, set a few inches below the bar so droppings fall clear. Some keepers add a thin layer of sand or fine bedding on top to make scraping cleaner; I run mine bare and scrape it with a putty knife. The point is that the two messiest things in the coop — the roost underside and the manure below it — are both pull-out, wipe-down components rather than fixed surfaces you scrub in place. That’s the difference between a coop that stays clean because cleaning is easy and one that gets neglected because it’s a hassle. Keeping that manure captured and removed also lightens the moisture load your ventilation has to handle, which matters most in a closed-up winter coop.
How Often Should I Clean and Check the Roost?
Scrape the poop board daily or every couple of days, and lift the bars for a proper mite inspection weekly, more often in warm weather when mites breed fastest. Because the components are removable, “daily” is realistic — a quick scrape and a flashlight pass, not a project. In winter you can stretch the mite checks a little, since cold slows mite reproduction.
My rhythm: poop board every morning while the coffee brews, a full lift-and-flip mite check once a week, and a deeper clean — bars out, everything scraped and sanded if needed — monthly. In the summer heat I bump the mite checks to twice a week, because a warm coop is when a mild mite presence turns into an infestation fastest. The whole system is designed so none of this is daunting. A removable roost and a slide-out poop board mean the maintenance that keeps a flock healthy takes minutes, not an afternoon, which is the only way it actually gets done consistently over years.
What I Learned Building Mine
My first attempt at a removable bar failed because I made the saddle brackets too deep and too tight — the bar wedged in so snugly I needed to pry it, which defeated the entire purpose. I’d overbuilt for stability and lost the removability. I recut the saddles shallower, and suddenly the bar lifted out with one hand while still sitting rock-solid under a bird’s weight.
The lesson: a drop-in roost only works if it genuinely drops out. The bird’s weight does all the holding you need, so resist the urge to make the cradle grip. Aim for “sits securely, lifts freely.” On my own coop I took it a step further and 3D-printed a set of bracket end-caps to index the bars in exactly the same spot every time — the same printer that makes my nesting-box brackets and sensor mounts — but that’s a refinement, not a requirement; plain wooden saddles work perfectly. The other thing I got right by accident was keeping a couple of spare pre-cut, pre-sanded 2×4 bars in the shop — when I find a bar that’s fouled or mite-ridden, I swap in a fresh one and deal with the old one at leisure, so the flock always has a clean roost that night. Build it to lift out, size the saddles loose, keep a spare, and the roost stops being something you maintain and becomes something you barely think about.
Why should chicken roost bars be removable?
Removable bars let you clean, inspect, and replace a roost in seconds instead of dismantling the coop. The underside and bracket seams are where red mites shelter by day, so a bar you can lift out and flip over is the one you will actually inspect. That early detection is what keeps a mite problem small.
How do I make a drop-in removable roost bar?
Screw a short vertical cleat to the wall studs at each end of the roost location, then fasten an open U-shaped saddle bracket to the top of each cleat so a flat 2×4 drops in flat-face-up. Do not fasten anything to the bar itself; the bird’s weight holds it steady, and it lifts straight out for cleaning.
How do removable roost bars help with mites?
You lift the bar out, flip it, and run a flashlight along the underside and bracket seams where red mites hide during the day. The check takes under a minute, so you do it weekly. Look for tiny grey or reddish specks and a fine grey dust; if you find an infestation, follow product directions and consult your vet or extension office.
How often should I clean a chicken roost?
Scrape the poop board under the roost daily or every couple of days, and lift the bars for a mite inspection weekly, more often in warm weather when mites breed fastest. A removable roost and a slide-out poop board make daily upkeep a quick job rather than a project.
Keep Building
Related Guides
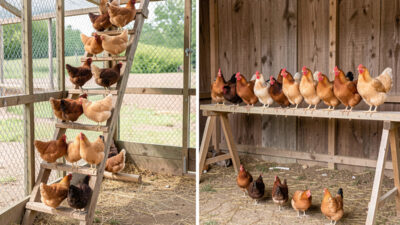
Ladder Roost vs Single-Level: Which Suits a Mixed Flock
For most mixed-size backyard flocks, a single-level roost wins. Putting every bird on one horizontal bar at the same height…
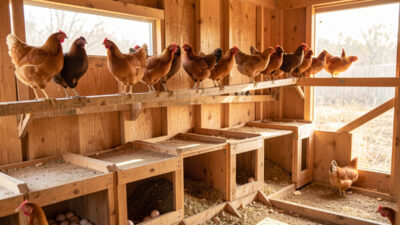
Roost Above the Nesting Box: The Height Rule for Floor Eggs
The rule is simple: the roost must sit higher than the top of your highest nesting box — ideally 6…
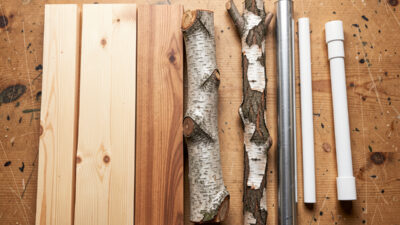
Roost Material Showdown: Lumber, Branches, and What to Never Use
The best roost material for chickens is plain untreated softwood — a pine, spruce, or fir 2×4 laid flat. It’s…